
Trees
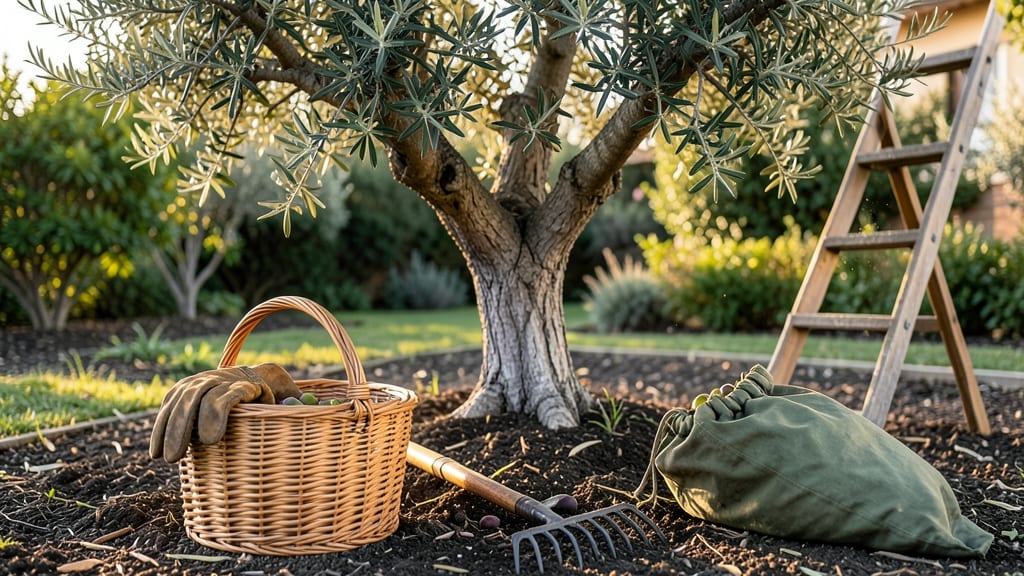
Harvesting olive trees at the right time turns bitter olives into sweet, flavorful rewards — and maximizes your oil yield.
Did you know harvesting olives at the wrong time can slash your oil yield by 50% or more? Mastering the perfect moment to pick your 🫒 transforms your harvest from a chore to a culinary game-changer.
The difference between green, firm olives and deep purple, soft ones isn’t just about taste—it’s about the oil’s quality and how long it will last.
In USDA Zone 6, the ideal harvest window stretches from late fall to winter, typically between October and December. But timing isn’t one-size-fits-all—regional climate, olive variety, and even your end goal (table olives vs. oil production) all play a role.
Miss the window, and you’re left with olives that are either too hard or too soft, ruining both flavor and potential.
Below, I’ll walk you through how to test ripeness, the tools you’ll need, and the three simple tricks to ensure your harvest is perfect every time—no guesswork required.

Optimal harvest timing for olives: when to pick for best flavor and oil
Harvesting olives at the right moment is everything—it’s the difference between bitter, astringent fruit and rich, buttery olives packed with flavor. Timing affects not just taste but also oil yield, which can vary by 50% or more depending on when you pick.
For table olives, you might aim for a firm, green harvest, while oil olives typically need to ripen fully to deep purple or black.
Olive maturity isn’t just about color—it’s a combination of skin firmness, pit development, and moisture content. In Mediterranean climates, harvests often begin in late October and stretch into January, while California’s milder winters may delay picking until December or even February.
Understanding these regional differences helps you adjust your timing for peak quality.
Let’s break down the three key maturity stages of olives and what each means for your harvest:
| Maturity Stage | Color | Firmness | Best For | Harvest Time |
|---|---|---|---|---|
| Green (Immature) | Bright green | Very firm, hard | Table olives, curing | Early fall (Sept-Oct) |
| Turning Color (Intermediate) | Purple/black streaks | Firm but yielding | Dual-purpose (oil + table) | Late fall (Nov-Dec) |
| Ripe (Mature) | Deep purple/black | Soft, slightly wrinkled | Oil production | Winter (Dec-Feb) |
For oil olives, waiting until they’re fully ripe—deep purple or black—ensures the highest oil content. These olives will be softer and may even begin to drop naturally from the tree, a clear signal to harvest.
In contrast, green table olives are picked earlier when they’re still firm and bright green, ideal for brining or curing.
Climate plays a huge role in timing. In Mediterranean regions, where winters are mild, olives may ripen earlier, often by late October or November. Meanwhile, in California’s cooler coastal areas, harvests can extend into January or February.
Pay attention to frost risks—olives must be harvested before temperatures drop below 32°F (0°C), as frost can damage both fruit and tree.
Another critical factor is moisture content. Overripe olives lose moisture and become wrinkled or shriveled, which reduces oil yield and quality. Aim for olives that are plump and firm but not rock-hard. Press a few olives gently—if the skin gives slightly but doesn’t bruise, they’re likely ready.
Regional varieties also influence timing. For example, Manzanillo olives are often harvested green for table use, while Arbequina olives are typically left to ripen fully for oil. Always research your specific variety, as some may take 6-9 months to mature from flowering to harvest.
Pro tip: If you’re unsure about ripeness, conduct a float test. Drop a few olives into water—ripe olives sink, while unripe ones float. This quick trick saves time and ensures you’re harvesting at the perfect stage.
Finally, don’t forget that harvest timing affects yield. Picking too early means smaller olives and lower oil content, while waiting too long can lead to fruit drop and reduced quantity. Balance flavor, oil quality, and quantity by monitoring your trees closely in the weeks leading up to harvest.
With the right timing, your olive harvest will be a sweet, flavorful success—whether you’re pressing for oil or curing for the table. 🫒
Step-by-step olive harvesting process: tools and techniques for efficiency
Harvesting olives efficiently requires the right tools and techniques to protect both your fruit quality and your safety. Whether you're working with a single tree or a large orchard, understanding the differences between hand-picking and mechanical harvesting will save you time and effort.
I’ve harvested olives for years, and I’ve learned that preparation is key—skipping steps often leads to bruised fruit or missed harvests.
For small orchards or home gardens, hand-picking remains the gold standard. It gives you precision, ensuring only ripe olives are collected while minimizing damage. However, for larger operations, mechanical harvesters can cut labor costs significantly.
The challenge? Balancing efficiency with fruit integrity. Let’s break down the essential steps to make your olive harvest smooth and successful.
Step-by-Step Olive Harvesting Process
- 🛠️ Gather Your Tools: Secure harvesting nets, pruning shears, ladder, gloves, and buckets lined with breathable fabric to prevent bruising.
- 🌳 Prepare the Orchard: Spread nets beneath the tree to catch falling olives. For tall trees, use a stable ladder or hire a certified climber for safety.
- 🫒 Hand-Pick Olives: Gently twist olives from branches—avoid pulling to prevent branch damage. Sort immediately into separate containers for ripe and unripe fruit.
- ⚙️ Use Mechanical Harvesters (if applicable): For large orchards, set vibrators or beaters to 30-45 seconds per tree to dislodge olives. Collect fruit from nets promptly.
- 🧼 Clean and Sort: Remove leaves, twigs, and unripe olives. Rinse gently with water to remove debris, but avoid soaking to preserve oil quality.
- 📦 Store Properly: Place olives in ventilated containers and store in a cool, dark place (50-60°F) for up to 2 weeks before processing.
- ⚠️ Safety First: Wear gloves to avoid skin irritation from oleuropein. Never harvest in wet conditions to prevent slips or mold.
One of the biggest mistakes I see is rushing the harvest. Olives ripen unevenly, so I always check ripeness every few days during peak season.
For small orchards, hand-picking ensures you don’t miss any ripe fruit, while large orchards benefit from mechanical tools—but always follow up with manual sorting to remove damaged olives. This step alone can improve your oil yield by up to 20%.
Post-harvest handling is just as critical as the picking process. I’ve found that ventilated storage prevents mold and fermentation, which can turn your high-quality olives into a ruined batch. If you’re processing for oil, aim to crush olives within 48 hours of harvest for the best flavor and aroma.
For table olives, curing should begin immediately to preserve texture and taste.
Labor costs can add up quickly, especially if you’re harvesting by hand. For small-scale growers, consider teaming up with neighbors or family to share the workload.
For commercial operations, investing in a mechanical harvester pays off in the long run—but factor in the cost of potential bruising and lost yield. Always weigh your options based on orchard size and budget.
Finally, don’t forget to rotate your harvesting teams if working in groups to avoid overloading any single branch. I’ve seen too many trees suffer from branch breakage when workers cluster on one side.
A little planning goes a long way in keeping your olive trees healthy and productive for years to come.