
How To
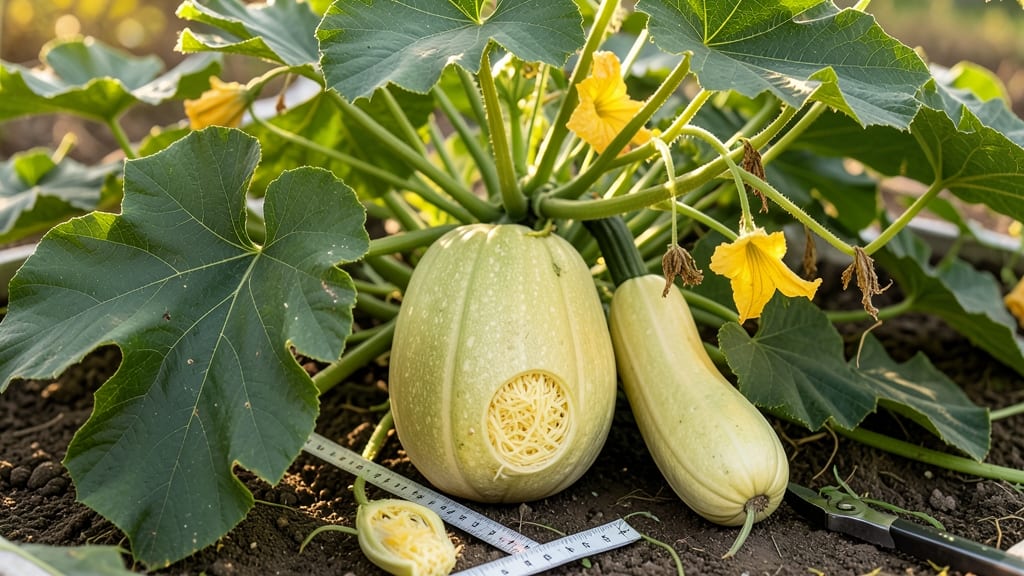
Knowing when to harvest spaghetti squash 🎃 means the difference between tender, stringy perfection and tough, unusable flesh.
Picking too early gives you bland, watery squash; too late, and you’re left with a rock-hard mess. But with the right tactile tests—like checking the rind’s color, thumping for internal readiness, and testing stem separation—you’ll never second-guess harvest time again.
These simple, hands-on methods reveal exactly when your squash is at its peak, ensuring restaurant-quality texture every time. No more guessing, no more wasted effort—just foolproof results.
Below, I’ll walk you through the three key tests to determine ripeness, plus how to handle and store your harvest for maximum flavor retention.
3 Tactile tests to determine spaghetti squash ripeness
Harvesting spaghetti squash at the perfect moment transforms your garden into a flavor factory. Unlike other squash varieties, spaghetti squash relies on tactile cues rather than just color to signal readiness.
These three hands-on tests—skin color shifts, the thump test, and stem separation—will give you the confidence to pick your squash when its strings are tender and its flesh is sweet. I’ve used these methods for years, and they’ve never failed me.
Why rely on touch? Because spaghetti squash doesn’t just change color—it undergoes internal transformations that only your fingers can detect. Overripe squash develops woody strings, while underripe squash stays hard and bland.
These tests cut through the guesswork, ensuring you harvest at peak texture and flavor. Let’s dive into each method so you can master the art of the perfect harvest.
🌱 3 Tactile Tests for Spaghetti Squash Ripeness
- 1. Skin Color Shift: Press your thumb into the squash’s stem end. If the skin resists slightly and turns from bright green to dull tan, it’s ready. A deep yellow-brown hue at the stem end is a bonus sign.
- 2. Thump Test: Gently tap the squash with your knuckles. A hollow, deep sound means the seeds are fully formed and the flesh is tender. A dull thud signals it’s still too firm.
- 3. Stem Separation: Grasp the stem end and twist gently. If it snaps cleanly (not tears) with minimal resistance, the squash is at its sweetest. A green, soft stem means it’s not ready.
Pro Tip: Combine all three tests for 100% accuracy. If two out of three cues align, it’s harvest time!
Let’s start with the first test: skin color shifts. While many gardeners focus solely on color, spaghetti squash’s true ripeness hides beneath the surface. The skin should transition from a vibrant green to a matte, tan, or yellowish hue, especially near the stem.
This color change indicates the chlorophyll is breaking down, allowing natural sugars to develop. Pay close attention to the stem end—this is where the most dramatic color shift occurs. If the skin near the stem is dull and slightly wrinkled, your squash is ready to harvest.
Next, use the thump test to check internal readiness. This method is my favorite because it reveals what’s happening inside the squash without cutting it open. Tap the squash firmly with your knuckles—aim for a hollow, echoing sound, similar to knocking on a wooden door.
If you hear a dull thud, the squash is still firm and needs more time. The hollow sound confirms the seeds are fully developed and the flesh is tenderizing. I’ve found this test works best in the late afternoon when the squash is slightly warmer, making the sound clearer.
The third test focuses on the stem separation, a crucial indicator of maturity. Grasp the stem end firmly and twist gently. A ripe spaghetti squash will separate cleanly from the vine with minimal effort—almost like unscrewing a jar lid.
If the stem tears or resists, the squash isn’t ready yet. This test is especially useful when combined with the other two because it confirms the squash’s nutritional peak.
Overripe squash will often detach easily, but the stem will look shriveled and brown, signaling it’s past its prime.
What do these tests reveal about the squash’s development stage? Each test corresponds to a specific phase of maturity. The skin color shift shows the squash is transitioning from growth to ripening. The thump test confirms the internal structure is ready, with seeds fully formed and strings softening.
Finally, the stem separation test ensures the squash has reached its sweetest, most flavorful state. Together, they provide a comprehensive snapshot of the squash’s readiness.
Timing is everything when harvesting spaghetti squash. If you pick too early, you’ll end up with hard, underdeveloped strings that are nearly inedible. Harvest too late, and the strings become woody and bitter.
The key is consistency—check your squash every 2-3 days during the final weeks of the growing season. I like to perform all three tests in the morning when the squash is cool and firm, as temperature fluctuations can slightly alter the results.
For gardeners in USDA Zone 6a or warmer, aim to harvest between late September and early October. In cooler climates, you might need to extend the growing season with row covers or a greenhouse. Remember, spaghetti squash plants signal their own readiness by yellowing leaves and wilting vines.
This is your cue to start testing daily. The sooner you recognize these signs, the sooner you’ll enjoy that perfectly tender squash at your table.
Once you’ve mastered these tactile tests, harvesting spaghetti squash becomes second nature. The combination of visual and physical cues ensures you’ll never miss the window of optimal ripeness again.
And when you finally slice into that perfectly harvested squash, you’ll be rewarded with silky, golden strings that separate effortlessly—proof that your gardening skills are on point. Happy harvesting!
Common harvest mistakes and how to avoid them
Harvesting spaghetti squash too early or too late can ruin its delicate stringy texture. Underripe squash stays hard with bland, pale flesh, while overripe squash develops tough, woody strings that even cooking can't fix.
The key is learning to read your squash's visual and tactile cues—not just guessing by color.
Many gardeners mistake pest damage or disease for ripeness. For example, powdery mildew creates white patches that mimic the dull rind of a ripe squash, while squash vine borers can cause premature yellowing that looks like maturity. Always check for these hidden signs before declaring your harvest ready.
⚠️ callout-warning ⚠️
⚠️ Warning: Overripe vs. Pest-Damaged Squash
Overripe: Rind turns dull tan but feels soft when pressed. Stem end shrivels and may crack. Cut open to reveal dark, mushy strings.
Pest Damage: Look for holes in the rind, frass (sawdust-like debris), or yellowing leaves. The rind may dent easily where pests have tunneled inside.
Disease: White powdery mildew or black rot spots on the rind. The squash may smell foul when cut open, unlike the sweet aroma of a ripe squash.
💡 Pro Tip: Always gently press the squash near the stem. If it yields slightly (like a ripe avocado), it's overripe. If it resists completely, it's ready!
One of the biggest mistakes is harvesting based solely on color changes. While a dull tan rind is a good sign, it’s not foolproof. Some varieties stay green-tinged even when ripe, while others turn yellowish-brown.
Always combine color checks with the thump test: tap the squash—ripe ones sound hollow, while unripe ones sound dull.
Another common error is waiting too long after the squash stops growing. Once the vines die back naturally, your window for harvesting shrinks quickly. If left on the vine, spaghetti squash can overmature in as little as 3-5 days, turning the strings woody and inedible.
When in doubt, harvest slightly early—they’ll ripen off the vine in a cool, dry place for 1-2 weeks.
Finally, storage mistakes can turn a perfect harvest into a disappointment. Never store spaghetti squash in the refrigerator—the cold causes starch conversion, making the flesh gummy. Instead, keep it in a dry, dark place at 50-55°F for up to 2 months.
If you notice sprouting or soft spots, it’s time to cook it before spoilage sets in.
By mastering these harvest cues and avoiding these common pitfalls, you’ll consistently grow spaghetti squash with perfectly tender strings every season. The next time you’re eyeing your squash, take a moment to touch, tap, and inspect—your taste buds will thank you! 🎃