
How To
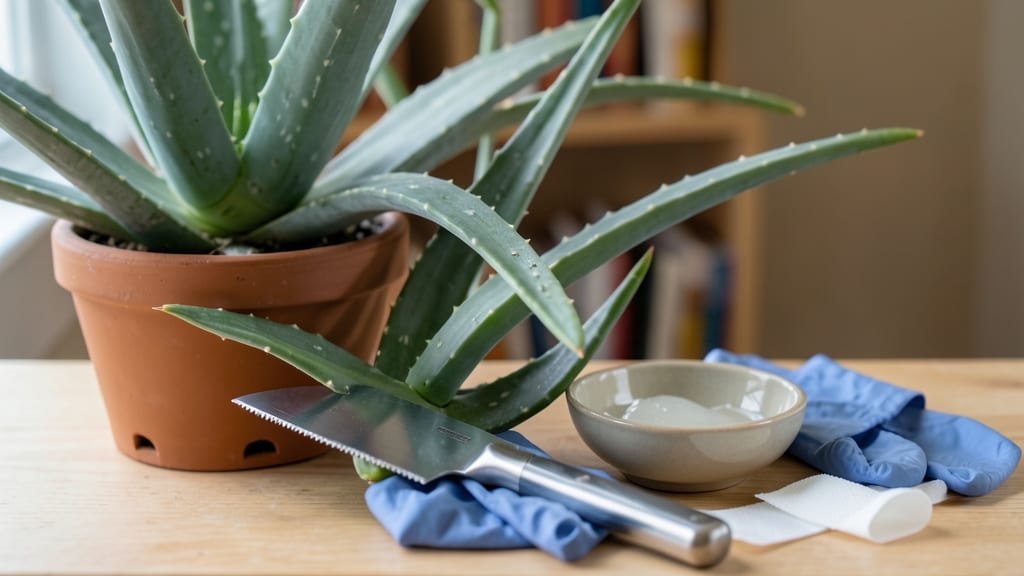
Harvesting aloe vera leaves for their soothing gel is easier than you think—once you know the right time and technique to avoid damaging your plant.
Picture this: you’ve nurtured your 🌱 aloe vera for months, watching it thrive in USDA Zone 9b (or your indoor sunny spot), only to hesitate when it’s time to harvest. Too soon, and the gel won’t be potent.
Too late, and you risk stressing the plant. The key? Waiting until the outer leaves reach 8–12 inches and turn slightly yellow at the base—signs they’re mature and ready for use.
In this guide, I’ll walk you through how to spot the perfect leaf, the step-by-step harvesting process (including tools you’ll need), and how to extract the gel without wasting a drop. You’ll also learn how often you can safely harvest and what to do if you accidentally overdo it.
By the end, you’ll have a stash of fresh aloe gel for burns, skincare, or even smoothies—plus a thriving plant that keeps producing for years.

When and how to identify mature aloe vera leaves for harvesting
Harvesting aloe vera leaves at the right time ensures you get the most gel yield while keeping your plant healthy. The key is identifying mature leaves—those that are fully developed, thick, and ready for harvest.
Immature leaves are thin, translucent, and lack the rich gel content you need for skincare or healing remedies.
Timing matters too! Aloe vera grows year-round in warm climates, but if you're in cooler zones, wait until spring or early summer when growth is most active.
This is when leaves reach their peak maturity and gel content. Harvesting in winter can stress your plant since it’s naturally slower-growing during cooler months.
Here’s the golden rule for identifying mature leaves: they should be at least 8–12 inches long, thick, and have a yellow-brown base. The skin should feel firm and resist gentle pressure—this means the leaf is fully hydrated and packed with gel.
Pressing should not leave a dent or feel squishy.
Another telltale sign is the leaf’s position. Outer leaves are the first to mature because they’re exposed to more light and air. These leaves naturally bend outward, making them easier to spot and harvest without damaging the plant’s center.
Avoid harvesting leaves from the inner rosette, as these are younger and still growing.
You can also check a leaf’s readiness by giving it a gentle twist near the base. If it pulls away cleanly with minimal resistance, it’s ready.
If it snaps or tears, it’s either too young or overripe. Overripe leaves may turn brown or mushy, indicating they’ve passed their prime for harvesting.
| Maturity Cue | What to Look For | Action |
|---|---|---|
| Leaf Length | 8–12 inches long | Harvest outer leaves first |
| Leaf Thickness | Thick, fleshy, firm skin | Press gently—should resist |
| Base Color | Yellow-brown at base | Sign of maturity and drying |
| Leaf Position | Outer leaves, bent outward | Twist gently to remove |
| Season | Spring or early summer | Avoid winter harvests |
Seasonal timing also plays a role in leaf maturity. In spring and summer, aloe vera grows rapidly, and leaves mature faster. This is the best time to harvest because the plant is actively producing new growth, and the gel content is at its peak.
If you’re growing aloe vera indoors, you can harvest year-round as long as the leaves meet the maturity criteria.
One common mistake is harvesting leaves that are too young or overripe. Young leaves are thin, translucent, and lack the rich gel you’re after. Overripe leaves may appear brown or mushy, indicating they’ve dried out or are rotting.
Always prioritize leaves that are thick, firm, and opaque green with a yellow-brown base—these are your best candidates for harvesting.
To minimize stress on your aloe vera plant, never harvest more than one-third of the outer leaves at a time. This ensures the plant retains enough energy to produce new growth.
After harvesting, give your plant a few weeks to recover before harvesting again. This practice also encourages the growth of new, mature leaves for future harvests.
Finally, always use a clean, sharp knife or pruning shears to make a clean cut. Avoid tearing leaves, as this can damage the plant and reduce gel yield.
After harvesting, let the leaves sit for a few hours to allow any remaining latex (a yellowish sap) to dry out before processing the gel.
By following these steps, you’ll ensure your aloe vera plant stays healthy while providing you with a steady supply of high-quality gel for all your skincare and healing needs. Happy harvesting! 🌱✂️💧
Step-by-Step aloe vera leaf harvesting process for gel extraction
Harvesting aloe vera leaves correctly ensures you get the maximum gel yield while keeping your plant healthy. The fillet method is the safest way to extract gel without damaging the leaf’s integrity. Start by gathering your sterilized tools—a sharp knife, clean gloves, and a bowl for storage.
Always work in a well-ventilated area to avoid inhaling any sap, which can irritate skin or eyes.
Before cutting, wash your hands thoroughly to prevent bacterial contamination. Choose a mature outer leaf that’s at least 8 inches long with a slightly yellow-brown base. This leaf will have the thickest gel and minimal aloin (a compound that can cause stomach upset if ingested).
Avoid harvesting more than 1–2 leaves per plant at a time to prevent stress.
Step-by-Step Aloe Vera Leaf Harvesting
- 🪴 Step 1: Select the Right Leaf
Choose a mature outer leaf (8+ inches) with a yellow-brown base. Gently tug to confirm it pulls away easily. - 🔪 Step 2: Cut the Leaf Cleanly
Use a sterilized knife to slice the leaf 1–2 inches from the base at a 45-degree angle to avoid damaging the plant. - 💧 Step 3: Rinse the Leaf
Rinse the leaf under cool water to remove dirt and yellow sap (aloin). Pat dry with a clean towel. - ✂️ Step 4: Fillet the Leaf
Lay the leaf flat and slice off the spines with a knife. Then, make a lengthwise cut down the center to expose the gel. - 🌱 Step 5: Scoop Out the Gel
Use a spoon or fork to gently scrape the gel into a sterile bowl. Avoid the yellow latex layer. - 📦 Step 6: Store the Gel
Store gel in an airtight container in the fridge for up to 1 week or freeze for 6–12 months. - 🌿 Step 7: Let the Plant Recover
Place the cut leaf base in a shady spot for 1–2 days to heal. Avoid watering for 3–5 days post-harvest.
After extracting the gel, you can reuse the leaf by blending it into a homemade aloe vera juice or composting it. The fillet method preserves the leaf’s structure, allowing you to maximize every drop of gel.
Always sterilize your tools between uses to prevent bacterial growth, which can spoil the gel or harm your plant.
If you’re harvesting multiple leaves, space out the process over several weeks to avoid overstressing your aloe vera. A healthy plant can recover quickly, but never remove more than 1/3 of its leaves at once.
For indoor plants, limit harvests to 2–3 times per year, while outdoor plants in ideal conditions can handle slightly more frequent harvesting.
Pro tip: If your aloe vera develops brown spots after harvesting, it’s a sign of sunburn. Move the plant to a shadier spot for a few days to help it recover. With proper care, your aloe vera will continue producing gel-rich leaves for years to come!