
How To
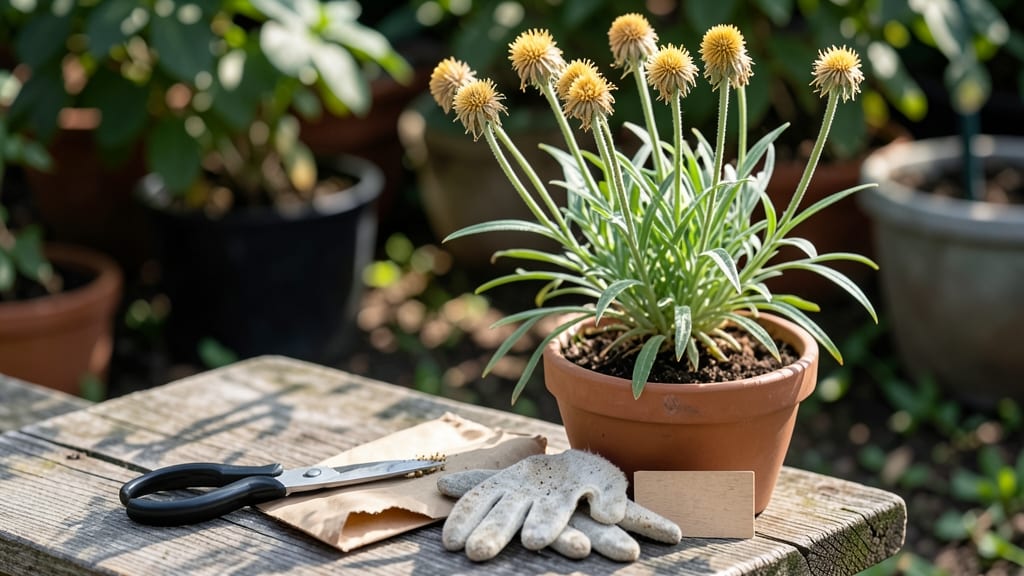
Harvesting strawflower seeds when their papery heads crack open is the key to saving next year’s vibrant blooms 🌼 — and timing it right means the difference between a thriving garden and scattered seeds lost to the wind.
Strawflowers (Helichrysum bracteatum) aren’t just beautiful cut flowers—they’re seed-saving goldmines when their papery seed heads crack open at just the right time. Miss this window, and you’ll lose your chance to grow next year’s blooms from scratch.
Here’s the secret: wait until the flower heads turn completely brown and brittle, then harvest them on a dry morning when the seeds are ready to fall. A gentle shake will tell you if they’re ripe—if they rattle inside, you’re in luck.
In this guide, I’ll walk you through every step, from spotting the perfect seed heads to storing them properly so you can replant with confidence. No more wasted seeds or guesswork—just a foolproof method for home gardeners.

When and how to identify strawflower seed heads ready for harvest
Timing is everything when harvesting strawflower seeds. These drought-loving beauties (Helichrysum bracteatum) produce papery seed heads that naturally crack open when fully mature. The key is spotting these visual maturity cues before the seeds scatter in the wind.
I’ve learned the hard way—wait too long, and your seed-saving dreams blow away with autumn breezes!
Start monitoring your strawflower plants in late summer, around September-October in most USDA zones (like my Zone 6a garden). Look for brown, papery bracts replacing vibrant petals.
This color shift signals the plant is redirecting energy to seed production. The transformation happens gradually, so check your plants weekly during this critical window.
Here’s the summary-table of exact harvest readiness signs to watch for:
| Maturity Stage | Visual Cues | Texture Test | Best Harvest Time |
|---|---|---|---|
| Early Maturity | Bracts turn tan-brown | Slightly stiff but flexible | Not ready |
| Mid Maturity | Bracts fully brown, leaves yellow | Crisp when touched | Morning harvest |
| Full Maturity | Seed heads crack open, seeds visible | Brittle, seeds rattle | Immediate harvest |
The best time of day to harvest is early morning after dew has evaporated but before 10 AM. This gives seeds maximum dryness for storage. I’ve found that dry, sunny mornings (like those crisp October days) produce the crispest seed heads. Avoid harvesting after rain—moisture accelerates mold risks and reduces seed viability.
One critical mistake I made my first year was harvesting based solely on color. Some seed heads appeared brown but were still moist inside. To test readiness, gently squeeze the flower head.
If seeds rattle freely and the bracts crumble easily, they’re ready. If not, wait 3-5 more days—patience pays off with higher germination rates.
Seasonal timing matters too. In warmer climates (Zones 8-10), strawflowers may mature as early as August. In cooler zones like mine, the first frost date (October 31) signals the final harvest window.
Mark your calendar for 2-3 weeks before frost—this gives you that perfect harvest window before cold sets in.
Pro tip: Use a white tray under plants when seed heads crack open. The contrast makes seeds (tiny black specks) easy to spot against the light background.
I’ve saved hundreds of seeds this way that would’ve otherwise vanished into the soil. This simple trick has become my seed-saving secret weapon!
Watch for cracking patterns too. Mature strawflower seed heads develop vertical splits along their centers. These splits are nature’s way of releasing seeds—harvest before they scatter widely.
If you see more than 50% of heads cracked, it’s time to act fast. I’ve lost entire harvests by ignoring this warning sign!
Finally, consider your local climate. Humid regions may need additional drying time (2-3 extra days) compared to dry climates. I’ve adapted my harvest schedule based on weather forecasts, moving indoor drying periods to garage shelves during rainy spells.
This extra care ensures 90%+ seed viability for next season’s garden.
Step-by-step guide to harvesting and storing strawflower seeds
Once your strawflower heads turn completely brown and begin cracking open, it’s time to act fast. These papery seed heads release seeds at the slightest breeze, so timing your harvest is everything.
I’ve learned the hard way—waiting too long means seeds scatter, while harvesting too early means they won’t germinate. The key is patience and precision.
Start by selecting fully dried flower heads—these will be crisp to the touch and release seeds with a gentle shake. Grab a paper bag or envelope (we’ll use these for storage later) and head outside on a dry, sunny morning when humidity is low.
This minimizes moisture risks and ensures cleaner seeds.
-
Step 1: Identify Mature Heads
Look for brown, papery flower heads that crack open naturally. Gently squeeze—if seeds rattle inside, they’re ready.
-
Step 2: Cut or Twist Off Heads
Use clean pruners or twist heads off stems. Place them in a paper bag immediately to catch falling seeds.
-
Step 3: Dry Seeds Fully
Spread heads on a dry, flat surface (like newspaper) in a well-ventilated area for 3–5 days. Stir occasionally to prevent mold.
-
Step 4: Extract Seeds Gently
Once completely dry, rub heads between your fingers or use a fine mesh sieve to separate seeds from chaff.
-
Step 5: Store Properly
Place seeds in paper envelopes (for airflow) or airtight containers (for long-term storage). Label with the harvest year and variety.
After drying, test seed viability by placing a few in a glass of water. If they float, they’re likely nonviable; if they sink, save them for planting.
I store my seeds in paper envelopes in a cool, dark place—this mimics natural dormancy and keeps them fresh for up to 2 years.
Pro tip: If you’re unsure about viability, plant a small test batch in early spring. Strawflower seeds germinate quickly in warm soil, so you’ll know within weeks if your harvest was successful. Just remember—patience and dry conditions are your best friends here.
With these steps, you’ll never waste another strawflower seed again. Happy harvesting—and may your next garden bloom as beautifully as your first! 🌾