
How To
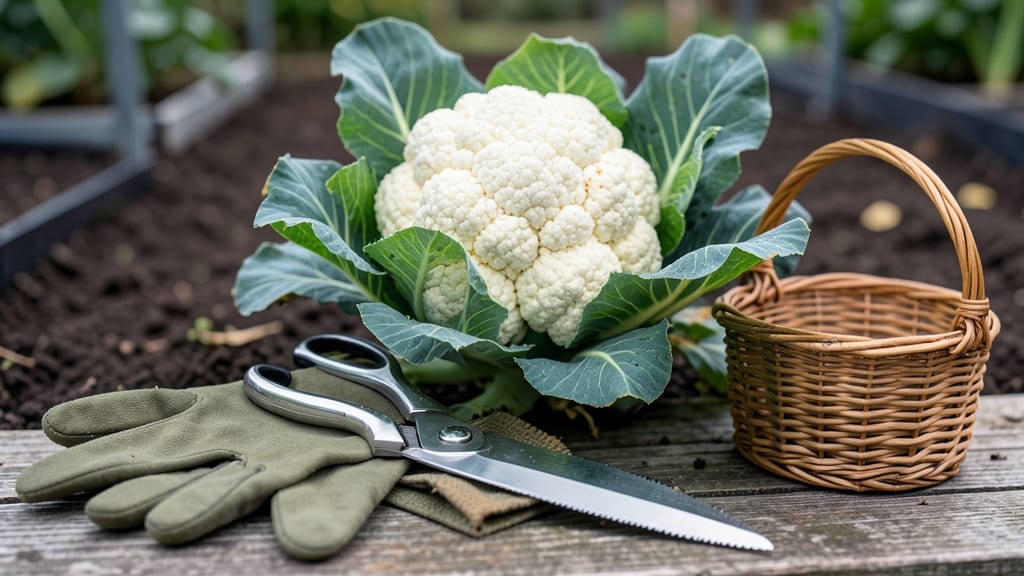
Harvesting cauliflower at the right time means the difference between a tender, flavorful head 🥬 and a bitter, woody mess.
Cauliflower lovers know timing is everything—harvest too early, and you’ll miss out on flavor; too late, and your curds turn bitter or bolt. Mastering the perfect harvest window ensures a bountiful, delicious crop straight from your garden.
You’ll learn the three key signs your curds are ready—size, color, and firmness—plus how to cut them without damaging the plant. No more guessing whether that head is perfect or past its prime.
From the moment you spot yellowing leaves to storing your harvest for maximum freshness, this guide covers every step to keep your garden producing like a pro.

3 Key signs your cauliflower curds are ready for harvest
Harvesting cauliflower at the perfect moment transforms your garden effort into a flavorful reward. The difference between a tender, flavorful curd and a bitter, woody one often comes down to recognizing these three critical signs.
Miss them, and you might end up with a plant that bolts—or worse, a curd that’s already past its prime. Let’s break down what to look for so you never guess again.
First, pay attention to the size of your cauliflower curd. A fully mature head typically measures between 6 to 8 inches in diameter. If your curd is smaller than a baseball, it’s not ready yet—keep an eye on it.
But if it’s larger than a softball, you’re running out of time. Over-mature curds start to loosen and split, making them less appealing and often tougher to eat.
Next, observe the color and density of the curd. Healthy cauliflower should be uniform in color, whether that’s creamy white, vibrant purple, or pale green, depending on the variety. The surface should feel dense and tightly packed, not loose or fluffy.
If you see yellowing or browning, that’s a sign the curd is aging and may have started to bolting—a process where the plant sends up a flower stalk, ruining the edible part.
Finally, check the surrounding leaves. As the curd matures, the outer leaves will begin to yellow and die back. This is nature’s way of signaling that the plant is redirecting energy to the curd.
If the leaves are still lush and green, your curd needs more time. But if they’re completely brown and crispy, you’ve likely waited too long.
🌱 Numbered Highlights: How to Spot Perfect Cauliflower Curds
- 📏 Size Check: Curd should be 6-8 inches wide—no smaller than a baseball, no larger than a softball.
- 🎨 Color & Density: Look for a uniform, tight curd with no yellowing or browning. Purple, white, or green varieties should stay vibrant.
- 🍂 Leaf Status: Outer leaves should be yellowing and dying back, not still green or already crispy and brown.
- 🤲 Firmness Test: Gently squeeze the curd—it should feel firm but not woody. If it’s mushy, it’s overripe; if it’s too hard, it’s underripe.
One of the biggest mistakes gardeners make is harvesting too late. Over-mature cauliflower not only loses its tenderness but also develops a bitter taste. The curd may start to split open, exposing the inner florets to air and pests.
If you notice the curd beginning to loosen or separate, it’s time to act fast—even if it’s not perfectly sized or colored. Sometimes, a slightly smaller curd that’s firm and fresh is better than a large, woody one.
On the flip side, harvesting too early means missing out on flavor and yield. A curd that’s still small or soft won’t have developed its full potential. If you’re unsure, wait another 2-3 days and recheck.
Patience pays off when it comes to cauliflower—rushing can leave you with a subpar harvest. Think of it like waiting for the perfect tomato ripeness: timing is everything.
Pro tip: If you’re growing multiple varieties, keep a small notebook or use your phone to track when each curd reaches these key signs. Some varieties, like Romanesco or purple cauliflower, mature faster than traditional white varieties.
Knowing your plant’s specific traits helps you avoid the guesswork entirely. For example, Romanesco often matures in about 70 days, while some heirloom varieties can take up to 100 days.
Once you’ve confirmed your curd meets all three signs, it’s time to harvest. But how you cut the curd matters just as much as when you pick it. Use a sharp knife or pruners to slice the stem about 1-2 inches below the curd.
This leaves a small stub that can sometimes regrow into a smaller second curd, giving you a bonus harvest. Just be gentle—avoid tearing the leaves or damaging the plant.
After harvesting, store your cauliflower in the refrigerator for up to a week, wrapped in a damp paper towel to retain moisture. If you’re not using it immediately, you can also blanch and freeze the curds for long-term storage.
The key is to act quickly—once you’ve identified the perfect curd, the clock starts ticking on its freshness and flavor.
Mastering these three signs will turn your cauliflower harvest from a gamble into a guaranteed success. Next time you’re in your garden, take a moment to check the size, color, and leaf condition—your taste buds will thank you.
And if you’re lucky, you might just get that second curd to enjoy a little later!
Step-by-step guide to harvesting cauliflower without damaging the plant
Harvesting cauliflower at the right moment ensures sweet, tender curds while protecting your plant for potential regrowth. The key is patience and precision—cutting too soon means underdeveloped flavor, while waiting too long risks bitterness or bolting.
I’ve learned that a sharp knife and gentle hands make all the difference in preserving both the plant and your harvest.
Before you begin, gather your tools: a clean, sharp knife or shears, a bowl for the curds, and a spray bottle filled with water. Work on a dry, sunny morning when the plant’s moisture levels are balanced.
This timing reduces stress on the plant and makes handling the curds easier. Always wear gloves to protect your hands from the plant’s sap, which can irritate skin.
Check Curd Readiness
Gently squeeze the cauliflower curd—it should feel firm but not hard. The head should be 6-8 inches wide and tightly packed with no gaps. Outer leaves should be yellowing and dying back.
Position the Knife Correctly
Hold the knife at a 45-degree angle about 1-2 inches below the curd. Cut through the stem, not the leaves, to avoid damaging the plant’s growth center. For large heads, use a sawing motion to prevent crushing.
Remove the Curd Gently
Twist the curd slightly while pulling upward to separate it cleanly. Avoid tugging—this can tear the stem and stress the plant. Place the curd in your bowl immediately to preserve freshness.
Inspect for Side Shoots
After harvesting, check the plant for small side shoots near the base. These can develop into secondary curds in 2-3 weeks. If you want more harvests, water the plant deeply and fertilize lightly with a balanced 10-10-10 mix.
Post-Harvest Care
Trim any yellow or damaged leaves to redirect the plant’s energy. Water the base thoroughly and apply a light mulch layer to retain moisture. If your climate stays mild, you may get 2-3 harvests per plant!
If your cauliflower plant bolts after harvest, don’t panic—it’s a natural response to stress. For future crops, focus on consistent watering and even sunlight exposure to prevent premature flowering. I’ve found that varieties like ‘Snowball Y Improved’ are more forgiving for beginners.
Store harvested curds in a plastic bag with a damp paper towel in the fridge for up to a week. For longer storage, blanch and freeze them—this preserves their nutrient density and crisp texture. With the right technique, you’ll turn your garden into a cauliflower powerhouse! 🥬