
How To
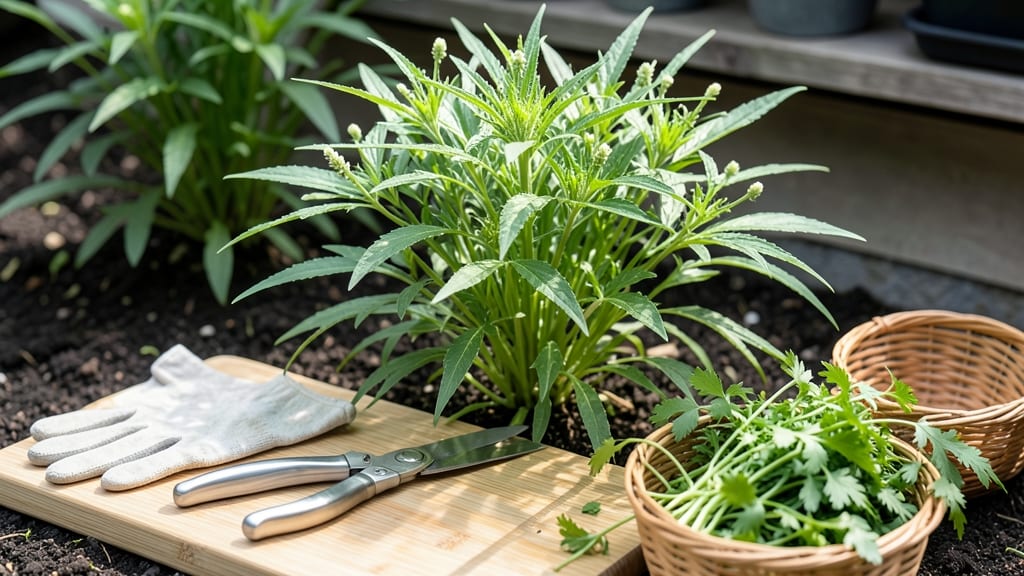
To harvest culantro at its peak flavor, focus on the young leaves before flowering begins — a leaf-by-leaf approach keeps your plant thriving and your kitchen stocked.
Picture this: you’ve nurtured your 🌿 culantro for months, only to watch it bolt or turn bitter after one aggressive trim. That’s why timing and technique matter more than you’d think. One wrong cut can stall regrowth or even kill the plant, leaving you with tough, flavorless stems.
This guide breaks down the exact when, how, and why of harvesting culantro—from choosing the right leaves to storing them properly—so you never waste a harvest again. Whether you’re plucking for tacos or pestos, these steps ensure your plant stays lush and productive for months.
You’ll learn how to spot the perfect leaves, use the right tools, and avoid common mistakes that turn a bountiful herb into a sad, stunted shrub. Ready to master the art of sustainable harvesting?

Step-by-step leaf harvesting technique to preserve culantro growth
Harvesting culantro properly is the secret to keeping your plant lush and productive. Unlike cilantro, which bolts quickly, culantro stays tender when handled right. The key is to pluck leaves—not cut stems—while leaving enough foliage for regrowth.
I’ve learned that root health depends on how you harvest, so let’s dive into the best methods to avoid stunting your plant.
Before you begin, gather your harvesting tools. A clean, sharp pair of pruning shears or your fingers work best. Avoid dull scissors—they crush stems and invite disease. Morning harvests yield the freshest leaves, as nighttime dew can make them soggy.
Always wash your hands and tools before touching the plant to prevent spreading pathogens.
How to Harvest Culantro: Step-by-Step
- Identify mature leaves—Look for leaves 4-6 inches long, bright green, and tender to the touch. Avoid harvesting the smallest leaves, as they’re still growing.
- Choose the right leaves—Pick leaves from the outer edges of the plant first. This encourages new growth from the center stems and prevents overcrowding.
- Use your fingers—Gently pinch the leaf just above a node (where leaves branch out). Avoid tearing the stem, which can damage the plant.
- Leave at least 2-3 leaves per stem—This ensures the plant can continue photosynthesizing and regrowing. Never strip more than 30% of the foliage at once.
- Harvest regularly—Pick leaves every 1-2 weeks to maintain a bushy, productive plant. Consistency is key to preventing bitter flavors from stress.
- Clean up after harvesting—Remove any yellow or wilted leaves immediately. These can harbor pests or diseases and slow down regrowth.
One of the biggest mistakes I see is cutting stems too short. If you snip the main stem, the plant may not recover. Instead, focus on leaf-by-leaf harvesting.
This method mimics how culantro grows in the wild—slow and steady—without shocking the root system. For container-grown plants, be extra gentle to avoid disturbing the shallow roots.
Timing your harvests is just as important as technique. Early morning harvests (before 10 AM) give you the freshest leaves and allow the plant to recover during the day.
If you must harvest in the evening, wait until the sun has set to avoid stressing the plant. Avoid harvesting during extreme heat or cold, as the plant is more vulnerable to damage.
After harvesting, store your leaves properly to maintain their flavor. Rinse them gently under cool water, pat dry with a paper towel, and store in an airtight container in the fridge for up to 5-7 days.
For longer storage, freeze leaves in an ice cube tray with water—perfect for adding to soups or stews later. Never wash leaves before freezing, as excess moisture causes ice crystals and ruins texture.
If your culantro starts looking leggy or sparse after harvesting, it’s time to give it a boost. Trim back any woody stems and fertilize lightly with a balanced 10-10-10 mix.
Increase watering slightly for a few days to help it bounce back. With the right care, your plant will reward you with continuous growth and flavorful leaves all season long.
Remember, culantro is a fast regrower—unlike cilantro, it won’t bolt easily if harvested correctly. By following these steps, you’ll enjoy a bountiful harvest without sacrificing your plant’s health. Happy harvesting! 🌿✂️💧
When and how often to harvest culantro for peak flavor and regrowth
Timing your culantro harvests is just as critical as the technique itself. The best time to harvest is in the early morning (before 10 AM), when leaves are hydrated and packed with flavor. This gives your plant the entire day to recover, ensuring continuous regrowth.
Evening harvests are possible, but avoid them during humid conditions to prevent fungal issues. Seasonal adjustments matter too—summer heat can stress the plant, so harvest more lightly during peak afternoons.
For optimal flavor, always harvest before flowering begins. Once culantro bolts, the leaves become tough and bitter. Aim to pick leaves when they reach 4-6 inches long, as these provide the best balance of tenderness and flavor.
Smaller leaves are still developing, while larger ones can be fibrous. The key is to harvest regularly but lightly—never take more than 30% of the foliage at once to avoid shocking the plant.
How Often to Harvest Culantro for Best Results
- Every 1-2 weeks—Maintains bushy growth and prevents overcrowding.
- Morning harvests—Yields freshest leaves and reduces stress on the plant.
- Avoid peak heat—Harvest in early morning or late evening during summer.
- Leave 2-3 leaves per stem—Ensures the plant can continue photosynthesizing.
- Never harvest more than 30%—Prevents stunting or death of the plant.
- Adjust frequency seasonally—Harvest less in winter, more in spring/summer.
- Stop harvesting before flowering—Bolted plants produce bitter, tough leaves.
Signs of over-harvesting include yellowing leaves, sparse growth, and woody stems. If you notice these, scale back immediately and focus on recovery care. Increase watering slightly, trim back any damaged foliage, and fertilize lightly with a balanced 10-10-10 mix.
With proper adjustments, your culantro should bounce back within 2-3 weeks. Consistency is key—harvesting too much at once can set your plant back for months.
In spring and summer, when growth is rapid, you can harvest every 7-10 days without issue. During fall and winter, reduce frequency to every 2-3 weeks as growth slows. Container-grown culantro may need slightly more frequent harvesting since space is limited, but always leave enough foliage for photosynthesis.
The goal is to balance yield with plant health, ensuring your culantro stays productive for months.
Pro tip: Use a small notebook to track harvest dates and plant responses. Note which leaves taste best and adjust your technique accordingly. Over time, you’ll develop a rhythm that keeps your culantro thriving. With the right approach, you’ll enjoy fresh, flavorful leaves all season long—no bitter surprises here! 🌿✂️💧