
How To
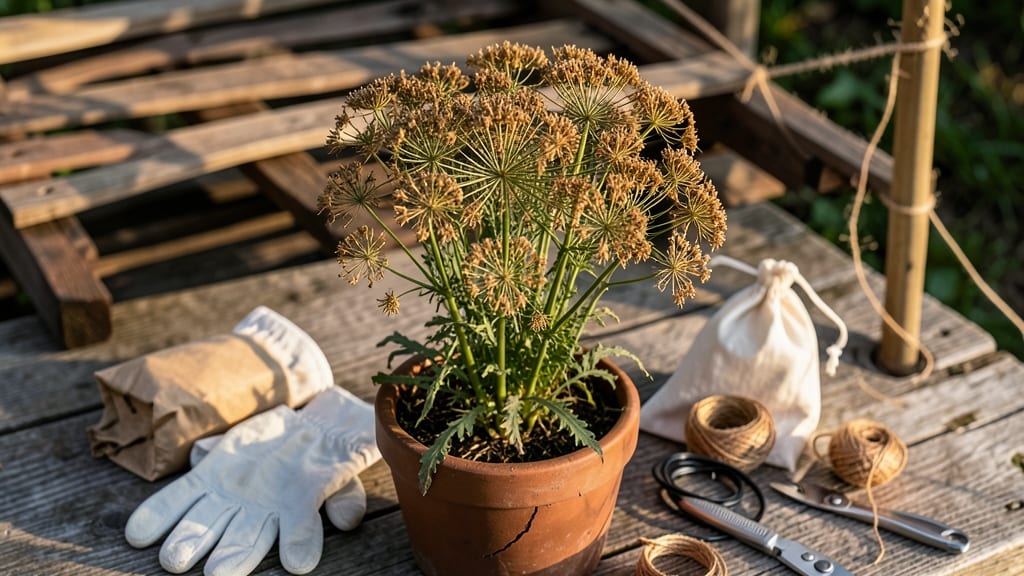
Harvesting dill seeds is how you turn this year’s plants into next year’s garden gold—if you time it right.
Picture this: your dill 🌿 stems are turning brown, the seed heads rattle when you shake them, and the leaves are crisping at the edges. That’s not a sign of neglect—it’s the perfect moment to collect seeds for planting.
But miss it, and you’ll end up with shrivelled, non-viable seeds that won’t sprout. The difference between a successful harvest and a wasted effort comes down to knowing when to act and how to handle the seeds once they’re ready.
In this guide, I’ll walk you through the exact steps to identify ripe dill seeds, the best methods for collecting and drying them, and how to store them so they stay fresh until your next planting season.
Whether you’re a beginner or a seasoned gardener, these tips will help you maximize your seed yield and avoid common pitfalls that lead to wasted harvests.
By the end, you’ll know not just when to harvest but also how to preserve those seeds for years to come—so your kitchen (and garden) stays stocked with fresh dill, season after season.

When to harvest dill seeds: identifying the perfect ripeness stage
Knowing when to harvest dill seeds is the key to collecting high-quality seeds for next year's garden. The perfect ripeness stage occurs when your dill plant naturally transitions from green growth to a dry, brown state.
This shift signals that the seeds inside those feathery umbels are fully mature and ready for collection.
Timing is everything—harvest too early, and your seeds won’t germinate properly. Harvest too late, and they may scatter or lose viability. The ideal moment arrives when the plant’s stems turn woody and brown, and the seed heads begin to pop open naturally.
This usually happens 60-90 days after planting, depending on your climate and growing conditions.
| Stage | Visual Cues | Action | Timing |
|---|---|---|---|
| Early Flowering | Green umbels with white flowers | Allow to mature | 30-45 days after planting |
| Seed Development | Umbels turn yellow-brown, seeds visible | Monitor for browning | 45-60 days after planting |
| Perfect Ripeness | Brown, dry stems; seeds rattle when shaken | Harvest immediately | 60-90 days after planting |
| Overripe | Stems brittle; seeds scatter easily | Collect remaining seeds | 90+ days after planting |
One of the most reliable visual cues is the natural popping sound you’ll hear when you gently shake the seed heads. This indicates the seeds are dry and ready for harvest. Another key sign is the browning of stems, which should feel woody and crisp to the touch.
If you press a finger against the stem and it snaps easily, it’s time to act.
Climate plays a significant role in seed development. In cooler regions, like USDA Zone 5 or 6, dill may take longer to mature, while warmer climates (Zones 7-10) can accelerate the process.
Always watch your plants closely, as sudden temperature drops or unexpected rain can delay ripening or cause seed loss.
If you’re growing dill in containers, be extra vigilant. Potted plants often ripen faster due to limited root space and may need harvesting 1-2 weeks earlier than in-ground varieties.
The same goes for dwarf varieties, which mature quicker than standard types. Always check the seed packet for variety-specific guidelines.
One common mistake is waiting until the entire plant is completely dead. While this may seem like the final stage, many seeds will have already scattered by then. Aim to harvest when about 70% of the umbels are brown and dry, leaving some to continue ripening if needed.
This staggered approach ensures you capture the peak harvest window.
For gardeners in humid climates, like the Southeast, mold or fungal issues can develop on overripe seed heads. If you notice black or fuzzy growth, harvest immediately to avoid spoilage.
In dry climates, like the Southwest, the ripening process may slow down, so monitor your plants daily during late summer.
Pro tip: Use a small mesh bag to cover harvested seed heads if birds or squirrels are a problem. This prevents them from eating or scattering your seeds before you’re ready to collect them.
Once you’ve identified the perfect ripeness stage, move quickly to cut and dry your dill stems properly for maximum seed yield.
Remember, every dill plant is unique. Factors like soil fertility, watering consistency, and even neighboring plants can influence ripening. Pay attention to your garden’s specific conditions, and you’ll master the art of harvesting dill seeds like a pro. 🌿
Step-by-step dill seed harvesting process: from stem to storage
Now that you’ve identified your ripe dill seeds, it’s time to harvest them properly to ensure high viability and long-term storage. The key is speed and precision—once the seed heads are dry, they’ll release seeds easily if left unattended.
Gather your harvesting tools, like sharp pruning shears or scissors, and a clean container to collect the seed heads. Work on a dry, sunny day to speed up the drying process later.
Start by cutting the seed heads from the woody stems when they’re fully brown and dry. Avoid harvesting if the seed heads are still green or if seeds aren’t rattling inside.
Use clean tools to prevent contamination, and lay the seed heads on a paper towel or breathable mesh to air-dry for 1-2 days in a well-ventilated area. This step is crucial to prevent mold and ensure the seeds stay viable.
- Step 1: Cut dry seed heads with clean shears, leaving 1-inch stems attached.
- Step 2: Bundle 5-10 stems together and tie with twine or rubber bands.
- Step 3: Hang bundles upside down in a dry, dark place (e.g., garage or shed) for 1-2 weeks.
- Step 4: Once seeds rattle freely, remove stems and rub heads over a clean sheet to collect seeds.
- Step 5: Store seeds in paper envelopes or glass jars with a silica gel packet to prevent moisture.
After drying, test the seed viability by placing a few seeds in a glass of water. Viable seeds will sink to the bottom, while empty or damaged ones will float. Aim for at least 80% viability before storing.
If viability is low, consider saving only the best seeds for planting. Label your storage containers with the harvest year and plant variety to keep track of your seed collection.
For long-term storage, place seeds in airtight containers like glass jars or vacuum-sealed bags. Store them in a cool, dark place (like a refrigerator or root cellar) where temperatures stay between 32-41°F (0-5°C).
Under these conditions, dill seeds can remain viable for 3-5 years, though germination rates may decline over time. Check containers periodically for signs of mold or pests and transfer seeds to fresh storage if needed.
If you’re short on drying space, you can also use paper bags instead of hanging stems. Place the seed heads in a large brown paper bag, tie it shut, and leave it in a dry, warm spot for 1-2 weeks.
Shake the bag daily to help release any seeds that may have already dried. This method works well for small batches but requires more frequent monitoring to avoid mold.
With these steps, you’ll transform your dill plants into a seed-saving success, ensuring you always have fresh dill for your garden—no store-bought seeds required! 🌱