
How To
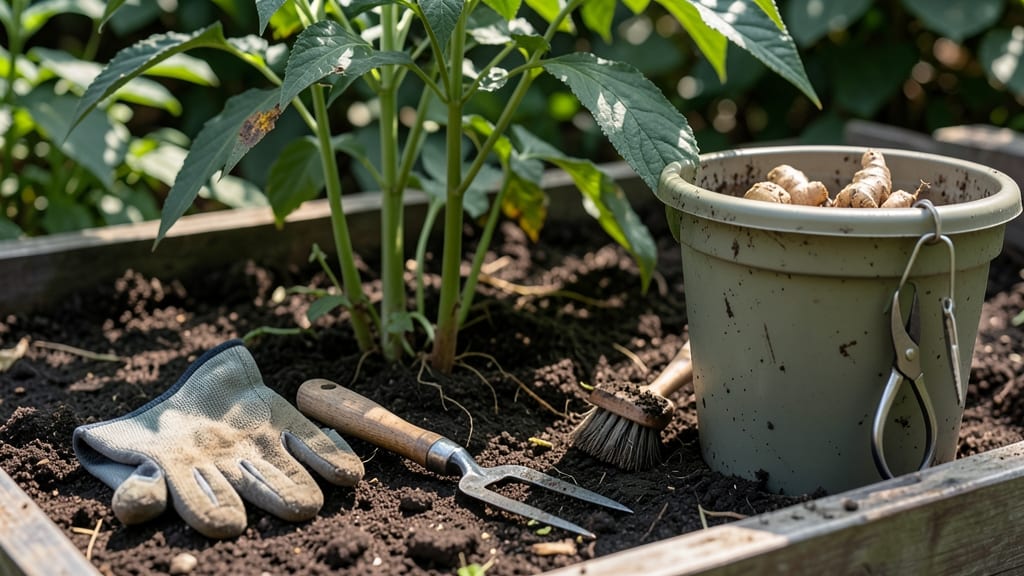
Harvesting ginger root plant at the right time means the difference between sweet, plump rhizomes and bitter, woody roots you’ll regret.
If you’ve spent months nurturing your ginger plant, waiting for those plump, knobby roots to develop, timing your harvest perfectly is the key to avoiding bitter, fibrous ginger—or missing out on a bountiful yield entirely.
Most gardeners in USDA Zone 6a should dig up their ginger in October or November, when the leaves turn yellow and the soil cools. But there’s more to it than just the calendar—root size, leaf color, and even the weather play a role.
In this guide, I’ll walk you through exactly when to harvest for maximum yield, the tools you’ll need, and how to handle those precious rhizomes so they stay fresh and flavorful for months.

When to harvest ginger root: exact timing for sweet, high-yield roots
Timing your ginger harvest is everything—harvest too early, and you’ll get small, underdeveloped roots with a sharp, bitter taste. Wait too long, and the rhizomes may split or become woody.
The ideal window for harvesting ginger is between 6 and 10 months after planting, but this varies by climate and growing conditions.
In temperate zones, like USDA Zone 6a, the best time is late fall or early winter (October-November), when soil temperatures drop below 60°F and the leaves begin to yellow.
In tropical climates, where ginger thrives year-round, you can harvest year-round, but the sweetest, most flavorful roots typically develop during the cooler, drier months. Pay close attention to your plant’s signals—leaf color, rhizome size, and growth patterns will tell you exactly when to dig.
Ignoring these cues can mean the difference between a sweet, aromatic harvest and a disappointing, fibrous mess.
🌱 Key Takeaway: Ginger roots mature slowly, so patience is key. Rushing the harvest leads to poor-quality rhizomes, while waiting too long can result in split or shriveled roots. The goal is to harvest when the plant signals readiness—not a day later.
The first sign that your ginger is ready for harvest is the yellowing of the leaves. Unlike many plants, ginger doesn’t drop its leaves all at once—instead, they gradually turn yellow or brown and wither.
This is your plant’s way of saying, “I’ve stored all my energy in the roots—now it’s time to harvest!” Pair this with firm, plump rhizomes that are at least 2-3 inches long. If you gently tug on the leaves and they pull out easily, the roots are likely mature.
In temperate climates, the first frost is another critical cue. Ginger is not frost-tolerant, so if temperatures drop below 32°F, the rhizomes can suffer damage. Aim to harvest 2-3 weeks before the first frost to ensure you get the best-quality roots.
In USDA Zone 6a, this typically means harvesting in late October or early November. If you miss this window, the roots may still be usable, but their flavor and texture will decline.
For tropical growers, the timing is more flexible, but the principle remains the same: harvest when the leaves start to yellow.
In regions with distinct wet and dry seasons, the dry season is often the best time to harvest, as the cooler temperatures and reduced moisture help the rhizomes sweeten.
If you’re growing ginger in a container, check the roots every 2-3 months after the 6-month mark—they can mature faster in confined spaces.
One common mistake is waiting until the leaves are completely dead before harvesting. By this point, the rhizomes may have already started to shrink or split. The sweetest, most flavorful ginger is harvested when about 60-70% of the leaves have turned yellow.
This balance ensures the roots have fully developed their sugars and aromatic compounds without becoming overripe. If you’re unsure, you can always dig up one rhizome as a test—if it’s firm and well-formed, the rest are likely ready.
Another key indicator is the growth rate of the plant. If your ginger’s foliage has slowed significantly—adding only a few new leaves per week—this is a strong signal that the plant is redirecting its energy to the roots.
Combine this with soil temperature drops below 60°F, and you’ve got the perfect storm for a
Step-by-step ginger root harvesting guide: tools, techniques, and common mistakes
Now that you’ve waited patiently for your ginger rhizomes to mature, the actual harvest is a delicate process that can make or break your yield. The wrong technique can damage those fleshy roots, leaving them bruised or exposed to rot.
I’ve learned from experience that using the right tools and handling methods is just as important as timing.
Ginger thrives in cool fall weather, typically between October and November in USDA Zone 6a. This is when the leaves naturally yellow and die back, signaling it’s time to dig. But even with perfect timing, mistakes like overhandling or improper curing can turn your harvest into a loss.
Before you start, gather your tools: a garden fork, pruning shears, a bucket of water, and a clean, dry workspace. These essentials will help you harvest ginger roots without damage while keeping them fresh for storage or immediate use.
⚠️ callout-warning⚠️ 3 Fatal Mistakes That Ruin Ginger Quality
Avoid these common errors to preserve your harvest:
- 🚫 Digging too early – Underdeveloped rhizomes stay small and fibrous.
- 🚫 Skipping curing – Freshly dug ginger rots quickly without proper drying.
- 🚫 Storing damp roots – Moisture leads to mold and spoilage within days.
Pro tip: Cure ginger for 7-10 days in a dry, shaded area before storage.
Start by gently loosening the soil around your ginger plants with a garden fork. Insert the fork about 6 inches away from the plant and pry upward to avoid cutting the rhizomes.
If the soil is too hard, use a hand trowel to loosen it first—this prevents damage to the delicate roots.
Once the rhizomes are exposed, carefully lift them from the soil, shaking off excess dirt. Be extra gentle with the neck (the stem area) to avoid breaking it, as this is where new sprouts will emerge if you replant.
Place the harvested ginger in a bucket of water to rinse off any remaining soil.
After rinsing, let the rhizomes air-dry for 2-3 hours in a well-ventilated area before curing. This step is crucial—it prevents rot during storage. Once dry, move them to a cool, dark place (like a garage or basement) for 7-10 days to cure fully.
Proper curing removes excess moisture and enhances flavor.
Store cured ginger in a paper bag or mesh sack in a cool, dry location (around 60-65°F) for up to 6 months. Avoid plastic bags, as they trap moisture and cause mold. With these steps, you’ll enjoy sweet, high-quality ginger straight from your garden all winter long!