
How To
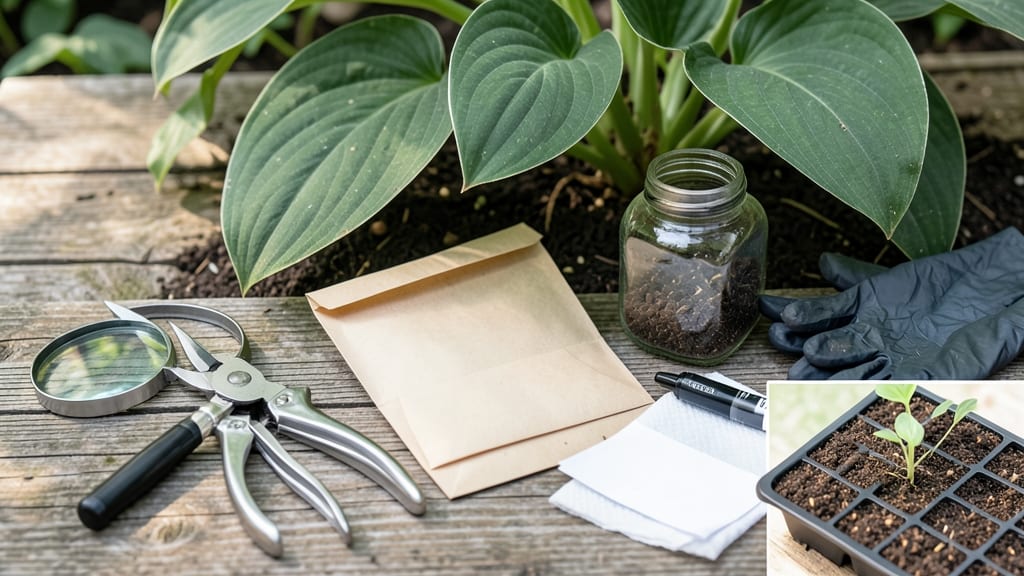
Harvesting hosta seeds at the right moment turns those unassuming brown pods into your next batch of free plants 🌿—and missing the window means losing your chance entirely.
If you’ve ever watched seed pods turn from green to dry only to wonder, "Did I wait too long?" you’re not alone. The difference between a thriving harvest and a wasted effort often comes down to timing—and a few simple tricks to spot the perfect moment.
In this guide, I’ll walk you through how to identify ripe seed pods, the exact steps to collect and clean them, and how to store them for the highest germination rates. No more guesswork, just reliable results for your garden.
You’ll learn when to act (hint: it’s not when the pods first brown), how to tell if seeds are ready to pick, and the one mistake that ruins more harvests than any other. Let’s get those hosta seeds growing!

When to harvest hosta seeds: identifying ripe seed pods
Harvesting hosta seeds at the perfect moment ensures strong germination rates for next season's plants. The key lies in observing visual cues and understanding the natural lifecycle of hosta seed pods.
Unlike many plants, hostas develop seeds in late summer, but the harvest window is narrow—miss it, and your seeds may lose viability or scatter before collection.
Seed pods begin as small, green buds in early summer, eventually maturing into brown, papery structures by late September or October. This color change signals the ideal harvest time, but there's more to consider than just color.
Environmental factors like temperature drops and humidity levels also play crucial roles in determining when your hosta seeds are truly ready for collection.
The color transformation from green to brown is your first clue, but don't rely solely on this. A mature hosta seed pod will also feel lightweight and papery when touched. Gently squeeze it—if it splits open or seeds rattle inside, you've hit the sweet spot for harvest.
This typically occurs when daytime temperatures begin dropping below 60°F (15°C), signaling the plant's natural transition to dormancy.
Pay attention to the seed rattling test, which is the most reliable indicator. Hold a pod over a white surface and shake it gently. If you see dark seeds (not powdery residue) falling out, they're ready. Powdery contents mean the seeds have already dispersed or are non-viable.
This test should be performed on 3-5 pods to ensure consistency across your hosta plant.
Environmental factors like humidity and rainfall can accelerate or delay pod maturation. In dry climates, pods may dry out faster, while humid conditions can prolong the process. If you're in a coastal area, expect pods to stay green longer.
Conversely, inland regions with crisp autumn air will see faster maturation. Monitor your local weather forecasts for the first frost date—harvest should occur 1-2 weeks before the first expected frost.
Another key visual cue is the hosta foliage. As seed pods mature, the leaves begin yellowing and dying back, a natural signal that the plant is redirecting energy to seed production. If you notice more than 30% of leaves turning brown, it's time to act quickly.
Delaying harvest beyond this point risks seed loss as pods may open prematurely or be damaged by frost.
Timing your harvest correctly also depends on the specific hosta variety. Some large-leafed cultivars like 'Blue Angel' produce seeds earlier than smaller varieties like 'Halcyon'. Always check 3-4 pods per plant to account for variability.
If you're unsure, err on the side of earlier harvest—you can always store seeds for a few weeks to test viability, but overripe pods won't recover.
One common mistake is harvesting when pods are partially dry. These seeds may appear viable but often fail to germinate. To test readiness, cut open a pod and examine the seeds. They should be plump and dark, not shriveled or hollow.
If they crumble when touched, they're past their prime. Remember, seed viability drops by 50% within 24 hours of pods fully opening naturally.
For gardeners in warmer climates (zones 8-10), hosta seed pods may mature as early as August. In colder regions (zones 3-5), wait until late October. Always harvest on a dry, sunny morning to prevent mold growth during collection.
Use clean pruning shears to cut pods from the stem, leaving a 1-inch stem attachment to preserve seed integrity.
Harvesting hosta seeds: step-by-step process for maximum yield
Now that you’ve spotted those ripe hosta seed pods, it’s time to act fast before the seeds scatter or lose viability. The process is straightforward, but a few key steps will make all the difference between a bountiful harvest and wasted effort.
Grab your tools, and let’s turn those pods into next season’s free plants.
You’ll need just a few simple supplies: sharp scissors or pruners, a paper bag or envelope for collection, and a drying tray lined with paper towels. Avoid plastic bags—they trap moisture and promote mold. With these basics, you’re ready to maximize your yield.
-
Step 1: Collect the Pods
Use clean scissors to snip pods when they’re dry and brown. Place them in a paper bag to prevent moisture buildup. Avoid crushing pods—this releases seeds prematurely. -
Step 2: Dry the Pods
Spread pods on a paper towel in a well-ventilated area for 3-5 days. This ensures seeds inside are fully dry. Avoid direct sunlight, which can overheat them. -
Step 3: Extract the Seeds
Gently squeeze or rub dried pods between your fingers to release seeds. Use a fine mesh sieve to separate seeds from chaff. Discard any black or shriveled seeds—they won’t germinate. -
Step 4: Clean the Seeds
Rinse seeds in cool water to remove debris, then pat dry with a paper towel. Let them air-dry for 24 hours before storing. This step prevents mold during storage. -
Step 5: Store Properly
Place seeds in a paper envelope or airtight container with a desiccant packet. Label with the harvest date and store in a cool, dark place (like a fridge). Viability lasts 1-2 years if stored correctly.
Timing is critical during the drying phase—over-drying can reduce germination rates, while under-drying risks mold. Aim for pods that split open easily when gently pressed. If seeds feel damp inside, let them dry longer in a shady spot.
Once your seeds are clean and dry, resist the urge to rush into planting. Hosta seeds benefit from a cold stratification period to mimic winter conditions. Place them in the fridge for 4-6 weeks before sowing in spring. This trick boosts germination rates from 30% to 70%.
With your seeds stored properly, you’re ready to sow them in spring under partial shade. Keep the soil consistently moist until germination, which typically takes 2-4 weeks. Patience pays off—you’ll soon have a new generation of hostas to enjoy.