
How To
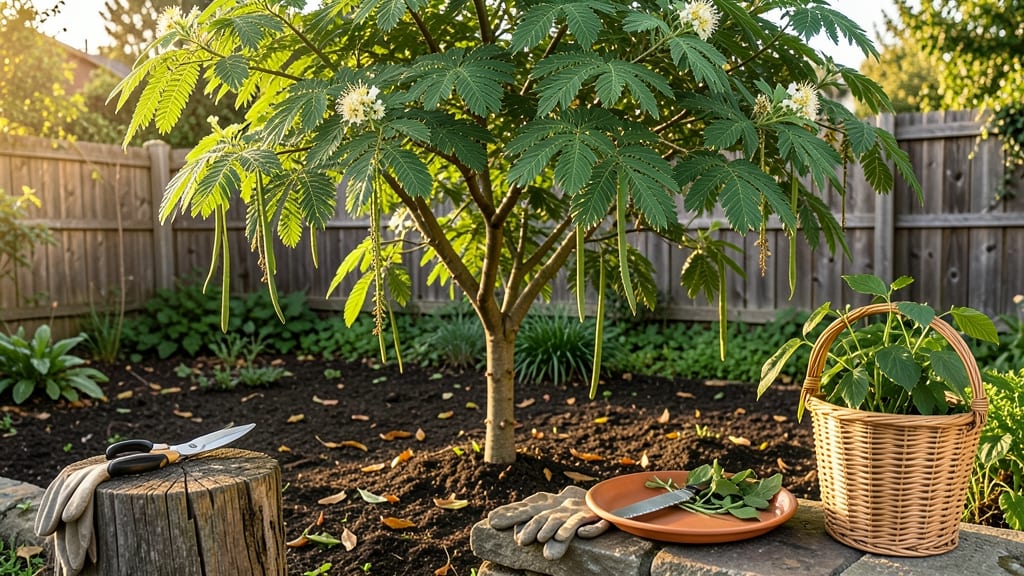
To harvest moringa leaves at their peak nutrient level, focus on young, tender growth—typically the first three to four sets of leaves after a flush of new growth.
Picture this: your 🌱 moringa plant thriving in your backyard or sunny windowsill, its leaves packed with 7x more vitamin C than oranges. But harvest too late, and those nutrients start to fade—along with the flavor.
Timing is everything, and the right technique keeps your plant happy and productive for years.
Whether you’re growing moringa in USDA Zones 9-11 or coaxing it along indoors in cooler climates, knowing when to snip—and how—makes all the difference. We’ll break down the exact signs to watch for, the best tools to use, and how often you can safely harvest without stressing the plant.
By the end, you’ll know how to turn your moringa into a year-round harvest of fresh, nutrient-dense greens—without overdoing it. No more guesswork, just a steady supply of this superfood right from your own garden.

Optimal timing and techniques for harvesting moringa leaves
Timing your moringa leaf harvest correctly ensures you capture the peak nutrient density and flavor these leaves are famous for. Young leaves, especially the first 3-4 sets of new growth, contain the highest levels of vitamins A, C, and calcium.
Waiting too long reduces their nutritional value and can stress your plant.
For maximum yield, I recommend harvesting when leaves reach 3-5 inches long and are a vibrant dark green color. This typically occurs 6-8 weeks after planting, but it depends on your climate and growing conditions.
In warmer zones (like USDA 9-11), you can harvest year-round, while cooler climates may need to wait until spring or summer.
Now, let's break down the best harvesting techniques to avoid damaging your moringa plant. The two most common methods are hand-picking individual leaves and pruning entire branches. Each has its advantages, and I'll explain when to use each for optimal results.
Hand-picking is ideal for small-scale harvesting and maintains the plant's shape. Simply pinch off leaves with your fingers, avoiding the woody stems to encourage new growth. This method is perfect for continuous harvests every 2-4 weeks without causing stress.
Branch pruning, on the other hand, is best for larger harvests or when you notice overgrowth. Use clean, sharp pruning shears to cut just above a leaf node. This encourages bushier growth and prevents the plant from becoming leggy or woody.
Choosing the right harvesting tools makes all the difference. For small-scale harvesting, your fingers work perfectly—just ensure your nails are clean to avoid contaminating the leaves. For larger harvests or pruning, invest in a sharp pair of pruning shears or small scissors to make clean cuts.
Avoid using dull tools, as they can crush stems and damage the plant. I also recommend disinfecting your tools with rubbing alcohol between uses to prevent the spread of disease. This is especially important if you're harvesting multiple plants in your garden.
One common mistake I see is over-harvesting moringa leaves. While these plants are resilient, removing more than 30% of the foliage at once can stress the plant and reduce future yields.
Always leave enough leaves to support photosynthesis and new growth. If you notice yellowing leaves or stunted growth, you're likely harvesting too aggressively.
To encourage continuous growth, I suggest alternating harvests between different branches. This ensures your moringa plant maintains a balanced shape and keeps producing fresh, nutrient-rich leaves. After harvesting, give your plant a light fertilizer and deep watering to support recovery.
Finally, remember that seasonal changes affect harvest timing. In cooler climates, growth slows in winter, so I reduce harvesting frequency to every 6-8 weeks during this time. In tropical zones, you can harvest more frequently, but always monitor the plant's health and adjust accordingly.
By following these timing and technique tips, you'll enjoy a steady supply of nutrient-dense moringa leaves while keeping your plant thriving. Happy harvesting! 🌿✂️🌱
Step-by-step guide to proper moringa leaf harvesting methods
Harvesting moringa leaves at the right stage ensures you get the highest nutrient density and best flavor. The key is to focus on the youngest, most tender leaves—typically the first 3-4 sets of leaves that emerge after new growth flushes.
These leaves are packed with vitamins, minerals, and antioxidants and taste milder than older leaves.
Timing matters too. Wait until your 🌱 moringa plant has grown at least 6-8 weeks after planting, and the leaves reach 3-5 inches long. Harvesting too early can stunt growth, while waiting too long reduces nutrient levels. Now, let’s dive into the exact steps to harvest like a pro.
How to Harvest Moringa Leaves
- 🌱 Choose the right leaves: Look for the first 3-4 sets of leaves on each branch—these are the youngest and most nutritious. Avoid harvesting leaves that are woody or brown.
- ✂️ Use clean, sharp pruners: Sterilize your pruning shears or scissors with rubbing alcohol to prevent disease. Cut just above a leaf node (the bump where leaves grow) to encourage new growth.
- 🌿 Harvest selectively: Never remove more than 25-30% of the plant’s foliage in one session. Focus on outer leaves to avoid stressing the center. For container plants, limit harvests to 10-15 leaves per week.
- 💧 Water thoroughly after harvesting: Give your plant a deep watering to replenish moisture lost during pruning. This supports regrowth and prevents stress.
- 🌱 Fertilize lightly post-harvest: Apply a balanced fertilizer (10-10-10) or compost tea 3-5 days after harvesting to boost recovery. Avoid heavy fertilizers, which can burn tender new growth.
One common mistake is over-pruning, which can shock your moringa plant and slow down regrowth. If you notice yellowing leaves or stunted growth after harvesting, cut back on frequency and focus on smaller, more selective harvests.
Your goal is to maintain a healthy balance between yield and plant vitality.
For container-grown moringa, harvesting is slightly different. Since roots are confined, limit harvests to once every 2-3 weeks and avoid removing more than 10-15 leaves per session. Container plants are more sensitive to stress, so monitor their water and nutrient needs closely after each harvest.
After harvesting, store your leaves in a paper towel-lined container in the fridge for up to 5 days or dry them in a shady, well-ventilated area for long-term storage. Dried moringa leaves retain their nutrients for up to 6 months if stored in an airtight container away from light.
With these steps, you’ll enjoy a steady supply of fresh moringa leaves while keeping your plant thriving for years to come. Happy harvesting! 🌿