
How To
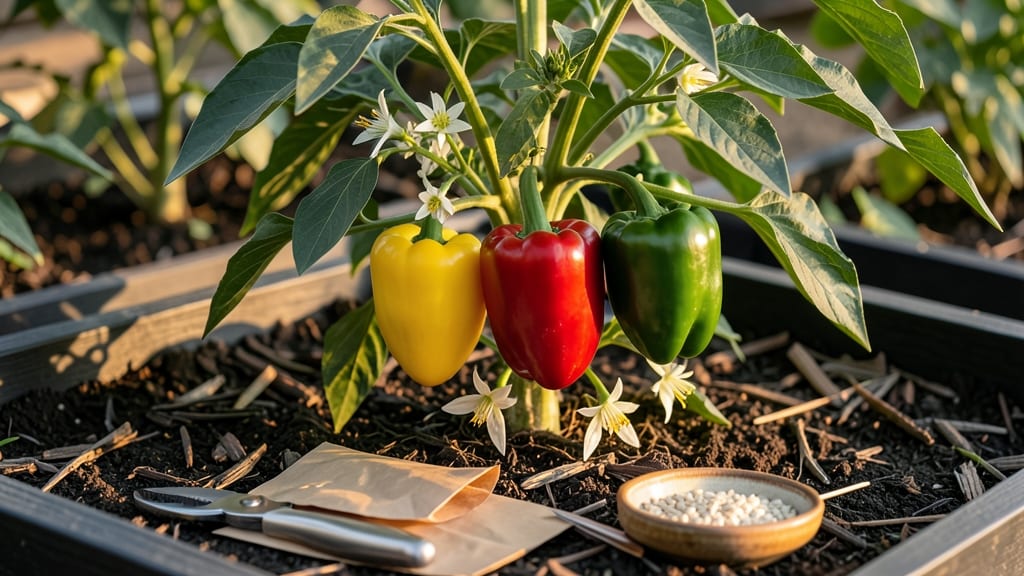
Harvesting pepper seeds from your homegrown 🌶️ plants is the best way to save rare varieties and skip the store every season—but timing and drying make all the difference.
Picture this: you’ve grown a prized heirloom pepper that thrives in your garden, but if you don’t harvest the seeds at the right moment, they’ll either fail to sprout or lose viability before next spring.
The secret? Knowing when the seeds are fully mature inside the pepper and how to dry them properly to last for years.
Most gardeners overlook the 30-60 day window after flowering when seeds ripen, or they rush the drying process, which leads to mold or weak germination. I’ve made those mistakes—and learned the exact steps to avoid them, from fermentation tricks to storage hacks that keep seeds viable for planting.
In this guide, I’ll walk you through when to collect seeds, how to extract them without damaging viability, and the foolproof drying method that’s saved my favorite peppers for multiple growing seasons. Ready to become self-sufficient with your own seed stash?


When and how to identify pepper seeds ready for harvesting
Knowing when to harvest pepper seeds is crucial for saving viable, high-quality seeds from your garden. The process begins 30 to 60 days after flowering, when peppers reach full maturity.
At this stage, the seeds inside have fully developed and are ready for extraction. Missing this window means seeds may not germinate properly, wasting your effort and resources.
Start by selecting the healthiest, most mature peppers from your plants. Look for peppers that have reached their full color and size for their variety—whether that’s deep red, yellow, or green. Avoid peppers that are soft, wrinkled, or showing signs of disease, as these won’t yield good seeds.
The key is to harvest when the pepper is at its peak but still firm.
Inside a mature pepper, you’ll find fully formed seeds that are plump, dark, and often surrounded by a gel-like substance. This gel isn’t just moisture—it’s a natural barrier that protects the seeds.
When you cut open a ripe pepper, you’ll notice the seeds are embedded in a thick, jelly-like pulp. This is your first visual cue that the seeds are ready for harvesting.
Pay attention to the seed color and texture as a final check. Mature pepper seeds are typically dark brown or black, depending on the variety. They should feel firm and dry to the touch, not mushy or translucent.
If the seeds are still light-colored or squishy, give the pepper more time to ripen on the plant.
| Stage | Days Post-Flowering | Visual Cues | Action |
|---|---|---|---|
| Early Development | 0-20 days | Pepper is small, green, and firm | Monitor growth, avoid harvesting |
| Maturing | 20-40 days | Pepper reaches 75% of final size, color deepens | Check for firmness, avoid soft spots |
| Seed Ready | 30-60 days | Pepper is full-sized, firm, and glossy; seeds are dark and dry | Harvest, extract seeds, and dry |
| Overripe | 60+ days | Pepper is wrinkled, soft, or moldy; seeds may be non-viable | Discard or compost |
For hot peppers, like jalapeños or habaneros, the seeds are often surrounded by a white, membrane-like sac. This sac is a good indicator that the seeds are mature and ready for harvesting.
In contrast, bell peppers have seeds embedded in a thicker, jelly-like pulp. Regardless of the variety, always harvest when the pepper is fully ripe to ensure the best seed quality.
If you’re unsure whether a pepper is ready, perform a simple firmness test. Gently press the pepper with your thumb—if it gives slightly but doesn’t feel mushy, it’s likely ready.
Overripe peppers will feel soft and may even start to rot, making them unsuitable for seed saving. Timing is everything, so don’t rush the process.
Another pro tip: harvest peppers in the morning when temperatures are cooler. This helps preserve the seeds’ moisture content and reduces the risk of spoilage during extraction. Work quickly to avoid exposing the seeds to excessive heat or humidity, which can compromise their viability.
Once you’ve identified the perfect pepper, cut it open and examine the seeds closely. If they’re dark, dry, and firmly attached to the pulp, they’re ready for extraction. If you see any signs of mold, discoloration, or sliminess, discard that pepper immediately—these are red flags for poor seed quality.
Remember, seed-saving is a year-round investment in your garden’s future. By mastering the art of identifying ripe peppers and harvesting their seeds at the right time, you’ll ensure a steady supply of high-quality seeds for years to come.
Start with a few peppers this season, and soon you’ll be a seed-saving expert!
Step-by-step guide to extracting and drying pepper seeds for maximum viability
Once you’ve selected your ripe peppers with fully developed seeds, the next critical step is proper extraction and drying. This process ensures high germination rates and preserves seed viability for 2+ years of storage.
The method you choose—fermentation or immediate drying—depends on your pepper variety and goals. Let’s break it down into clear, actionable steps to maximize your success.
For most heirloom and open-pollinated peppers, fermentation is the gold standard because it removes gelatinous seed coatings and reduces disease risk. However, if you’re working with hybrid varieties or need seeds quickly, immediate drying can work.
The key is consistency in temperature and humidity control to prevent mold or premature drying.
- 1 Prepare the peppers: Cut open 3-5 fully ripe peppers (avoid soft or overripe ones) and scoop out seeds and gelatinous pulp into a clean bowl. Use a spoon to avoid crushing seeds.
- 2 Ferment for 3-5 days: (Recommended for heirlooms) Place seeds in a glass jar, cover loosely with a lid, and let ferment at 70-80°F (21-27°C). Stir daily to prevent mold. Fermentation breaks down seed coatings and kills pathogens.
- 3 Rinse and strain: After fermentation, rinse seeds in a fine-mesh strainer with cool water to remove pulp. Gently rub seeds between fingers to remove slimy residue. Let air-dry for 10 minutes.
- 4 Dry seeds thoroughly: Spread seeds in a single layer on a paper towel or seed drying screen. Place in a warm, dry location (e.g., 70-80°F (21-27°C)) with low humidity (below 40%). Avoid direct sunlight to prevent overheating.
- 5 Test for dryness: Seeds are ready when they sound hollow when shaken and break easily between fingers. This typically takes 1-2 weeks, depending on humidity.
- 6 Store properly: Transfer dried seeds to paper envelopes or glass jars with silica gel packets to absorb moisture. Label with variety name and harvest year. Store in a cool, dark place (e.g., 35-40°F (2-4°C)) for long-term viability.
If you skip fermentation, dry seeds immediately after rinsing to avoid mold. However, fermented seeds often have higher germination rates because the process removes inhibitors. For hybrid peppers, immediate drying is fine, but expect slightly lower viability over time.
Monitor humidity levels during drying—anything above 50% risks mold. A dehumidifier or fan can help maintain ideal conditions. Once dried, test a few seeds by placing them in a moist paper towel for 5 days; if they sprout, your batch is viable.
With these steps, your pepper seeds can stay viable for 2-5 years, giving you a reliable source of homegrown plants tailored to your climate. Happy seed-saving! 🌱