
How To
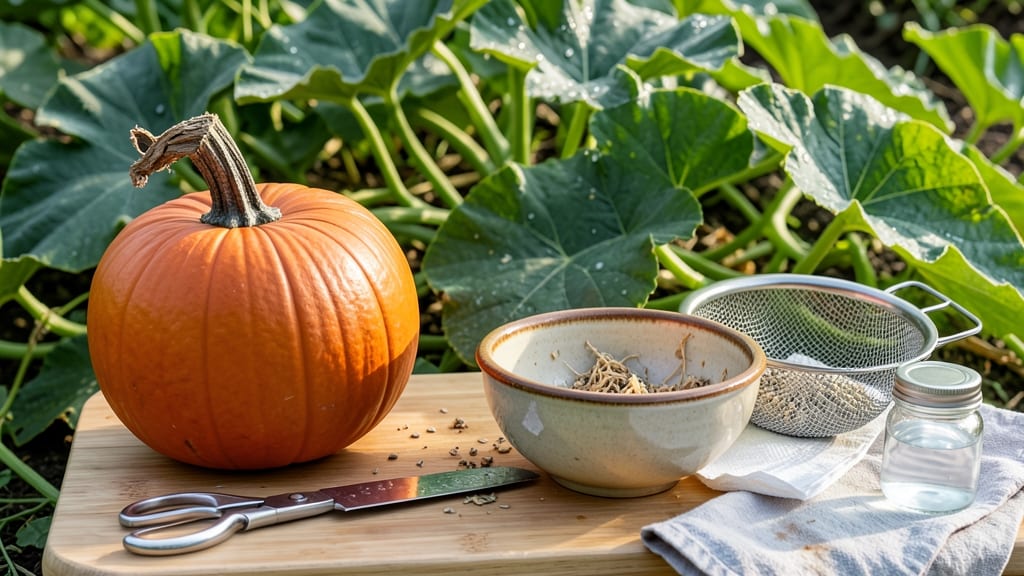
Harvesting pumpkin seeds from a mature 🎃 is simpler than you’d think—and doing it right means the difference between crunchy, nutritious snacks and a moldy mess.
Picture this: You’ve spent months tending to your pumpkins, and now you’re staring at a giant, ripe fruit wondering, ‘How do I even get those seeds out without wasting them?’ The good news?
With just three simple steps, you’ll have perfectly clean, dry seeds ready for roasting in no time.
Timing matters—wait too long, and the seeds turn bitter. Harvest them when the pumpkin’s rind is hard and the stem has dried, then scoop out the seeds with a spoon. Rinse them thoroughly to remove the stringy pulp, and you’re halfway to snack perfection.
In this guide, I’ll walk you through the entire process, from extraction to drying, so you never end up with a batch of seeds that’s either too wet or too stale. Let’s get started!

Step-by-step guide to extracting pumpkin seeds from fresh pumpkins
Harvesting pumpkin seeds is one of my favorite parts of the fall gardening season—it turns a simple pumpkin into a treasure trove of nutritious snacks or future planting material. The key to success lies in timing, the right tools, and gentle handling to avoid damaging the seeds.
Whether you're working with a small sugar pumpkin or a massive carving variety, these steps will ensure you extract clean, viable seeds every time.
Timing is everything when it comes to harvesting pumpkin seeds. Wait until your pumpkin is fully mature—this means the rind is hard and difficult to pierce with your fingernail, and the vines have died back.
If harvested too early, the seeds won’t be fully developed, and if left too long, they may sprout or develop mold. Aim for September to October in most climates, depending on your last frost date.
Before you begin, gather your essential tools: a sharp knife or serrated knife, a large bowl for pulp and seeds, a colander or fine mesh strainer, a spoon for scooping, and paper towels or a clean kitchen towel.
For larger pumpkins, a cutting board will save your countertop from scratches. Pro tip: Wear gloves if you’re squeamish about handling the stringy pulp!
Now, let’s dive into the process with this easy-to-follow step-by-step guide that ensures minimal waste and maximum seed viability.
How to Harvest Pumpkin Seeds: Step-by-Step
-
Step 1: Cut Open the Pumpkin
Use a sharp knife to slice the pumpkin in half horizontally. Place it on a cutting board and cut through the stem first to release any built-up gases. -
Step 2: Scoop Out the Seeds and Pulp
Use a spoon to scrape out the seeds and pulp into a large bowl. For large pumpkins, you may need to scoop from multiple sections. Avoid pressing too hard to prevent crushing the seeds. -
Step 3: Separate Seeds from Pulp
Transfer the mixture to a colander or fine mesh strainer. Rinse under cool water while gently rubbing the pulp with your fingers to dislodge seeds. Discard the pulp—it’s not useful for drying. -
Step 4: Rinse and Inspect Seeds
Rinse the seeds thoroughly to remove any remaining pulp residue. Spread them on a clean towel or paper towels to inspect for damage. Discard any seeds that are shriveled or discolored. -
Step 5: Pat Dry the Seeds
Use another towel to pat the seeds dry. Excess moisture can lead to mold during drying. Aim for seeds that feel damp but not wet to the touch. -
Step 6: Prepare for Drying
Spread the seeds in a single layer on a baking sheet lined with parchment paper. For small batches, use a paper towel. Ensure seeds aren’t overlapping to allow even air circulation.
Once your seeds are prepped, the next critical step is drying them properly to ensure they stay viable for long-term storage or roasting. The drying process removes the last bit of moisture, preventing mold and rancidity.
Place your baking sheet in a warm, dry location away from direct sunlight, like a sunny windowsill or a dehumidifier-free area of your kitchen. Turn the seeds occasionally to ensure even drying, which typically takes 24 to 48 hours depending on humidity levels.
For gardeners in humid climates, speed up the process by using a low-temperature oven set to 170°F (77°C). Spread the seeds on a baking sheet and dry them for 1 to 2 hours, checking frequently to avoid over-drying.
Once fully dry, the seeds should be hard and rattly when shaken in their container. Store them in an airtight container in a cool, dark place for up to 6 months.
If you’re saving seeds for next year’s garden, consider fermenting them for 2-3 days in a jar of water to encourage the weakest seeds to sink. This simple step boosts germination rates by removing non-viable seeds.
After fermenting, rinse the seeds thoroughly and dry them as usual. Now you’re ready to plant or roast—either way, you’ve got a harvest-ready treasure!
Pro tip: Label your seed containers with the pumpkin variety and the harvest year to keep track of your garden favorites. Happy harvesting!
Best methods for cleaning and drying pumpkin seeds for long-term storage
Once you’ve scooped out those pumpkin seeds from your ripe fruit, the next critical steps are cleaning and drying. These processes determine whether your seeds stay fresh for months or turn into a moldy mess.
The cleaning method you choose—whether a gentle rinse or a thorough scrub—directly impacts how well they dry and store.
I’ve tested both air-drying and oven-drying methods, and each has its pros. Air-drying is the most traditional approach, requiring patience but no extra tools. Oven-drying, on the other hand, speeds up the process but demands careful monitoring to avoid burning.
The key to success? Humidity control—seeds need a dry environment to prevent spoilage.
Comparison-table below breaks down the drying methods, including timeframes and ideal conditions for each. Use this as your guide to pick the method that fits your schedule and kitchen setup.
For air-drying, spread your rinsed seeds on a paper towel in a single layer. Place them in a warm, dry spot—like a sunny windowsill—where airflow circulates freely.
Flip the seeds every 12 hours to ensure even drying. If your home is humid, consider using a dehumidifier or a fan to speed up the process.
If you’re short on time, oven-drying is your best bet. Preheat your oven to 170°F (77°C) and spread seeds on a baking sheet lined with parchment paper. Check them every 20 minutes to prevent burning. Once fully dry, they’ll rattle when shaken in the container.
After drying, store your seeds in an airtight container labeled with the date. Keep them in a cool, dark place like a pantry or fridge to extend their shelf life up to 6 months. Avoid plastic bags—they trap moisture and encourage mold growth.
Pro tip: Test a few seeds before storing by pressing them between your fingers. If they snap cleanly, they’re ready. If they feel soft or bend, dry them longer. With these methods, you’ll always have a stash of crunchy, nutritious seeds ready for snacking! 🌱