
How To
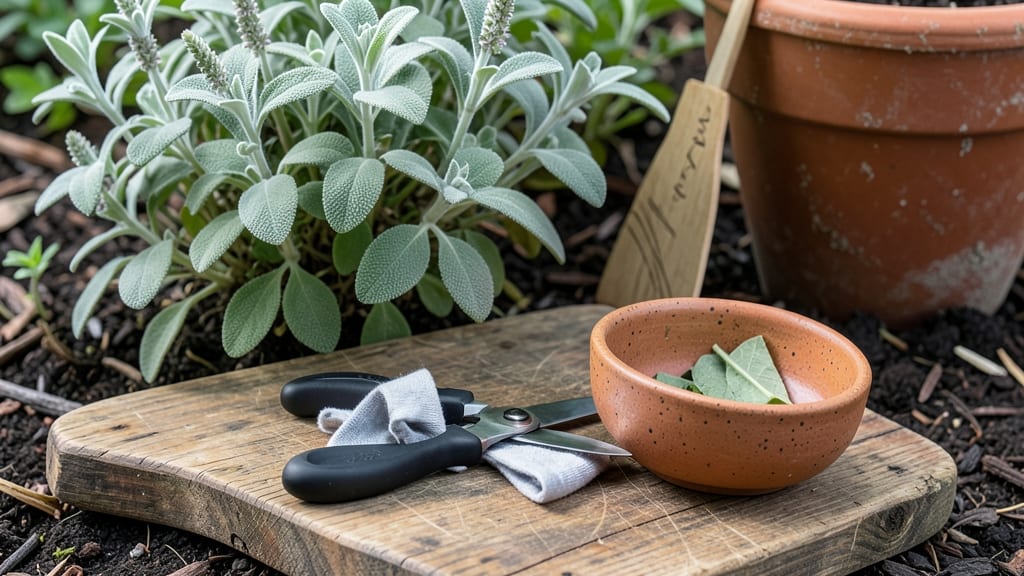
Harvesting sage leaves the right way keeps your 🌿 plant thriving while giving you fresh, fragrant herbs year-round.
Picture this: you’ve spent weeks nurturing your sage, only to snip too much at once and watch it struggle to bounce back. The secret isn’t just when to harvest—it’s how. A little patience and precision go a long way in ensuring your plant stays lush and productive.
Whether you’re a beginner or a seasoned gardener, knowing the best time to trim—late spring through early fall—and which leaves to pick makes all the difference. Skip the guesswork and learn the step-by-step method that keeps your sage happy and your kitchen stocked with flavor.
From identifying the perfect leaves to storing your harvest, this guide covers everything you need to master sage harvesting without damaging your plant. Let’s get started!

Best times and methods for harvesting sage leaves
Harvesting sage leaves at the perfect moment ensures you get the most flavorful, aromatic leaves while keeping your plant healthy. The best time to harvest is when the plant is mature but hasn't yet flowered—typically in late spring through early fall.
In mild climates, you can even harvest year-round, but avoid heavy harvesting in winter when growth slows. I always check for fully developed leaves that are fragrant and tender, not woody or flowered.
Timing matters because once sage flowers, the leaves become bitter and lose their potency. The ideal harvest window is between 90 to 120 days after planting, when the plant reaches 6 to 12 inches tall.
If you wait too long, you risk stunting future growth or damaging the plant's structure. For me, the early morning is the best time to harvest because the leaves are driest and most flavorful after the dew has evaporated.
🌿
| Season | Best Time | Leaf Maturity | Harvest Technique |
|---|---|---|---|
| Spring | Late May - June | Fully developed, tender leaves | Cut 1/3 of stems, 6 inches from base |
| Summer | July - August | Aromatic, slightly woody stems | Trim outer growth, avoid center stems |
| Fall | September - Early October | Mature but pre-flowering | Light harvest, focus on new growth |
| Winter | Avoid heavy harvest | Dormant or weak growth | Minimal pruning, no leaf removal |
When harvesting, I always use clean, sharp pruning shears to make precise cuts just above a leaf node or set of leaves. This encourages the plant to branch out and produce more leaves.
Avoid cutting into woody stems or the center of the plant, as this can damage the sage's growth habit. Instead, focus on the outer stems where new growth is happening.
One of my biggest mistakes early on was harvesting too much at once, which left my sage looking ragged and stunted. I learned that never removing more than 1/3 of the plant in a single session is key.
This rule applies whether you're harvesting for culinary use or medicinal purposes. For example, if your sage is 12 inches tall, I’d only trim stems that are about 6 inches long to leave room for regrowth.
You’ll know your sage is ready for harvest when the leaves are large, aromatic, and tender. Run your fingers over the leaves—if they feel soft and release a strong, earthy scent, they’re perfect.
If the leaves are small, sparse, or lack fragrance, wait a few more weeks. Over-harvesting can stress the plant, so always leave enough foliage to keep it photosynthesizing and growing.
If your sage starts to flower, it’s a clear sign to stop harvesting leaves for culinary or medicinal use. The flavors become bitter, and the plant’s energy shifts from leaf production to seed development.
Instead, let the flowers go to seed if you want to collect seeds for propagation, or simply prune them back to encourage more leafy growth for next season.
After harvesting, I always sanitize my tools with rubbing alcohol to prevent the spread of disease. This is especially important if you’re growing multiple herb varieties in your garden.
Store harvested sage leaves in a paper bag in a dry, shaded area for a few days to air-dry, or use a food dehydrator set to 95°F (35°C) for faster results. Proper storage ensures your leaves retain their flavor and potency for months.
In colder climates, I avoid harvesting sage in the late fall and winter months. The plant enters dormancy, and new growth slows significantly. Instead, I focus on light pruning to shape the plant and remove any dead or damaged stems.
This keeps the sage healthy and ready to burst into growth when spring arrives.
For those growing sage in containers, the same rules apply, but be extra mindful of space. Since container-grown sage has limited room, I harvest even more conservatively—only taking what I need and leaving plenty of foliage to support future growth.
Over time, this practice helps maintain a bushier, more productive plant.
🌱
Pruning sage for regrowth: what to cut and when
Pruning your sage plant isn’t just about keeping it tidy—it’s a crucial step to encourage bushier growth and prevent legginess. When done right, pruning stimulates new shoots and keeps your plant healthy for years.
But timing and technique matter more than you might think. Cut too much at once, and you risk shocking your sage into dormancy.
For most gardeners, the best time to prune sage is early spring or right after harvesting. This gives your plant plenty of time to recover before the growing season peaks.
If you’re dealing with an overgrown or leggy plant, focus on shaping it gradually rather than giving it a drastic haircut.
⚠️ WARNING: Avoid Heavy Pruning in Late Summer or Fall Pruning sage too late in the season can stunt its growth before winter. Sage is a perennial herb, meaning it comes back every year, but it needs time to harden off.
Cutting back too aggressively in late summer can leave it vulnerable to frost damage. If you must prune in fall, limit yourself to light shaping—never more than 1/3 of the plant’s foliage at once.
✂️ Key Rule: Never remove more than 25-30% of the plant’s growth in a single session.
Sage is resilient, but it can’t bounce back from drastic pruning. Always leave at least half the leaves intact to ensure photosynthesis continues.
Start by identifying the oldest stems—these are usually the ones with woody bases and sparse leaves. These stems are past their prime and should be the first to go.
Use clean, sharp bypass pruners or shears to make clean cuts just above a leaf node. This encourages new growth from that spot.
If your sage looks leggy or sparse, focus on trimming the tips of the longest stems to redirect energy toward shorter, bushier branches. This technique, called pinching, works wonders for compacting growth.
For a more dramatic change, prune back 1/3 of the plant’s height in early spring, but only if your sage is established and healthy.
After pruning, give your sage a light fertilizer to support regrowth. A balanced 5-10-10 NPK ratio works well, but avoid heavy doses—sage prefers lean soil. Water deeply after pruning to help the plant recover, but don’t overdo it. Sage is drought-tolerant and can suffer from root rot if soggy.
With the right pruning routine, your sage will reward you with lush, aromatic foliage year after year. The key is patience—small, strategic cuts yield the best results. Over time, you’ll develop an eye for when your plant needs a trim, and your sage will thrive for decades. Happy pruning! 🌿✂️