
How To
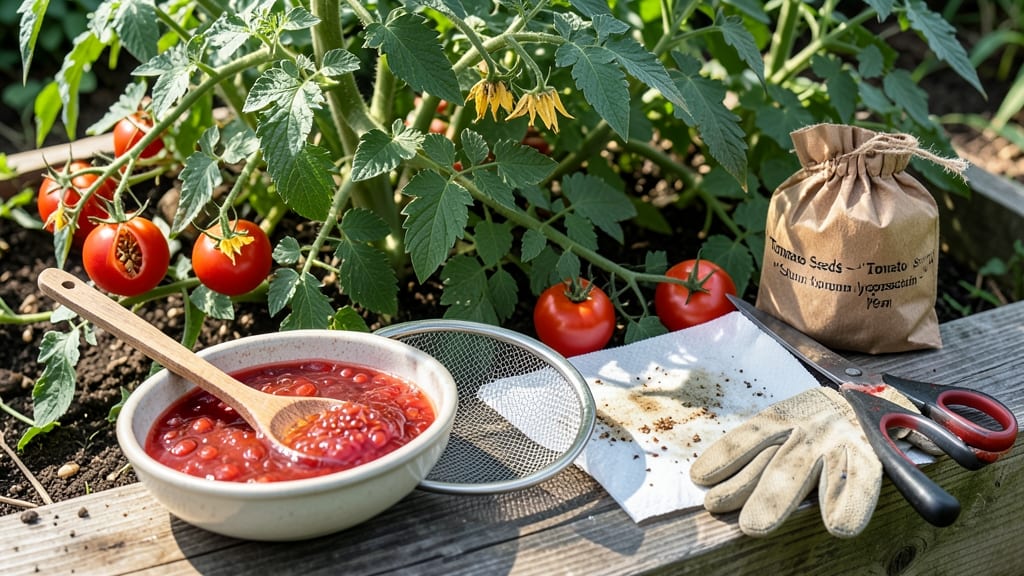
Harvesting tomato seeds for next year is one of the most rewarding ways to preserve your favorite 🍅 varieties—and it’s easier than you think.
Picture this: You’ve just pulled the last of your heirloom tomatoes, but instead of tossing the squishy, overripe ones, you’re saving them for next season. With just a few simple steps, those "garden rejects" can become the seeds for your future harvests, locking in flavors and traits you love.
Most gardeners skip this step, assuming it’s complicated or time-consuming. But the truth is, you can ferment, dry, and store seeds in less than 30 minutes of active work—and with the right methods, your germination rates will stay high for years.
Below, I’ll walk you through the exact process I use to extract, clean, and store seeds so they’re ready to plant when spring rolls around. No fancy equipment needed—just a little patience and the right timing.


Step-by-step guide to extracting tomato seeds from ripe fruit
Saving tomato seeds is one of the most rewarding parts of gardening—it connects you directly to next year’s harvest. The key lies in proper seed extraction and fermentation, which removes gelatinous pulp and ensures viable seeds.
Whether you’re preserving heirloom varieties or simply reducing waste, this method works for all tomato types, from cherry tomatoes to beefsteak varieties. Start with tomatoes that are fully ripe but slightly overripe—they’ll yield the best seeds.
Timing is everything when harvesting tomatoes for seeds. Pick fruits that are fully colored (no green shoulders) and slightly soft to the touch, often called "blush" or "sun-ripened." Avoid tomatoes harvested too early—they won’t produce mature seeds.
If your garden produces overripe tomatoes, these are perfect for seed saving since they’ve completed their natural cycle and contain fully developed seeds.
Once you’ve selected your tomatoes, cut them open to reveal the gelatinous seed gel. This slimy substance contains both seeds and a natural fungal inhibitor that prevents premature germination. Your goal is to separate the seeds from this gel through a simple fermentation process.
This step mimics nature’s way of cleaning seeds—just like how seeds would naturally disperse in the wild.
Here’s how to turn those ripe tomatoes into clean, dry seeds ready for storage:
The fermentation process is where the magic happens—it removes the natural inhibitors that would otherwise prevent seeds from germinating. If you notice a slightly foul odor during fermentation, don’t worry; this is normal and indicates the gel is breaking down.
However, if you see mold growth (fuzzy spots), discard the batch immediately and start over with fresh tomatoes.
Once your seeds are fully dried, they’ll turn a dark brown or black color and feel brittle to the touch. This is your cue that they’re ready for long-term storage. Store them in a paper envelope or glass jar with the variety name and harvest year labeled.
Keep them in a cool, dark place (like a seed vault or refrigerator) where they’ll stay viable for 3-5 years.
Pro tip: Label your seed packets with the tomato variety, harvest date, and any notes about color or flavor traits. This ensures you’ll remember which seeds to plant next spring—especially important for heirloom varieties with unique characteristics. A little organization now saves time (and heartache) later!
With these simple steps, you’ll have a stash of homegrown tomato seeds ready to kickstart your next growing season. Plus, there’s nothing quite like the satisfaction of watching a plant grow from a seed you saved yourself—it’s a full-circle gardening experience! 🌱
How to test seed viability and store them properly for germination
Before storing your freshly harvested tomato seeds, it’s crucial to test their viability. Even the best seeds can lose potency if stored improperly, so this step ensures you’re not wasting time planting seeds that won’t sprout.
A simple paper towel test takes just a few days and gives you clear results.
Start by placing a moist paper towel on a plate and spreading 10-15 seeds evenly across it. Fold another towel over the top to keep moisture trapped. Store the plate in a warm, dark place (like a cabinet) and check daily.
After 3-5 days, healthy seeds will sprout tiny roots, while non-viable seeds remain unchanged.
| Storage Condition | Ideal Specification | Germination Impact |
|---|---|---|
| Temperature | 32-41°F (0-5°C) | Maximizes longevity (5+ years) |
| Humidity | 30-40% | Prevents mold and rot |
| Container | Air-tight, moisture-proof | Blocks light and pests |
| Seed Moisture | 5-10% (completely dry) | Ensures no fungal growth |
Once you’ve confirmed viability, store seeds in paper envelopes or small glass jars with a desiccant packet (like silica gel) to absorb excess moisture. Label each container with the tomato variety and harvest year—this prevents mix-ups and helps track germination rates over time.
For long-term storage, place containers in a cool, dark pantry or refrigerator. Avoid basements or garages, as fluctuating temperatures and humidity can reduce viability. If stored correctly, tomato seeds remain viable for 3-5 years, though germination rates may drop slightly after year two.
When spring arrives, test a few seeds from each batch before planting your entire stock. This helps identify any dormancy issues or contamination early. For extra insurance, soak seeds in lukewarm water for 12 hours before planting—this speeds up germination and gives weaker seeds a better chance.
🌱