
How To
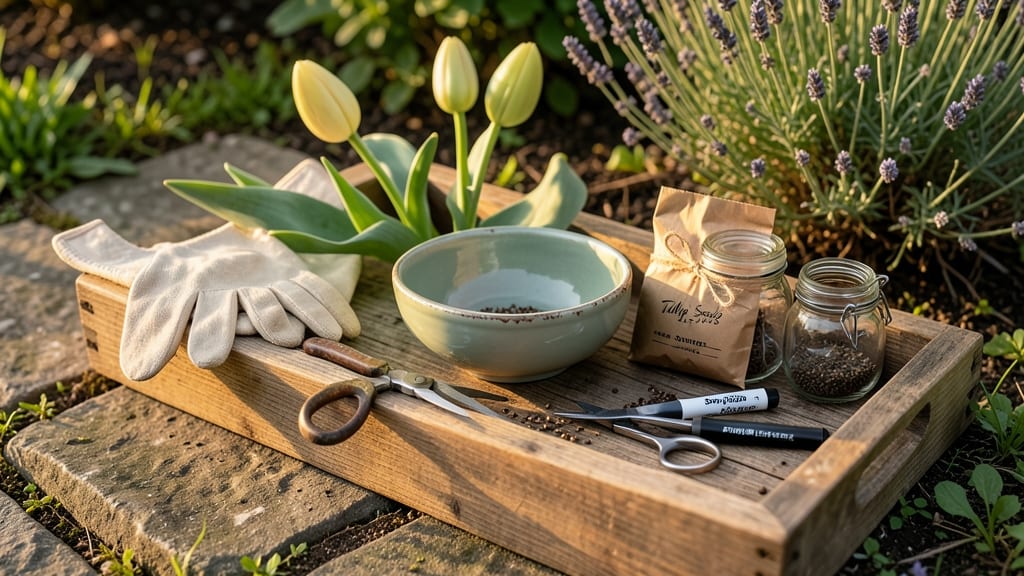
Harvesting tulip seeds 🌷 is your backdoor pass to growing rare, unexpected blooms—but only if you time it right.
Did you know most tulips won’t rebloom from seeds—but when they do, harvesting them at the perfect moment unlocks a world of heirloom varieties? Timing is everything, and missing the window means wasted potential.
You’ll need to watch for those telltale brown, papery seed pods that loosen naturally in late summer to early fall. Too soon, and the seeds won’t be viable; too late, and they’ll scatter before you can collect them.
In this guide, I’ll walk you through how to spot ready-to-harvest seeds, gently extract them, and store them for the best chance at germination—plus why most gardeners give up before they even begin.

When and how to identify tulip seeds ready for harvesting
Harvesting tulip seeds 🌷 at the right moment is like catching a fleeting moment in nature—miss it, and you lose your chance to grow unique heirloom varieties. The key is watching for brown, papery seed pods that naturally loosen in late summer to early fall.
These pods are your golden ticket to rare blooms, but timing is critical.
Most gardeners overlook this step because they don’t recognize the visual cues of maturity. A seed pod that’s still green or firm won’t yield viable seeds, while one that’s already split open may scatter before you can collect it.
I’ve learned the hard way—waiting too long means seeds fly away with the wind, and harvesting too early means wasted effort.
| Stage | Visual Cues | Harvest Time | Viability |
|---|---|---|---|
| Early Summer | Green pods, firm texture | Not ready | Low |
| Late Summer | Brown pods, papery texture | Ideal harvest | High |
| Early Fall | Split pods, seeds exposed | Late harvest | Medium |
| Winter | Empty pods, no seeds | Too late | None |
The turning brown is your first clue that seeds are ready. These pods should feel dry and crispy to the touch, almost like paper. When you gently squeeze them, they’ll loosen or even split open naturally. This is your 6-week window after flowering—typically between August and September in most climates.
Viable seeds are dark and plump, often with a slight shine. Non-viable seeds, on the other hand, are light-colored, shriveled, or hollow-sounding when shaken.
I once harvested a batch of seeds that looked perfect but failed to germinate—only to realize they were from a hybrid tulip, which often produces sterile seeds. Always check for firmness and color before storing.
Harvesting too early means seeds won’t have fully matured, while waiting too long risks losing them to wind or wildlife. I recommend collecting seeds on a dry, sunny morning when pods are fully brown but haven’t yet split open.
Use a small mesh bag to gently shake pods over it—this catches seeds without damaging them.
One common mistake I see is harvesting seeds from hybrid tulips, which often don’t produce viable offspring. Stick to species tulips like Tulipa tarda or Tulipa clusiana for the best results. These varieties are more likely to produce true-to-type seeds, though even then, germination rates can be low.
After harvesting, store seeds in a cool, dry place for 2-3 weeks to complete drying. This mimics natural conditions and improves germination rates. I keep mine in paper envelopes labeled with the harvest date—this prevents moisture buildup and makes it easy to track.
If you’re unsure whether your seeds are ready, perform a simple float test: Drop seeds in water. Viable seeds sink, while non-viable ones float. This quick trick saves time and effort, especially when dealing with large batches.
Just remember, even the best seeds may take 1-2 years to bloom—patience is key!
Timing your harvest correctly is the first step to growing rare tulips from seed. Once you’ve mastered spotting those brown, papery pods, you’re ready to move on to drying, storing, and eventually planting them for a garden full of surprises. The journey starts now—happy harvesting! 🌾
Step-by-step process: from seed pod to storage for germination
Once you’ve spotted those brown, papery seed pods on your tulips, the clock is ticking. Harvesting too early means immature seeds, while waiting too long risks losing them to wind or wildlife. My secret? Work quickly but gently—tulip seeds are delicate and bruise easily.
Start by carefully snipping the dry seed pods from the stem using clean, sharp pruning shears. Avoid crushing the pods, as this can damage the seeds inside. Place them in a paper bag or breathable container to allow airflow—this prevents mold and keeps them dry.
Step-by-Step: Harvest to Storage
- 1 Harvest pods when fully brown and crispy (late summer to early fall).
- 2 Open pods gently by hand or with a butter knife—avoid shaking to prevent seed loss.
- 3 Remove seeds and discard empty pods or debris using a fine-mesh sieve.
- 4 Dry seeds for 1–2 weeks in a cool, dark place (paper bag or open container).
- 5 Store seeds in a paper envelope (not airtight) in the fridge for up to 2 years.
- 6 Test viability by floating seeds—sinkers are viable, floaters are not.
After harvesting, let the seeds dry for 1–2 weeks in a well-ventilated area. Spread them out on a paper towel or in a single layer to avoid moisture buildup. This step is critical—damp seeds rot, and rot means lost germination potential.
For storage, I swear by paper envelopes over airtight containers. Tulip seeds need moisture exchange to stay viable, and plastic traps humidity. Label each envelope with the harvest year and tulip variety (if known). Store them in a cool, dark place, like your fridge’s crisper drawer.
Before planting, test viability by placing seeds in a glass of water. Viable seeds will sink to the bottom, while empty or shriveled ones will float.
This quick trick saves you from sowing hundreds of seeds that won’t sprout. Aim for a 70%+ sink rate for the best results.
Common mistakes? Overwatering during drying, using plastic containers, or planting seeds too soon after harvest. Tulip seeds need cold stratification—plant them in fall or refrigerate for 8–12 weeks before sowing. Patience is key—rush the process, and you’ll end up with a sad, sparse garden.