
How To
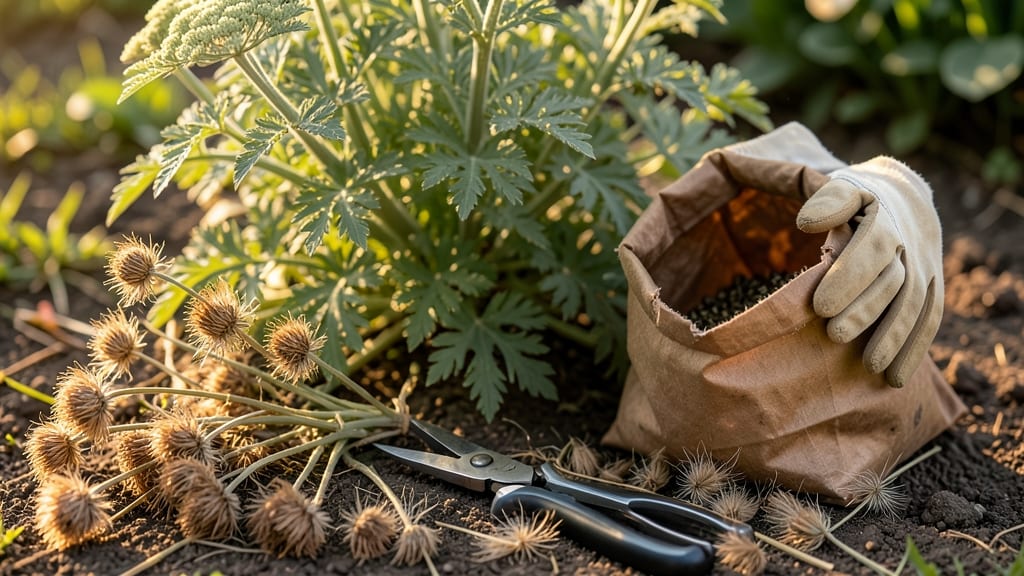
Harvesting yarrow seeds is all about timing—wait until those delicate 🌼 blooms turn brown and brittle, signaling they’re ready to share their potential for next year’s garden.
Picture this: your yarrow plants stand tall, their once-vibrant flowers now transformed into fluffy, papery clusters that rattle with seeds just waiting to be collected. Miss this window, and you risk losing them to the wind or rain before you can save them.
Why bother? Because yarrow isn’t just pretty—it’s a powerhouse for pollinators and a medicinal staple. Plus, once you master the harvest, you’ll never have to buy seeds again. Below, I’ll walk you through the exact steps to ensure you collect viable, high-quality seeds that’ll sprout strong and healthy.
From cutting the right stems to drying and storing them properly, this guide covers everything you need to know—so you can enjoy a self-sustaining yarrow patch year after year without the guesswork.

When to harvest yarrow seeds: identifying the right stage
Harvesting yarrow seeds at the perfect moment ensures high viability for next year's garden. The key is watching for fully mature seed heads that turn from green to brown and papery. These dried clusters often pop open naturally, releasing seeds—your signal to act before they scatter.
Timing is critical, as harvesting too early means immature seeds, while waiting too long risks losing them to wildlife or wind.
Yarrow typically produces mature seeds from late summer to early fall, usually between August and October in most climates. This window aligns with the plant's natural lifecycle, where energy shifts from blooms to seed production.
In USDA Zone 6a, I've found the best results harvesting in September, when daytime temperatures begin cooling. Watch for brittle stems and dried foliage as additional cues.
To distinguish viable seeds from spent blooms, focus on three key visual clues. First, seed heads should be completely brown—no green remnants. Second, shake a dried head over paper; if seeds rattle freely and fall out easily, they're ready.
Third, check the leaves: yellowed and crispy foliage confirms the plant has finished its cycle. Ignoring these signs often leads to wasted effort or poor germination rates.
Here’s how to compare ready vs. unready yarrow seed heads at a glance:
| Characteristic | Not Ready (Green) | Ready (Brown) |
|---|---|---|
| Color | Green or partially green | Fully brown and papery |
| Seed Movement | No rattle; seeds stuck | Seeds rattle freely |
| Stem Condition | Flexible and green | Brittle and dry |
| Leaf Appearance | Lush and green | Yellowed and crispy |
| Harvest Window | Avoid harvesting | Late August–October |
Understanding these differences saves time and frustration. For example, I once harvested yarrow seeds too early because the heads looked "dry enough," only to discover they produced less than 20% viable seeds.
The lesson? Always verify with the rattle test—it’s foolproof. If seeds don’t shake free, wait another week. Patience here pays off with higher germination rates and healthier plants next season.
Environmental factors also influence timing. In drier climates, yarrow may mature faster, so monitor plants daily for brown seed heads. Conversely, in cooler or wetter regions, seeds might take longer to dry.
I’ve seen yarrow in Pacific Northwest gardens stay green well into October. Adjust your harvest schedule by observing local weather patterns—especially humidity levels, which can delay drying.
One common mistake is confusing spent blooms with mature seed heads. Yarrow’s flat, umbrella-like clusters can look dry but still contain immature seeds. To test, gently squeeze a seed head: if it crumbles easily, it’s ready.
If it resists, it’s not. This simple check prevents collecting seeds that won’t sprout. For maximum yield, harvest on a dry, sunny morning when dew has evaporated, ensuring seeds are completely dry before handling.
Pro tip: Mark your calendar for two weeks after the first frost in your area. This gives yarrow enough time to finish its cycle, especially in Zone 6a where frosts can arrive early.
In my garden, I set reminders for mid-September to start checking seed heads weekly. Missing this window means relying on store-bought seeds—or worse, losing your yarrow variety altogether.
Finally, consider your goals: saving seeds for medicinal use requires extra care, as immature seeds lack full potency. For pollinator gardens, timing matters less, but mature seeds still attract more beneficial insects.
Whether you’re growing yarrow for healing teas, cut flowers, or wildlife support, harvesting at the right stage guarantees success. With these cues, you’ll never second-guess when to harvest again.
Step-by-step yarrow seed harvesting process for maximum yield
Once your yarrow plants develop those signature brown, papery seed heads, you’re just days away from a bountiful harvest. The key is timing—wait until the seed clusters turn fully tan or light brown and begin to rattle when shaken.
This ensures maximum seed viability and a higher yield for next season’s garden.
Harvesting yarrow seeds is simpler than you might think, but a few small mistakes can drastically reduce your yield. I’ll walk you through the entire process, from cutting the stalks to storing your seeds properly, so you can enjoy a flourishing wildflower meadow or garden year after year.
How to Harvest Yarrow Seeds
-
Step 1: Cut the Seed Stalks
Use clean pruning shears to snip the entire seed stalk (about 6-12 inches tall) when the seed heads are fully brown and dry. Cut just above a leaf node to encourage new growth. -
Step 2: Bundle and Hang for Drying
Gather 5-10 stalks and tie them together with twine or rubber bands. Hang them upside down in a dry, well-ventilated spot (like a garage or shed) for 1-2 weeks to fully dry. -
Step 3: Extract the Seeds
Once completely dry, place the seed heads in a paper bag and gently rub or shake them to release the tiny, brown seeds. Avoid using a fan—this can blow seeds everywhere! -
Step 4: Clean and Store
Sift the seeds through a fine mesh screen to remove debris. Store them in a cool, dark place (like a sealed jar or envelope) for up to 2 years for optimal germination.
If you’re short on space, you can also air-dry the seed heads on a clean sheet of paper in a single layer. Just place them in a sunny, dry spot (out of direct sunlight) for 3-5 days until they’re crispy.
This method works well for small batches and keeps seeds organized.
Pro tip: Label your seed storage containers with the harvest year and variety (if applicable). Yarrow seeds are non-fussy about germination, but fresh seeds always yield the best results. With proper care, you’ll have a self-sustaining yarrow patch in no time!
Remember, the earlier you harvest, the more seeds you’ll collect before they scatter naturally. But don’t rush—overly green seed heads won’t produce viable seeds, so patience is key for a high-quality harvest.