
Vegetables
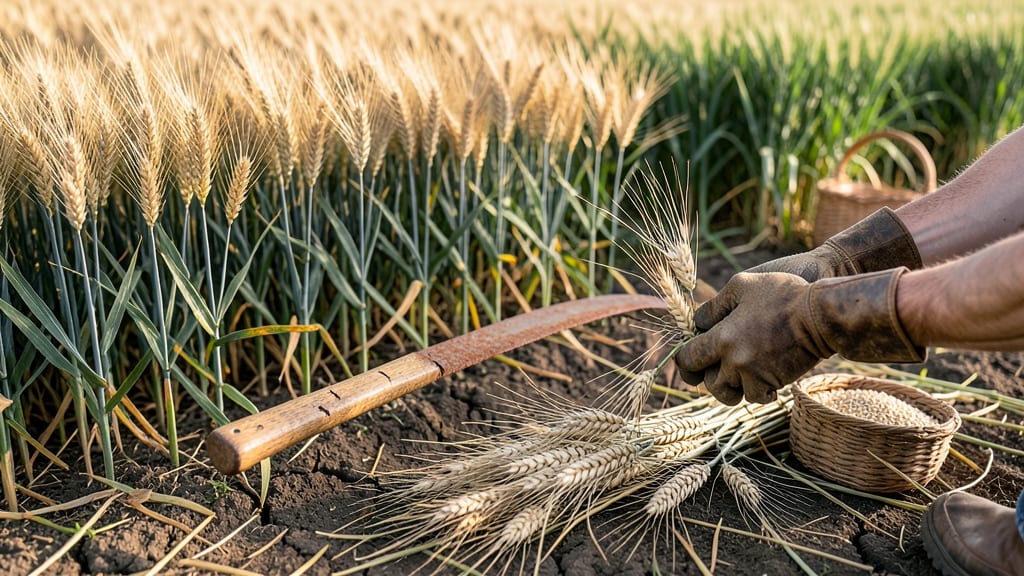
Harvesting wheat at the right time during the wheat harvest season determines whether you walk away with golden, high-quality grain or a field of wasted potential.
Picture this: you’ve nurtured your 🌾 wheat all season, watching it rise from tender shoots to towering stalks—only to realize too late that the heads have already shattered or turned dull.
Timing your wheat harvest isn’t just about the calendar; it’s about reading the plants, the weather, and even the moisture in the grain.
In General (Temperate Regions), like USDA Zone 6a, the harvest window typically opens in late summer, but the exact moment depends on whether you’re growing winter or spring wheat—and whether your goal is flour, feed, or seed.
Too early, and the grain lacks weight; too late, and you risk sprouting or disease. I’ll walk you through the key signs to watch for, the tools you’ll need, and how to adjust for your local climate.
By the end, you’ll know exactly when to swing that sickle—or when to call in the combine—for a harvest that feels like rewarding hard work, not a gamble.

Ideal wheat harvest season by climate zone & variety
Harvesting wheat at the perfect moment ensures maximum yield and grain quality, but timing varies dramatically by climate zone and wheat variety.
Whether you're growing hard red winter wheat, soft white winter wheat, or spring wheat, understanding your USDA hardiness zone and moisture thresholds is key to success.
In colder zones like USDA 3-5, winter wheat often matures 2-3 weeks later than in USDA 8-10, where spring wheat may ripen in just 90 days. Let’s break down the ideal harvest windows for each type and zone.
One of the most critical factors is kernel moisture content, which should fall between 14% and 16% for safe storage. Harvesting too early (above 18% moisture) risks spoilage, while waiting too long (below 12% moisture) can lead to premature shattering and lost yield.
Additionally, kernel hardness plays a role—hard red wheat often requires slightly higher moisture than soft white varieties to maintain quality. Let’s explore the specifics for your region.
| Wheat Variety | USDA Zones | Ideal Harvest Month | Days to Maturity | Moisture Threshold | Kernel Hardness |
|---|---|---|---|---|---|
| Hard Red Winter Wheat | 3-7 | Late July - Early August | 120-150 days | 14-16% | Hard |
| Hard Red Winter Wheat | 8-10 | Mid-June - Late June | 90-120 days | 14-15% | Hard |
| Soft White Winter Wheat | 4-8 | Early August - Mid-August | 110-140 days | 15-16% | Soft |
| Spring Wheat | 3-6 | Late July - Early August | 85-110 days | 14-15% | Medium |
| Spring Wheat | 7-10 | Mid-June - Late June | 75-90 days | 13-14% | Medium |
For hard red winter wheat in USDA zones 3-7, aim for harvest between late July and early August, when the kernel moisture drops to 14-16%. This variety thrives in cooler climates and benefits from vernalization (cold treatment) during winter, which accelerates spring growth.
In warmer zones like USDA 8-10, the same variety matures 3-4 weeks earlier, often ready by mid-June. Always check for golden-brown seed heads and a brittle texture before harvesting.
If you're growing soft white winter wheat, focus on USDA zones 4-8, where harvest typically occurs in
Key signs your wheat is ready for harvest (and when to wait)
Harvesting wheat at the perfect moment ensures the best grain quality and yield potential. Miss the window, and you risk low test weight or premature shattering. The key is watching for visual maturity cues combined with moisture testing—both critical for small-scale farmers and home gardeners alike.
Start by observing the plant color and seed head firmness. Mature wheat should transition from green to a uniform golden-brown, with the lower leaves turning yellow and crispy. This visual shift signals the plant is directing energy to the grain development rather than leaf growth.
- 🌾 Golden-brown heads – Uniform color from base to tip
- ✂️ Dry and brittle – Heads shatter easily when touched
- 💧 14-16% moisture – Test by crushing a kernel (dry = ready)
- 🌡️ Warm, dry weather – Ideal for 3-5 days before harvest
- 🌧️ Avoid rain delays – Moisture >18% risks spoilage
Don’t rely solely on color—moisture content is the true indicator. Crush a few kernels between your fingers: if they feel dry and hard with no milky residue, your wheat is ready.
For precise testing, use a moisture meter (ideal range: 14-16%). Harvesting too early (<18% moisture) results in lightweight grain, while waiting too long (>18%) increases shattering losses.
Environmental factors like heatwaves or prolonged rain can disrupt timing. Heat accelerates drying, so monitor seed head firmness daily during hot spells. Conversely, excessive rain before harvest can spike moisture levels, requiring extra drying time post-harvest.
Adjust your schedule based on 7-day forecasts—aim for a clear, dry window of at least 3 days.
If you planted early-season varieties, expect harvest between late July and August. For late-season wheat, wait until September—but never let heads linger past their peak. Once they begin premature shattering, yield losses accelerate.
Use a small sickle or scythe for hand harvesting, cutting just above the grain heads to avoid damaging the stems.
Pro tip: Harvest a small test batch first to check grain quality. If the test weight (grams per liter) is below 750g/L, your wheat may still need time to mature.
With practice, you’ll develop an eye for the perfect harvest moment—when your field looks like a golden ocean ready for the reaper’s touch. 🌾