
How To
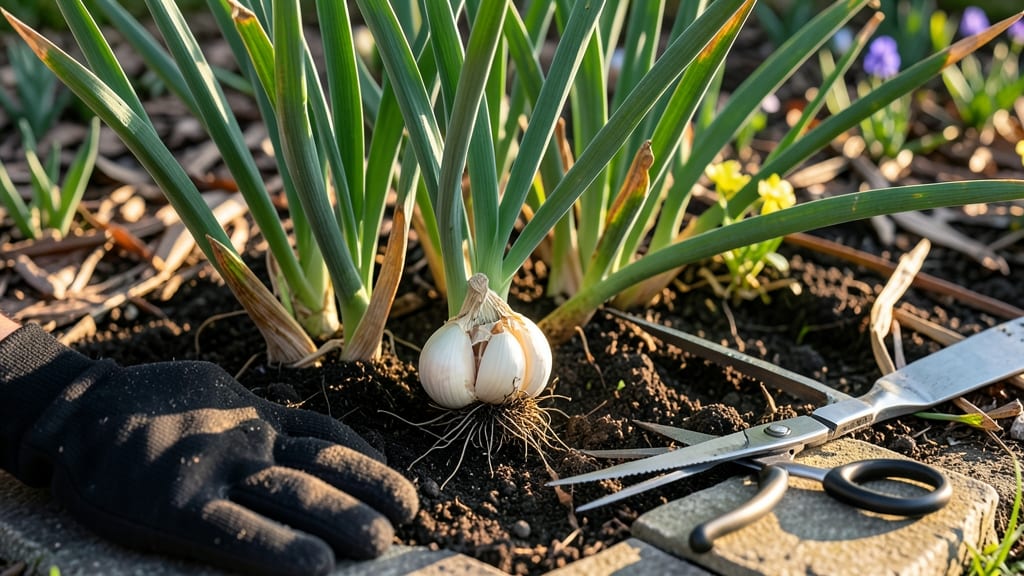
Harvesting garlic at the right time means the difference between a perfectly flavorful bulb and one that’s bitter or moldy.
Garlic lovers know that timing your harvest wrong can turn sweet, flavorful bulbs into bitter, pungent disappointments—but getting it right means the difference between gourmet meals and garden-day regrets.
If you’ve ever pulled garlic too early and ended up with small, underdeveloped cloves or waited too long and found moldy bulbs, you’re not alone. The key to success lies in knowing exactly when those lower leaves turn brown and crispy.
Below, I’ll share three foolproof tests to confirm your garlic is ready, plus how climate and variety play into the perfect harvest window for your 6a zone.

3 Signs your garlic is ready to harvest (before it’s too late)
Knowing when to harvest garlic is like catching a wave—too early and you’ll get small, underdeveloped bulbs; too late and they’ll split or rot. The key lies in three visual and physical cues that tell you your garlic is ready to pull from the soil.
Miss these signs, and you might end up with garlic that’s either too pungent or too small for your favorite recipes.
I’ve learned the hard way that harvest timing isn’t just about counting days after planting. Instead, focus on what’s happening above and below ground.
The moment your garlic shows these three signals, grab your gardening gloves and get ready to dig—because once you see them, your bulbs won’t last much longer in the ground.
🌱 3 Foolproof Signs Your Garlic Is Ready
-
1. Lower Leaves Turn Brown and Crispy
The bottom 1/3 of leaves should dry out completely, while the top leaves remain green. This means the bulb has finished growing above ground. -
2. Papery Wrapper Forms Around Bulbs
Gently brush away soil to check for a tight, dry papery skin forming around each clove. This wrapper protects the bulb during curing. -
3. Stems Begin to Flop or Twist Easily
The scapes (if present) or main stems will start to flop over or twist when you gently tug. This signals the bulb’s energy is redirecting underground.
⏰ Pro Tip: Hardneck varieties often show these signs 4-6 weeks earlier than softneck types.
Let’s start with the most obvious sign: leaf browning. When the lower 1/3 of leaves turn from green to a crispy brown, it’s your garlic’s way of saying, “I’m done growing upward!”
This usually happens in late June to early July in most climates, but don’t rely solely on the calendar. Instead, check your plants every 3-5 days once the lower leaves start yellowing.
Next, focus on the papery wrapper forming around each clove. This isn’t just any dry skin—it should feel tight and crisp, almost like parchment paper. If you can peel it away easily, your garlic isn’t ready yet.
But if it resists slightly when you gently tug, you’re in the harvest window. This wrapper is crucial because it protects the cloves during the curing process, which is your next critical step after harvest.
Don’t overlook the stem test, which is my personal favorite because it’s so straightforward. Simply grasp the main stem or scape (the curly stalk that grows from hardneck varieties) and give it a gentle twist.
If it snaps or twists easily, your garlic is ready. If it resists, wait another 3-5 days. This test works because the bulb’s energy has shifted underground, weakening the stem above.
Here’s where many gardeners go wrong: they wait until all leaves turn brown. By then, the bulbs may have already started sprouting or splitting, which ruins their storage life.
Aim to harvest when only the bottom leaves are brown, and the top leaves are still vibrant green. This ensures you get large, firm bulbs that store well for months.
One more critical detail: harvest on a dry, sunny day. Wet soil makes bulbs more prone to rot during curing, so avoid harvesting after rain. If you must harvest after wet weather, let the soil dry out for 24-48 hours first.
Once you’ve confirmed all three signs, use a fork or spade to gently lift the bulbs, being careful not to puncture them.
After harvest, don’t wash your garlic—just brush off excess soil and let the bulbs dry in a shady, well-ventilated area for 3-5 days. This curing process hardens the skins and prepares them for storage.
If you skip this step, your garlic will spoil quickly, even if you harvested it at the perfect time.
Remember, harvest timing varies by variety. Hardneck garlic (like Rockville or German White) is usually ready 2-3 weeks earlier than softneck types (like Silverskin or Artichoke). Pay attention to your specific variety’s growth habits, and don’t assume all garlic follows the same schedule.
Once you’ve mastered these three signs, you’ll never again wonder when to harvest garlic. Your kitchen—and your taste buds—will thank you for the perfectly timed, flavorful bulbs you’ll pull from your garden every year. Happy digging!
How to test garlic bulbs for harvest readiness (without ruining them)
Testing garlic for harvest readiness without damaging the bulbs is all about observing subtle but critical changes in the plant’s appearance and structure. The key is to focus on three non-destructive tests that reveal maturity without compromising your crop.
These methods work for both hardneck and softneck varieties, though timing can vary slightly between them.
Start by examining the lower leaves, which will give you the first clue about bulb development. When these leaves turn from green to a crispy brown, it’s a strong indicator that the bulb beneath is fully mature.
This change typically happens 6-8 weeks after the tops of the plants begin to yellow and flop over.
Next, use the stem twist test—a gentle but effective way to check bulb firmness. Simply grasp the stem near the base and twist gently. If the stem snaps cleanly with minimal resistance, the bulb is likely ready.
This test works best in the late morning when the plant is fully hydrated.
For a more precise assessment, try the bulb squeeze technique. Gently squeeze the bulb through the soil using your fingers. A ready bulb will feel firm and solid, while an underdeveloped one will feel soft or spongy.
This method helps avoid over-maturity, which can lead to mold or sprouting.
| Test Method | Hardneck Varieties | Softneck Varieties | Best Time |
|---|---|---|---|
| Lower Leaf Color | Brown and crispy | Brown and dry | Late July-August |
| Stem Twist Test | Snaps cleanly | Resists slightly | Morning hours |
| Bulb Squeeze | Firm and solid | Firm, no give | Afternoon |
| Paper Wrapper | Tight and dry | Dry and papery | Before frost |
Hardneck varieties like Rockville or German Red typically mature earlier, often in late July, while softneck types such as Silverskin or Artichoke may need an extra week or two. Pay close attention to your local frost dates—harvesting too late can expose bulbs to rot or sprouting.
If you’re unsure, err on the side of harvesting a few days early. You can always cure the bulbs properly to extend their shelf life, but waiting too long risks losing your entire harvest to mold or pests. With these tests, you’ll never second-guess your garlic’s readiness again!