
How To
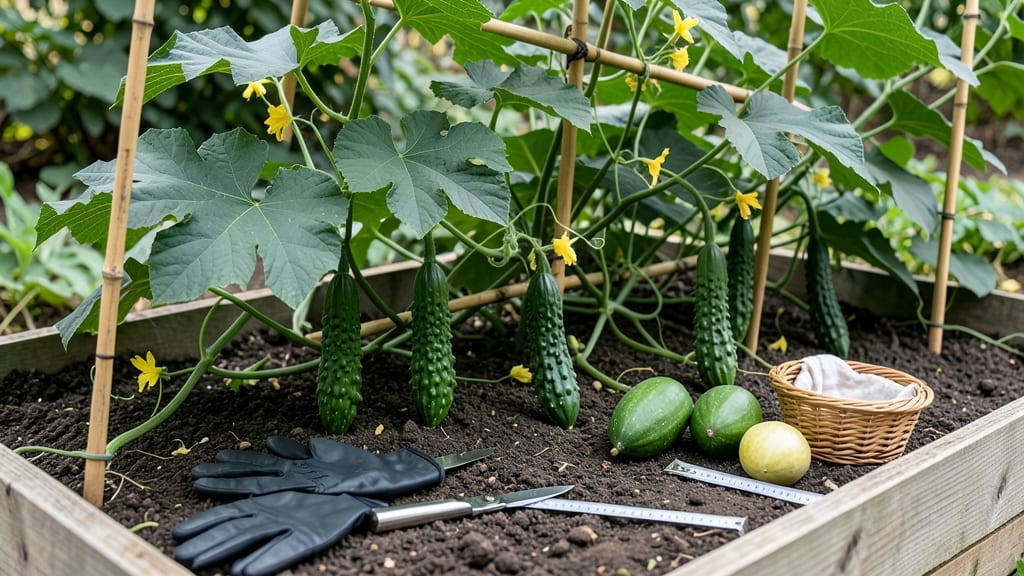
Harvesting bitter melon at the right time ensures that sharp, crunchy flavor you love—too early, and it’s bland; too late, and it turns mushy. 🍈 The key is catching it when the fruit is 3 to 6 inches long, with a firm but slightly yielding skin that signals peak bitterness.
Picture this: you’re pinching a fruit, and it gives just a little under your thumb—like a ripe peach. That’s your cue. Miss it, and you’ll either end up with rubbery, underripe pods or seedy, overripe ones that collapse when you cut them.
I’ve made both mistakes, and trust me, neither is worth it.
But here’s the thing: timing isn’t just about size. The stem should twist easily when you give it a gentle tug, and the fruit should feel heavy for its size.
These three tactile tests are what separate a great harvest from a mediocre one—and they work for every variety, from ‘Green Apple’ to ‘Black Beauty.’
In this guide, I’ll walk you through how to spot the perfect bitter melon, what happens if you harvest too soon or too late, and how to keep your plants producing for weeks. Ready to turn your garden into a flavor factory?


3 Tactile tests to determine perfect bitter melon harvest timing
Harvesting bitter melon at the wrong stage can turn your crisp, flavorful fruits into mushy or overly bitter disappointments. Unlike cucumbers or zucchini, bitter melon’s texture and bitterness change dramatically as it matures.
The key? Trust your fingers and eyes—not just a calendar. These three tactile tests will help you pinpoint the ideal harvest window every time.
Most gardeners wait for size and color cues, but bitter melon’s true readiness hides in weight, firmness, and stem behavior. Skipping these tests often leads to underripe fruits (too mild, rubbery) or overripe ones (seedy, bitter, and mushy).
Let’s dive into the hands-on methods that professional growers swear by to avoid these pitfalls.
- 1 Finger Pressure Test: Press firmly on the fruit’s skin. Ready melons yield slightly (like a ripe avocado) but don’t dent. Overripe ones bruise easily.
- 2 Stem Twist Test: Gently twist the fruit’s stem. If it snaps cleanly (not tears), the melon’s ready. A stubborn stem means it’s still maturing.
- 3 Weight Check: Lift the fruit in your palm. Mature bitter melons feel heavy for their size (like a dense apple). Light fruits are underripe.
Start with the finger pressure test—it’s the fastest way to gauge ripeness. A firm but slightly yielding skin means the bitterness is balanced and the texture is crisp. I’ve found that morning harvests (after dew dries) give the most accurate results because fruits are firmest then.
Avoid harvesting after rain, as excess moisture can trick you into thinking fruits are riper than they are.
Next, use the stem twist test to confirm readiness. A clean snap at the stem indicates the fruit’s enzymes are fully activated, delivering that signature bitter melon kick.
If the stem resists, wait 1-2 days and retest. Pro tip: Use sharp pruning shears to cut stems—never pull fruits off the vine, as this can damage the plant.
The weight check ties everything together. A heavy-for-size melon signals high water content and peak sweetness (yes, bitter melon has subtle sweetness!). Light fruits often lack flavor development and feel hollow when shaken.
For varieties like ‘Black Beauty’, aim for 4-6 inches long and a slightly oblong shape. Smaller varieties (like ‘Green Apple’) should be 3-4 inches at harvest.
Common mistakes include harvesting based on color alone. While ripe bitter melons develop a yellowish-green hue, some stay deep green even when perfect. Always combine visual cues with tactile tests for accuracy.
I once picked a batch of melons that looked ripe but failed the pressure test—they turned out watery and bland. Lesson learned: Never skip the hands-on checks!
Overripe bitter melons become seedy, mushy, and excessively bitter, making them nearly inedible. If you miss the window, store harvested melons in the fridge for 2-3 days to slow ripening, but they’ll never regain ideal texture.
For longer storage, blanch and freeze them—though texture softens, the bitterness and nutrients remain intact.
To maximize your harvest, pick fruits every 2-3 days once they’re ready. This encourages the plant to produce more flowers and fruits. I’ve seen bitter melon vines double their yield when harvested consistently.
Pair these tactile tests with regular pruning of yellowing leaves to keep plants healthy and productive all season.
Remember, bitter melon’s flavor profile is all about balance. Too early, and you lose that signature crunch and bitterness that makes it worth growing. Too late, and you’re left with seeds and mush.
Master these three tests, and you’ll enjoy homegrown bitter melon at its absolute peak—every single time. 🌱
Bitter melon harvest stages: how bitterness and texture change over time
Bitter melon’s flavor and texture transform dramatically as it matures, starting as a mild, rubbery pod and evolving into a seedy, mushy mess if left too long on the vine. 🌱 Understanding these stages helps you pick fruits at their peak—when bitterness is balanced with a satisfying crunch.
The journey from harvest-ready to overripe happens in just a few days, so knowing the signs saves your crop.
When bitter melon is underripe (3 inches or smaller), it’s pale green, hard, and nearly tasteless with a rubbery texture. This stage is often called the "green apple" phase, but don’t be fooled—it lacks the complex flavors gardeners love.
The skin feels tight, and the fruit is hollow when shaken, like a plastic toy. Harvesting here means wasted effort, but it’s a common mistake for beginners.
At the ideal harvest window (3–6 inches long), bitter melon reaches its sweet spot: firm yet slightly yielding skin, a deep green with yellowish streaks, and a weight that feels substantial for its size.
The stem twists easily, and a gentle squeeze reveals a snap—like biting into a crisp apple. This is when bitterness peaks, and the texture is crisp with a juicy center. Miss this window, and you’ll regret it.
| Stage | Size | Texture | Flavor | Varieties |
|---|---|---|---|---|
| Underripe | <3 inches | Rubbery, hard | Mild, bland | All |
| Ideal Harvest | 3–6 inches | Firm, crisp | Balanced bitterness | Green Apple, Black Beauty |
| Overripe | >6 inches | Mushy, seedy | Bitter, watery | All |
Once bitter melon surpasses 6 inches, it enters the overripe phase, where the skin softens, seeds bulk up, and the flesh turns mushy. The bitterness intensifies to an unpleasant level, and the texture resembles overcooked zucchini.
Varieties like ‘Black Beauty’ develop dark streaks, while ‘Green Apple’ stays pale but becomes spongy. At this point, even cooking can’t salvage the flavor, though some cultures use overripe melons for fermented dishes—but that’s a far cry from fresh eating.
Climate plays a role too: in hot, humid regions, bitter melon ripens faster, so check fruits every 2–3 days. In cooler areas, the process slows, giving you a 4–5 day window to harvest.
Staggered planting helps spread out your harvest, ensuring you always catch melons at peak ripeness. I’ve found that morning harvests yield the freshest pods, as daytime heat accelerates ripening.
Pro tip: If you miss the ideal window, don’t despair—prune the vine to encourage new fruit growth. The plant often produces a second flush of pods, giving you another chance to nail the harvest.
Just remember: timing is everything, and these stages are your roadmap to bitter melon perfection. 🌿