
How To
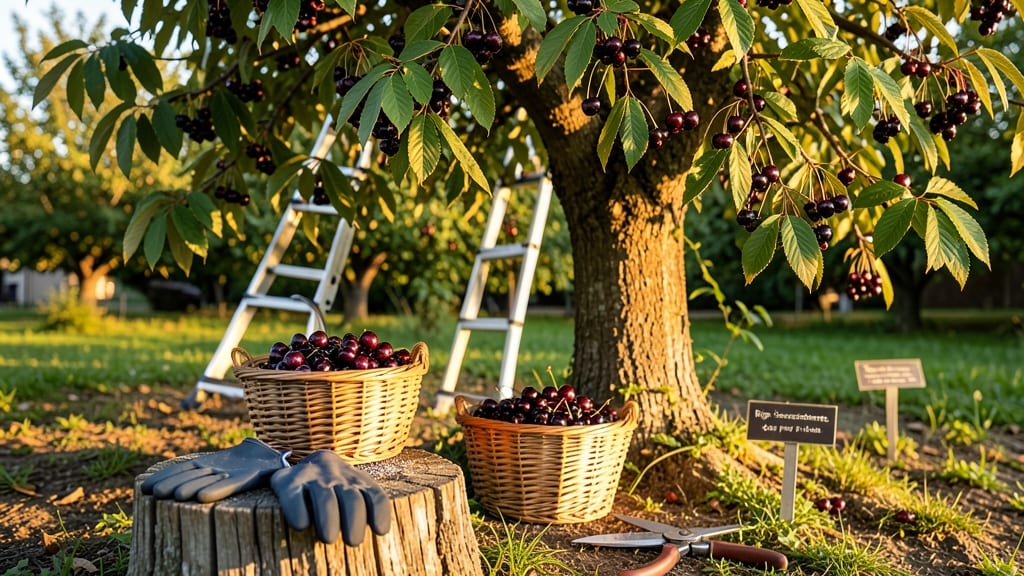
Harvesting chokecherries at the right time transforms those tart, deep-red berries 🫐 into a bounty of antioxidants and nutrients—if you wait too long, birds and wildlife will beat you to it.
Picture this: you’ve spent months waiting for your chokecherry tree to ripen, only to find the berries still hard or already overripe and falling apart.
The difference between a perfect harvest and a wasted effort comes down to knowing the exact signs—like deep purple-black color, soft texture, and that satisfying stem snap.
In USDA Zone 6a, the ideal window is late summer to early fall (August–September), but regional weather can shift that timeline. Too early, and you’ll end up with bitter, underripe fruit; too late, and the berries turn mushy or attract pests.
Below, I’ll walk you through the berry color, seed color, and stem snap test to pinpoint the perfect moment—plus how to preserve your harvest once you’ve got it in hand.

How to identify perfectly ripe chokecherries by color and texture
Timing the harvest of chokecherries is everything—pick too early, and you’ll get bitter, astringent fruit. Wait too long, and birds or animals will eat them all. The key lies in understanding three critical cues: berry color, seed color, and the stem snap test.
These visual and tactile clues ensure you harvest at peak flavor and nutrient density.
Chokecherries start as bright green in summer, gradually deepening to reddish-purple as they ripen. The transition from pale red to deep purple-black signals readiness. However, color alone isn’t enough—you must also check the seed inside.
When the seed turns from white to brown, that’s your green light to harvest.
The stem snap test is my favorite trick. Gently pinch the stem between your thumb and forefinger—if it snaps cleanly with a slight resistance, the berry is ripe.
If it bends without breaking, it’s not ready yet. This test works best in the morning after dew has dried, when the fruit is firmest.
Regional differences matter! In USDA Zone 5 or colder, chokecherries typically ripen by late August to early September. Warmer zones like Zone 7 or 8 may see harvests stretching into October.
Always monitor your local first frost date—harvest at least 2 weeks before frost to avoid spoilage.
🌱 Chokecherry Ripeness Summary
| Stage | Berry Color | Seed Color | Stem Test | Harvest Time |
|---|---|---|---|---|
| Unripe | Green to pale red | White | Bends without snapping | Avoid |
| Partially Ripe | Reddish-purple | Light brown | Slight resistance | Wait 3-5 days |
| Perfectly Ripe | Deep purple-black | Dark brown | Snaps cleanly | Harvest now! |
| Overripe | Black with wrinkles | Dark brown | Mushy, detaches easily | Use immediately |
Don’t rely solely on color—some chokecherry varieties like ‘Montmorency’ stay red even when ripe. Always combine color with the seed test and stem snap. For example, if the berry is deep purple but the seed is still white, wait another week.
Texture is just as important as color. A ripe chokecherry should feel slightly soft when gently squeezed—like a plum rather than an apple. Overripe berries become wrinkled and mushy, attracting pests like birds and raccoons.
If you see wildlife feasting on your tree, it’s time to act fast!
Pro tip: Harvest on a dry, sunny morning when berries are firmest. Use a small bucket with a lid to collect fruit—this prevents bruising and keeps berries fresh longer.
Once picked, store them in the fridge for up to 2 weeks or process them into jam, juice, or dried snacks.
If you’re unsure about ripeness, pick a few test berries and taste them. Unripe chokecherries are extremely bitter, while ripe ones have a tart-sweet balance. This hands-on approach ensures you never miss the perfect harvest window again.
Remember, chokecherries ripen unevenly across a tree. Check the shadiest branches first—they often ripen later. By mastering these three simple cues, you’ll transform your harvest from hit-or-miss to consistently perfect every season.
Now grab your harvesting tools and enjoy the sweet taste of success—your taste buds (and your birds) will thank you! 🫐
Chokecherry harvesting mistakes to avoid (and how to fix them)
Harvesting chokecherries at the wrong time can turn your tart, nutrient-packed berries into a bitter disappointment. Many gardeners make the same mistakes—picking too early for unripe, astringent fruit or waiting too late, only to find birds have already feasted.
Let’s fix these common errors so you maximize your harvest every season.
One of the biggest mistakes is relying solely on calendar dates instead of visual cues. Chokecherries ripen inconsistently across trees, especially in variable climates. A single tree might have ripe berries while others remain firm. Ignoring these differences leads to uneven harvests and wasted effort.
⚠️ Warning: Harvesting Too Early or Too Late
Too Early: Berries are greenish-red, hard, and painfully bitter. Seeds are white or pale brown. Fix: Wait 1-2 weeks for color deepening.
Too Late: Berries turn black-purple, mushy, and attract wildlife. Flavor weakens. Fix: Harvest when 70% ripe to avoid losses.
Inconsistent Ripening: Some branches ripe while others lag. Fix: Pick tree-by-tree or branch-by-branch.
Another critical error is overlooking the stem snap test. A ripe chokecherry should detach easily with a clean break at the stem. If berries resist, they’re not ready. This simple test saves hours of frustrating hand-picking only to discard underripe fruit.
For large harvests, skipping protective gear is a mistake. Chokecherries stain hands and clothes with their deep-purple dyes. Wear gloves and use light-colored buckets to spot stains early. A ladder or extendable picker also prevents back strain when reaching high branches.
Store harvested berries properly to avoid spoilage. Spread them on paper towels in a cool, dark place for 1-2 days to dry slightly. This prevents mold and extends shelf life. Once dry, store in airtight containers in the fridge for up to 2 weeks or freeze for longer storage.
Finally, don’t forget to prune your trees after harvesting. Remove dead or overcrowded branches to improve airflow and sunlight for next year’s crop. This simple step reduces disease risk and boosts future fruit production.