
How To
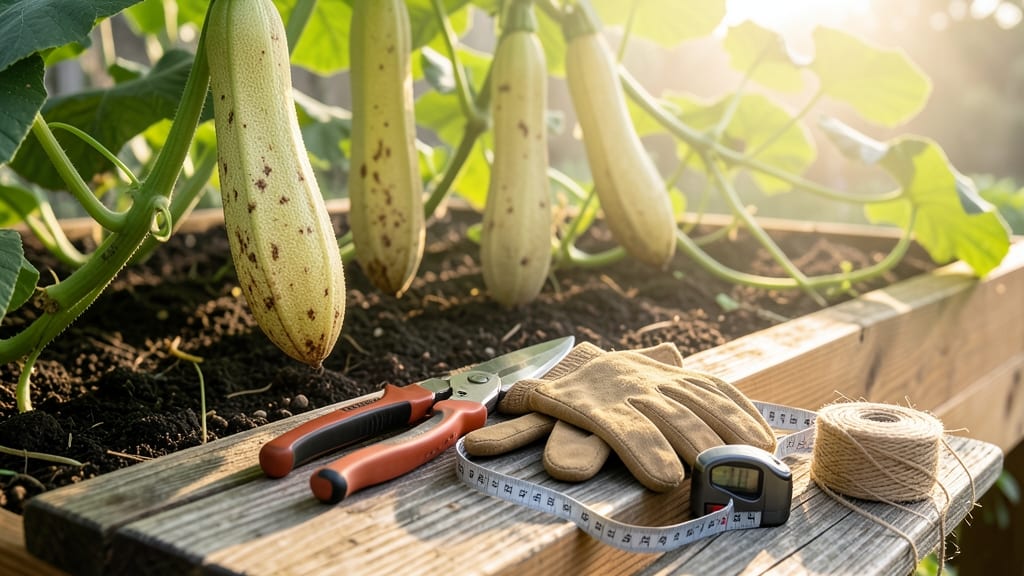
Harvesting luffa gourds for sponges at the right time turns your garden into a natural sponge factory 🎃 — but one wrong move ruins everything.
Picture this: you’ve nurtured your luffa gourds all season, and now the moment of truth arrives. Harvest too early, and you’ll end up with a squishy mess that won’t last.
Too late, and the sponge potential vanishes, leaving you with brittle husks. The key? Knowing exactly when to pick them for that perfect balance of hardness and texture.
Most gardeners wait until the gourds turn yellow or brown and the vines start dying back, but there’s more to it than just color.
You’ll also need to master the three tactile tests—skin resistance, the tap test, and vine condition—that tell you when your luffa is ready to become a sponge. Skip these, and you might waste months of growth.
In this guide, I’ll walk you through the ideal maturity stage, how climate and frost timing affect your harvest, and step-by-step instructions for curing your luffa gourds into durable, eco-friendly sponges—no guesswork involved.

3 Tactile tests to determine perfect luffa gourd hardness for sponges
Harvesting luffa gourds at the right moment transforms them into durable natural sponges instead of brittle husks. The key? Using your hands to test three tactile indicators that reveal when the gourds are ready.
Unlike squash or cucumbers, luffas don't soften with age—they harden into their woody sponge structure at peak maturity.
Many gardeners wait for color changes alone, but skin color isn't always reliable due to weather variations. That's why I rely on these three hands-on tests to confirm readiness before the first frost.
These methods work in any climate zone and eliminate guesswork about whether your luffas will yield high-quality sponges or disappointingly hollow shells.
-
1. Skin Color Test
Press your thumb against the gourd's surface. Ready luffas develop dull yellow or tan skin that resists indentation. Green patches mean more time on the vine. -
2. Tap Test
Gently tap the gourd with your knuckle. A hollow, wooden sound signals maturity, while a thud or dullness means it's underripe. Overripe gourds sound paper-thin. -
3. Peel Resistance Test
Try to peel a small section. Perfect luffas require firm pressure to separate the skin, while unripe ones peel effortlessly. Overripe gourds may split open naturally.
Let me walk you through each test in detail, including what to do if your luffas fail a check. For example, if your gourds pass the tap test but fail the peel resistance, they likely need 3-5 more days on the vine.
I've made this mistake myself—harvesting "ready" luffas only to discover they weren't quite firm enough for proper sponge development.
The skin color test is your first line of defense. Look for uniform yellowing across 70-80% of the gourd's surface. Some varieties develop brown or beige hues, but avoid gourds with green streaks—these won't harden properly.
I recommend testing 3-5 gourds from different vines to account for uneven ripening.
Next, the tap test reveals the gourd's internal structure. Hold the luffa firmly with one hand and tap it lightly with your knuckle or fingernail. A ready gourd produces a clear, ringing sound, like knocking on a wooden door.
If it sounds more like a dull thump, it needs more time. This test works best in morning sunlight when the gourds are cool and firm.
For the peel resistance test, grip the gourd's stem end and try to lift a small section of skin. Your thumbnail should not easily pierce the surface—if it does, the gourd needs at least 2 more weeks on the vine.
I've found that mature luffas often require actual pressure to separate, almost like peeling a hard-boiled egg (though never use that analogy with cooking-phobic gardeners!).
Here's a critical tip: Harvest before the first frost in your zone. Frozen luffas become brittle and unusable for sponges. In USDA Zone 6, I aim to harvest by mid-October, while gardeners in Zone 9 might wait until November.
Always check your local frost dates and plan accordingly.
After passing all three tests, harvest immediately to prevent overripening. Cut the gourds from the vine using clean pruners, leaving 1-2 inches of stem attached. This prevents rot during the curing process.
I like to label my luffas with the harvest date to track curing progress—this helps avoid confusion between fresh and cured gourds.
Once harvested, your luffas need 4-6 weeks of drying to develop their signature sponge texture. Place them in a well-ventilated area with indirect sunlight to prevent mold. The drying process transforms the gourds from hard-shelled to lightweight and fibrous—perfect for your next shower or kitchen scrubbing project.
Remember, patience pays off with luffa gourds. Rushing the process leads to poor-quality sponges that crumble or don't lather properly. By mastering these three tactile tests, you'll consistently produce luxurious natural sponges from your garden harvest—no guesswork required!
Luffa gourd growth stages: when to stop watering for optimal sponge development
As your luffa gourds mature, the final growth phase is where sponge quality makes or breaks. The key is reducing water 3-4 weeks before harvest to allow natural drying on the vine. This critical adjustment prevents rot while maximizing fiber development.
I learned this lesson the hard way—overwatering my last batch led to soggy, unusable gourds. The secret lies in strategic water reduction combined with proper vine drying time. When your gourds turn yellow-brown and the vines begin yellowing, it's time to cut back irrigation completely.
| Growth Stage | Watering Adjustment | Drying Time | Key Visual Cues |
|---|---|---|---|
| Active Growth | Deep water every 3-5 days | None | Green gourds, healthy vines |
| Pre-Harvest | Reduce to every 7-10 days | 2-3 weeks on vine | Yellowing skin, woody texture |
| Final Drying | Stop completely | 4-6 weeks on vine | Brown/rattling gourds |
Here's my exact watering timeline that works in USDA Zone 8: Start reducing water when your gourds reach 10-12 inches in length. By mid-August, I've completely stopped watering my vines, allowing them to dry naturally until the first frost.
The 4-6 week drying period on the vine is non-negotiable for quality sponges. This timeframe lets the fibers fully develop while preventing over-ripening, which turns the gourds brittle. I've found that morning harvests after dew has evaporated yield the best results.
One common mistake I see is harvesting too soon after stopping water. Wait until the gourds develop a hollow rattle when shaken—this confirms optimal fiber development. The skin should also peel easily with slight resistance, revealing the fibrous interior.
Remember that climate matters: In humid areas, you may need to harvest slightly earlier to prevent mold. Conversely, dry climates can extend the vine-drying period by 1-2 weeks. Always prioritize visual cues over calendar dates for perfect sponge quality. 🌱