
Picking
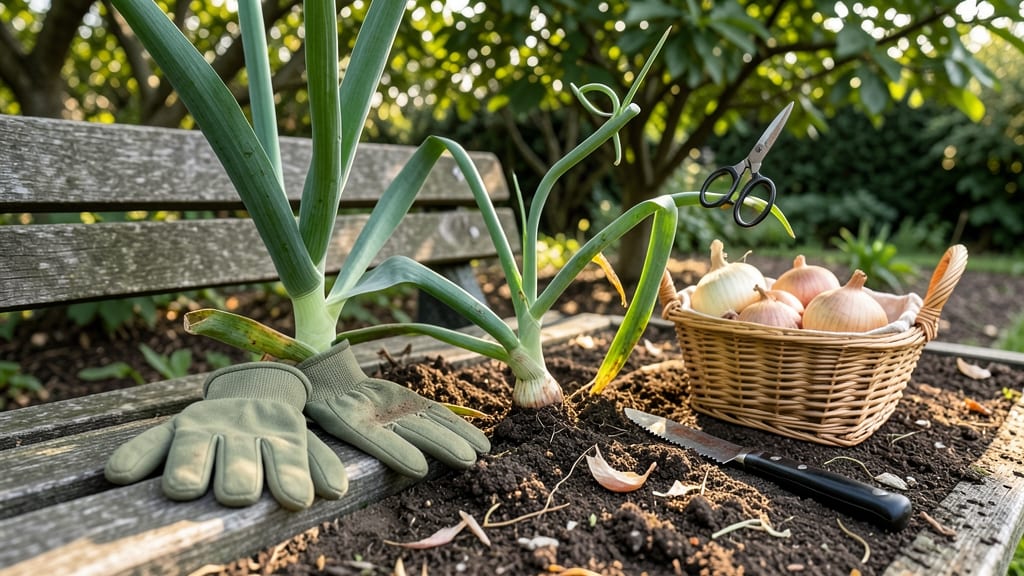
Harvest onions from the garden when their tops yellow and fall over — timing this right ensures sweet, storable bulbs instead of bitter, pungent leftovers.
Picture this: you’ve nurtured your 🧅 plants all season, and now the question looms—how do you know when to pull them? Miss the window, and you risk tough, stringy onions that won’t store well. Get it right, and you’ll enjoy flavorful harvests that last all winter.
Most gardeners wait until late summer or early fall, but the real secret lies in the plant’s signals: papery skin, a firm bulb, and dry foliage. These cues matter more than calendar dates, especially if you’re growing short-day varieties that respond to daylight changes.
In this guide, I’ll walk you through the top 5 signs your onions are ready, regional timing tweaks, and how to cure them for long-term storage—so you never waste another harvest again.

5 Visual and physical signs your onions are harvest-ready
Harvesting onions at the right moment transforms your garden into a treasure trove of flavorful bulbs. But how do you know when they're truly ready? Onions mature at different rates depending on the variety and seasonal conditions, so timing is everything.
Miss the window, and you risk bitter, pithy bulbs that spoil quickly. Let’s explore the 5 key signs that tell you it’s time to dig.
First, consider the planting season. Spring-planted onions typically reach harvest readiness in late June to July, while fall-planted varieties are best harvested in October or November. These timelines align with USDA Zone 6a averages, but your local climate may shift these dates by a few weeks.
Pay attention to your microclimate—cooler regions may need extra time, while hotter areas can speed up maturity.
🌱 5 Visual & Physical Signs Your Onions Are Harvest-Ready
- 🟡 1. Top Leaves Turn Yellow-Brown and Flop Over
The green tops of mature onions stop growing upright and collapse outward. This signals the bulb has absorbed all nutrients and is ready for harvest. - 🧅 2. Bulb Diameter Reaches 1-2 Inches
Gently brush away soil to check for firm, round bulbs. Most storage onions should be at least 1 inch in diameter, while green onions can be harvested smaller. - 🤏 3. Neck Tightens Near the Bulb
The stem (neck) above the bulb will shrink and feel tight. This is your cue that the bulb is fully formed and won’t grow larger. - 👁️ 4. Skin Becomes Thick and Papery
Run your thumb over the bulb’s skin. If it feels dry and resistant (not slimy), it’s ready. Thin, translucent skin means it’s not mature yet. - ⏰ 5. 90-120 Days Have Passed Since Planting
Most onion varieties take 90-120 days to mature. Track your planting date and combine it with the above visual signs for foolproof timing.
Let’s break down these signs further, starting with the most obvious: leaf color. When 70-80% of the tops turn yellow-brown and flop over, it’s a clear signal. This happens because the plant redirects energy from leaf production to bulb storage.
For short-day onions (like Texas Super Sweet), this shift occurs naturally as daylight shortens in late summer.
Next, focus on bulb size. A fully mature onion should feel firm and heavy for its size.
If you gently squeeze it and it gives slightly, it’s not ready. Storage onions (like Yellow Granex) need that 1-2 inch diameter to store well, while green onions can be harvested smaller.
Pro tip: Dig up a test onion to check—if it’s small and pithy, wait a few more days.
The neck tightness is often overlooked but critical. As the bulb matures, the stem above it will shrink and feel almost pinched. This is nature’s way of telling you the bulb is done growing.
If the neck is still thick, the bulb isn’t fully developed. For shallots or multiplier onions, this sign is especially important since they form clusters.
Don’t skip the skin test, which reveals the onion’s maturity level. A ready bulb has a thick, papery skin that resists gentle pressure. If the skin feels thin or moist, the onion isn’t fully cured and will spoil faster.
This is why proper curing after harvest is so important—it thickens the skin for long-term storage. For short-term use, you can harvest slightly earlier, but for storage, wait until the skin is fully developed.
Seasonal variations matter, especially for fall-planted onions. In cooler climates, onions planted in August or September may mature earlier due to shorter daylight. Conversely, spring-planted onions in hot climates might need extra time.
Always adjust your harvest timeline based on your local frost dates—aim to harvest before the first hard frost, or the bulbs may rot in the ground.
Finally, combine all these signs with the 90-120 day rule. Most onion varieties take this long to mature, but green onions can be harvested in as few as 60 days.
Keep a planting journal to track maturity times in your garden. Over time, you’ll learn which signs appear first in your climate and adjust accordingly.
Miss these signs, and you risk overmature onions, which become pithy and bitter. But nail the timing, and you’ll enjoy sweet, flavorful bulbs that store beautifully for months. Next, we’ll cover how to harvest without damaging your onions—so stay tuned! 🧅
How to harvest onions without damaging your bulbs (step-by-step guide)
Once your onions show yellowing tops and papery skins, it’s time to act—but timing matters. Harvest too early, and you’ll get small, pungent bulbs. Wait too long, and they’ll split or rot. The key is gentle handling and proper curing to preserve flavor and storage life.
I’ve learned the hard way that rushing the harvest leads to soft, spoiling onions. Instead, follow these steps to ensure your bulbs stay firm and sweet. Whether you’re growing short-day varieties or storage onions, the process is the same—just the timing shifts slightly by region.
Step-by-Step Onion Harvesting Guide
-
Step 1: Wait for the Right Signals
Harvest when 50-60% of tops have yellowed and fallen over. For green onions, cut when 4-6 inches tall.
-
Step 2: Choose a Dry Day
Pick a sunny, dry morning to avoid soil sticking to bulbs. Wet conditions increase rot risk during curing.
-
Step 3: Loosen the Soil Gently
Use a fork or spade to lift onions 2-3 inches away from the bulb. Avoid piercing the skin.
-
Step 4: Shake Off Excess Soil
Gently brush off dirt with your hands or a soft brush. Let onions air-dry for 1-2 hours before curing.
-
Step 5: Trim the Tops
Cut 1-inch stems above the bulb with clean scissors. Avoid leaving long tops, which draw moisture.
-
Step 6: Cure for Storage
Spread onions in a single layer in a shady, well-ventilated area (like a garage or porch) for 2-3 weeks. Ideal temps: 70-80°F.
-
Step 7: Store Properly
Once fully dry, store in a cool, dark place (like a mesh bag) with good airflow. Lasts 6-8 months if cured correctly.
After curing, I always test one bulb by slicing it open. If the layers are dry and papery, your onions are ready for storage. If they’re still damp or soft, extend the curing time by another week.
For short-day varieties (like Texas Early White), harvest in late summer before heat stress sets in. Long-day onions (like Yellow Sweet Spanish) can wait until early fall, but never let frost hit the soil.
Pro tip: If you’re unsure whether to harvest, dig up one bulb as a test. If the skin is thin and translucent, wait a week. If it’s thick and papery, it’s time to harvest the whole batch!