
How To
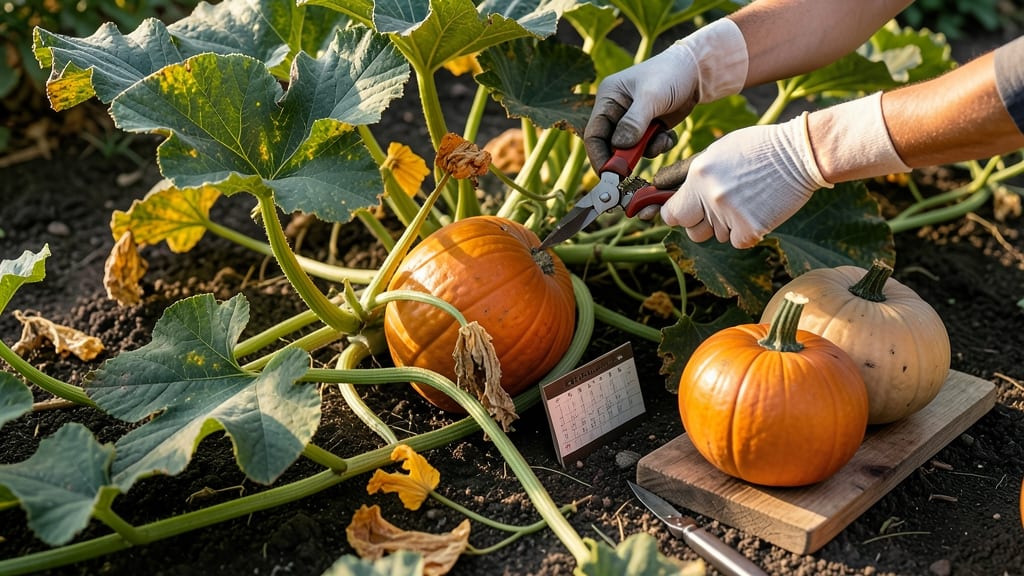
Harvesting pumpkins 🎃 at the right time means the difference between sweet, flavorful flesh and bland, stringy disappointment — and the key is knowing exactly when to pull the trigger.
Picture this: you’ve spent all summer tending to your vines, and now the moment of truth arrives. How do you know if that 30-pound giant is ready, or if you’ll be left with a meal of regret?
The answer lies in three simple visual cues that tell you the pumpkin is at its peak.
In Zone 6, where frost can sneak in as early as October, timing matters even more. A pumpkin harvested too soon will lack sweetness, while waiting too long risks rot or damage from the first cold snap.
Below, I’ll walk you through the exact signs to watch for — so you can confidently pick the perfect pumpkin every time.
You’ll learn how to check the stem, test the skin, and even gauge sweetness without cutting in. By the end, you’ll be harvesting like a pro, with pumpkins that store well and taste even better than store-bought.

3 Visual cues to harvest pumpkins at peak ripeness
Timing your pumpkin harvest is an art—wait too long, and you risk rot or pests; harvest too early, and you’ll end up with watery, bland flesh. The secret lies in these three visual cues that signal your pumpkins are ready to pick.
I’ve used these same tricks for years to ensure my pumpkins are sweet, firm, and perfect for carving or cooking.
First, let’s address the most common question: Can you really tell if a pumpkin is ripe without cutting it open? Absolutely! You don’t need to slice into your pumpkin to test its readiness—just follow these three key indicators that guarantee peak ripeness.
Mastering them will save you from wasted effort and ensure your harvest is a success.
Here’s the game-changer: a stem that’s dried and papery is your first clue. When the vine’s stem near the pumpkin turns from green to brown and woody, it’s time to act.
This change happens naturally as the pumpkin matures, and it’s a foolproof sign that sugars are concentrating inside the fruit.
- 1. Stem Color Change: Look for a dry, brown stem that snaps easily when bent. A green stem means more time is needed.
- 2. Skin Hardness: Press your fingernail into the rind near the stem. If it doesn’t puncture easily, the pumpkin is ready.
- 3. Vine Health: Check for yellowing leaves and dying vines. Healthy vines support ripe pumpkins, but dead vines signal it’s harvest time.
The skin’s texture is another dead giveaway. A ripe pumpkin’s rind should be thick, tough, and difficult to puncture with your fingernail. If you can dent it easily, give it another week or two.
For example, my Sugar Pie pumpkins develop a deep orange hue and a rind so hard it’s nearly impossible to scratch with my nail.
Don’t overlook the vine’s condition—it’s often the most overlooked cue. When the vine near the pumpkin starts yellowing and dying back, it’s a clear signal that the pumpkin is nearing maturity. I once ignored this cue with my Cinderella pumpkins and ended up with overripe, mushy flesh. Lesson learned!
Here’s a trick I swear by: tap the pumpkin gently with your knuckles. A ripe pumpkin will sound hollow and deep, almost like a drum. An unripe one will have a dull, thud-like sound.
This method works especially well for carving pumpkins, where you want that perfect balance of firmness and sweetness.
Regional differences matter too. In warmer climates (Zones 8-10), pumpkins may ripen faster and need harvesting by early October. In cooler zones (4-7), aim for late September to avoid frost damage.
Last year, my Jack Be Little pumpkins in Zone 6 were ready by mid-September, while my Long Island Cheese needed until October.
Once you’ve confirmed ripeness, harvest on a dry, sunny day to prevent disease. Use a sharp knife or pruners to cut the stem, leaving a 1-2 inch segment attached.
This stub helps the pumpkin heal and store longer. I always leave mine in the sun for a few hours post-harvest to harden the skin further before storing.
Finally, store your pumpkins in a cool, dry place (50-55°F) with good airflow. A garage or basement works well, but avoid refrigeration—it speeds up spoilage. With these cues, you’ll never second-guess your harvest again!
Pumpkin harvesting mistakes that ruin your crop (and how to avoid them)
Even the most patient pumpkin grower can fall victim to common harvesting mistakes that turn a promising crop into a disappointing one. I’ve seen overripe pumpkins rot in storage and underripe ones fail to develop sweet flesh—both heartbreaking scenarios.
The key is knowing what to watch for and when to act.
One of the biggest errors is harvesting based on size alone. A pumpkin might look massive but still be underdeveloped inside. Similarly, waiting until the first frost to harvest can damage the fruit, making it unusable.
Let’s break down the critical mistakes and how to sidestep them for a flawless harvest.
⚠️ Warning: Harvesting Too Early or Too Late
When to harvest pumpkins: Never pick before the stem hardens or the skin resists fingernail pressure. In Zone 6, aim for late September—before the first frost (typically October 20). Waiting too long risks rot or frost damage, while harvesting too soon guarantees bland, stringy flesh.
🌱 Pro Tip: Check the vines—when they yellow and die back, it’s time to harvest.
Another critical mistake is cutting the stem too close to the pumpkin. This creates an open wound that invites rot. Always leave a 1-2 inch stem attached—it acts as a natural barrier against decay and helps extend storage life.
I’ve seen pumpkins last 2-3 months in a cool, dry place with this simple trick.
Ignoring weather conditions is another silent killer of pumpkin harvests. If rain is forecasted within 48 hours of your planned harvest, pick early to avoid waterlogged fruit.
Wet pumpkins are prone to mold and bacterial infections, which can ruin an entire crop. Always harvest on a dry, sunny day for the best results.
Even if your pumpkin looks perfect, test for ripeness before harvesting. Press your fingernail into the skin—if it doesn’t puncture easily, it’s ready. For extra assurance, tap the pumpkin: a ripe one will sound hollow when tapped. Skipping this step often leads to underripe pumpkins that lack flavor and texture.
To maximize storage life, cure your pumpkins immediately after harvest. Place them in a warm, dry spot (80-85°F) for 7-10 days, turning them occasionally. This hardens the skin and prepares them for long-term storage. Without curing, pumpkins are more likely to shrink or spoil prematurely.
By avoiding these common mistakes—harvesting at the right time, leaving the stem intact, and curing properly—you’ll enjoy pumpkins that stay fresh and delicious for months. The effort is worth it when you’re rewarded with perfectly ripe pumpkins ready for cooking or carving.