
How To
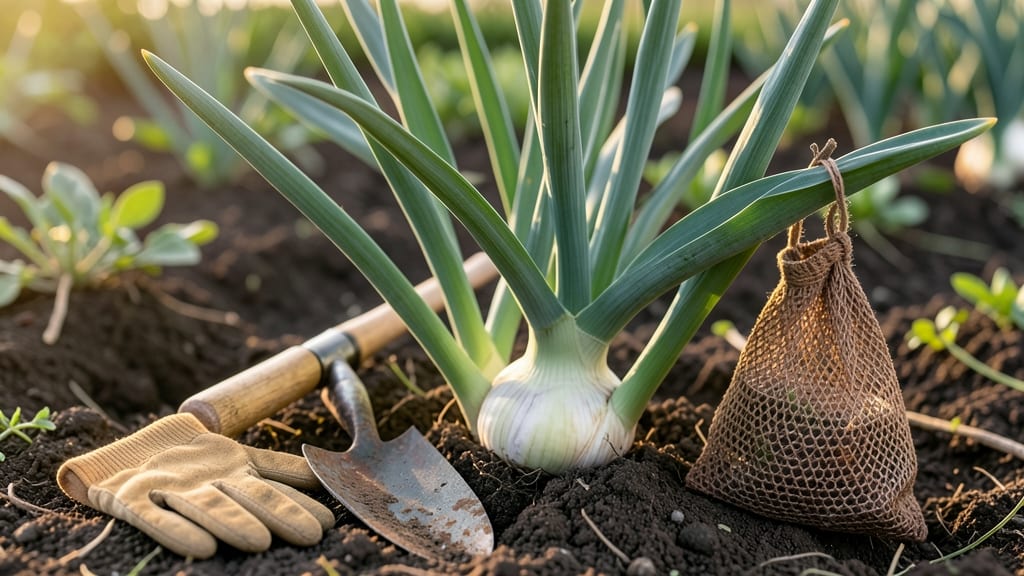
Harvesting softneck garlic at the right time ensures paper-thin wrappers and bulbs that store like gold 🧄 — and missing the window means tough, pithy cloves that spoil fast.
You’ve nurtured your garlic through frost and heat, but the three-week harvest window in late July to early August is where patience pays off. One week too early and the bulbs won’t cure properly; too late and the flavor fades.
The secret? Watch for the lower leaves turning crispy brown while the top stays green.
Climate plays a role too—cooler regions like Zone 6a can harvest a few weeks earlier, while hotter areas might push into early fall. Below, I’ll walk you through the exact visual cues, from wrapper thickness to bulb firmness, so you never guess again.
Master this timing, and you’ll enjoy garlic that stores all winter with peak flavor and zero waste. Let’s break down the step-by-step process to lock in that perfect harvest.

How to identify the perfect harvest time for softneck garlic
Harvesting softneck garlic at the ideal moment ensures maximum flavor and storage life. Unlike hardneck varieties, softneck garlic matures later in the season, typically between late July and mid-August in most USDA zones.
The key lies in observing three critical visual cues: leaf color, bulb firmness, and wrapper thickness. Ignoring these signs can lead to bulbs that split, shrivel, or fail to store properly.
Start by focusing on the bottom leaves of your garlic plants. When about 50% of the lower leaves turn brown and crispy, this signals the plant is redirecting energy to bulb development. However, don't wait until all leaves yellow—this means the bulb has already begun to deteriorate.
The upper leaves should remain mostly green but show slight yellowing at the tips, a clear sign the bulb is nearing peak maturity.
Next, examine the bulb wrappers. At harvest time, these should be paper-thin and dry—almost translucent when held up to light. Thick, green wrappers indicate the bulb isn't ready, while overly dry or brittle wrappers suggest you've waited too long.
Gently squeeze the bulb: it should feel firm and solid, not soft or spongy. This tactile check is your final confirmation that the garlic is harvest-ready.
| Harvest Cue | Description | Action |
|---|---|---|
| Leaf Color | 50% lower leaves brown/crispy; upper leaves slightly yellow | Check daily for progression |
| Bulb Firmness | Firm, solid when gently squeezed; no soft spots | Test 2-3 bulbs per plant |
| Wrapper Thickness | Paper-thin, nearly translucent; dry to touch | Hold against light for clarity |
| Neck Condition | Tightens and dries slightly; no flexibility | Gently pull to test resistance |
| Climate Impact | Warmer zones: Harvest 1-2 weeks earlier; cooler zones: Extend by 1 week | Adjust based on local frost dates |
Climate plays a critical role in harvest timing. In warmer southern regions (zones 8-10), softneck garlic often matures 2-3 weeks earlier than in cooler northern zones (4-7).
For example, in Florida or California, you might harvest as early as late June, while in New York or Michigan, aim for mid-to-late August. Always check your last frost date—garlic needs 60-80 days of warm weather after planting to fully mature.
Variety also affects timing. Artichoke garlic and Silverskin garlic (common softneck types) mature slightly later than Creamgold or California Early varieties. If you're unsure, plant a small test batch 2-3 weeks earlier than expected and monitor closely.
This "test harvest" helps you calibrate future plantings to your specific climate and soil conditions.
One common mistake is harvesting based on calendar dates rather than plant cues. While softneck garlic typically matures in 270-300 days, counting days from planting can lead to overripe or underripe bulbs.
Instead, use a combination of visual and tactile checks every 3-5 days during the expected harvest window. This proactive approach ensures you catch the sweet spot between perfect maturity and overripeness.
Regional differences extend beyond temperature. Humidity levels also impact wrapper drying—high humidity can delay the browning process, while dry conditions may cause leaves to crisp too quickly. In humid climates like the Southeast, prioritize bulb firmness and wrapper thickness over leaf color.
Conversely, in arid regions like the Southwest, watch for leaf browning first, as bulbs may dry out faster.
Pro tip: Harvest on a dry, sunny day between 10 AM and 2 PM. This allows the bulbs to dry naturally in the field, reducing the risk of mold during curing. Avoid harvesting after rain or in the evening, as moisture can accelerate spoilage.
Once you've identified the perfect moment, act quickly—softneck garlic can go from peak maturity to overripe in just 3-5 days.
Remember, the ideal harvest window is brief but critical. When you see those paper-thin wrappers and firm bulbs, your garlic is ready to transform into a pantry staple. With these cues mastered, you'll enjoy plump, flavorful cloves that store beautifully for months—all thanks to perfect timing.
Step-by-step harvesting process for maximum garlic yield
Once you’ve spotted your garlic’s crispy brown lower leaves and firm bulbs, the next 48 hours are critical. Rush the harvest, and you risk mold; wait too long, and the flavor dulls.
I’ve learned that morning harvests after dew dries but before noon heat sets in give the best results—cooler temps slow spoilage during curing.
Start by cutting the stems to about 2 inches above the bulb with clean, sharp shears. This prevents sap loss while allowing the bulb to finish maturing. Leave the roots intact—they’ll help draw up moisture during the drying process.
If you’re harvesting in humid climates, like Zone 7b, prioritize this step immediately to avoid fungal risks.
Your Softneck Garlic Harvest Checklist
- 1 Test bulb readiness: Gently squeeze a bulb—it should feel firm and solid, not soft. If it gives slightly, wait 3–5 days.
- 2 Harvest on dry mornings: Pull bulbs carefully by the stem base, shaking off excess soil. Avoid wet conditions—moisture speeds rot during curing.
- 3 Trim stems and roots: Cut stems to 2 inches and roots to ½ inch. This balances airflow during drying while preserving the bulb’s integrity.
- 4 Cure in dry, shaded space: Hang bulbs in 60–70°F areas with good airflow (like a garage or shed). Avoid direct sun—it causes skinning.
- 5 Store after 4–6 weeks: Once skins are paper-thin and dry, braid stems or store in mesh bags at 50–60°F and 60% humidity for winter.
After harvesting, the curing phase is non-negotiable—this is where flavor and storage life are sealed. I’ve cured garlic in everything from garage racks to screened porches, but consistency is key.
Aim for 4–6 weeks of drying time, checking weekly for mold (toss any bulbs with fuzzy spots immediately). Pro tip: Space bulbs 1 inch apart to prevent moisture buildup.
Once cured, your garlic should have tight, papery skins and a rich, pungent aroma. Store in mesh bags or wooden crates in a cool, dark place—my basement stays at 55°F, and the garlic lasts until March or April.
If you notice any bulbs sprouting early, separate them immediately—they’ll steal energy from their neighbors.
Remember, harvest timing directly impacts storage life. Garlic harvested too early may sprout prematurely, while overripe bulbs lose their sharp, sweet flavor. By following these steps, you’ll enjoy homegrown garlic that rivals store-bought—without the chemical aftertaste. Happy harvesting! 🧄