
Vegetables
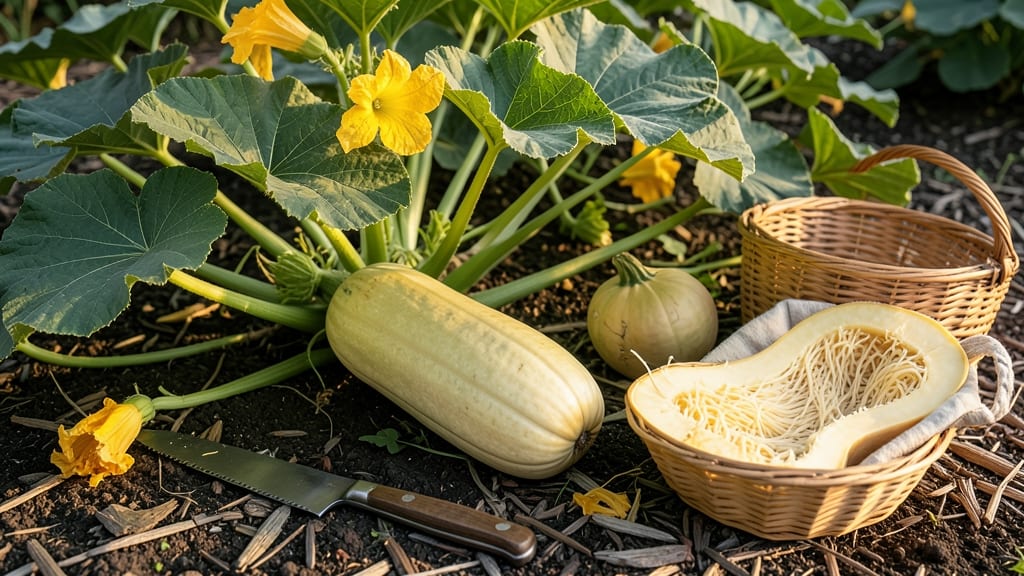
Harvesting spaghetti squash at the right time ensures that stringy, tender texture you love—no more tough or overly sweet disappointment.
Picture this: you’ve waited months for your 🎃 to ripen, only to slice into it and find either a rock-hard center or a mushy mess. The difference between perfect and ruined squash comes down to three simple tactile tests that take just seconds to check.
In this guide, I’ll walk you through how to tell when your spaghetti squash is ready to pick, including what to watch for in the rind, stem, and even the vines. You’ll also learn how to salvage underripe or overripe squash so nothing goes to waste.
By the end, you’ll know exactly when to harvest for that ideal stringy texture—every time.
3 Tactile tests to determine perfect spaghetti squash ripeness
Spaghetti squash thrives on timing—harvest too early, and you’ll get tough, fibrous strands that resist forking. Harvest too late, and the flesh turns grainy and overly sweet, losing that delicate texture we love.
The secret? Trust your hands instead of guessing by days or color alone. These three tactile tests will give you foolproof results every time, ensuring your squash is ready for the table.
First, let’s debunk the myth that color alone determines ripeness. While a dull yellow rind is a good sign, immature squash can trick you with premature yellowing. That’s why physical cues matter most—especially when growing in shady conditions or cool climates where color changes lag.
By combining firmness, stem condition, and rind texture, you’ll avoid the two biggest harvest mistakes: underripe squash that’s too tough and overripe squash that’s past its prime.
Here’s the game-changer: these tests work for both vine-grown and container varieties, so whether you’re growing in raised beds or 5-gallon buckets, you’ll get consistent results. The key is consistency—check all three signs within a 24-hour window to confirm ripeness.
Pro tip: Morning harvests are ideal because the squash’s starch content is highest after a full night’s rest.
-
1
Rind Firmness Test
Press your thumbnail into the squash’s skin. If it doesn’t dent and feels hard like a cantaloupe, it’s ready. Soft spots mean wait 3-5 days.
-
2
Stem Condition Check
Twist the stem gently—if it snaps cleanly (not pulls away), the squash is ripe. A green, moist stem means more time; a dry, brown stem could signal overripeness.
-
3
Color & Texture Combo
Look for a matte, dull yellow (not shiny). Run your fingers over the rind—it should feel smooth but firm. Green streaks or wrinkled skin mean wait longer.
Now, let’s talk about common pitfalls that even experienced gardeners fall into. One big mistake? Harvesting based on vine color. Just because the vines turn yellow doesn’t mean the squash is ready—this is especially true in hot climates where vines senesce early.
Always double-check with your hands before cutting. Another trap? Assuming size equals ripeness. A squash can be large but underdeveloped if it didn’t get enough sunlight or nutrients.
For container growers, tactile tests are even more critical because root-bound stress can mimic ripeness. If your squash is in a 5-gallon pot, press the sides of the container—if the soil feels dry and compacted, the squash may be stunted.
In this case, uproot and check the roots for signs of circling or rot before proceeding with the firmness test. Pro move: Use a soil probe to verify moisture levels if you’re unsure.
What if your squash passes two tests but fails the third? This is where patience pays off. Wait 24-48 hours and retest—often, a squash just needs a few more days on the vine to fully mature.
But if it’s late September and frost is looming, you might need to harvest slightly early and cure it indoors (more on that in the next section). The goal is to balance ripeness with climate risks, and these tactile tests help you make that call.
Here’s a quick sanity check for busy gardeners: if your squash weighs 3-5 pounds (standard size), feels heavy for its size, and has a dull yellow rind, it’s likely ready.
But never skip the thumb test—this one trick has saved me from tough, seedy squash more times than I can count. Remember, perfect spaghetti squash isn’t just about timing; it’s about listening to your squash.
For first-time growers, I recommend harvesting 2-3 squash at different stages to compare textures. Cook one underripe, one perfectly ripe, and one overripe—the difference in stringy texture is night and day. This hands-on approach builds your instinct for ripeness faster than any rule book.
How long does it take to harvest spaghetti squash after flowering?
Spaghetti squash typically takes 75 to 100 days to reach harvest readiness after flowering, but this timeline shifts with your climate zone and growing conditions.
In warm regions like USDA Zones 9-11, you might harvest as early as 80 days, while cooler zones (like Zones 3-5) may extend this to 100-120 days due to shorter growing seasons.
For example, if you planted seeds in mid-May in Zone 6a, expect flowering around late June and harvest-ready squash by late September. Tracking your first frost date is key—spaghetti squash won’t tolerate frost, so plan accordingly.
📅 Pro Tip: Use a planting calendar to count back from your average first frost. Aim for a 100-day window from seed to harvest to avoid late-season surprises.
| Growth Stage | Days After Flowering | Key Signs | Climate Adjustments |
|---|---|---|---|
| Early Development | 0-30 days | Green squash, soft rind, vines active | Warm soil speeds growth |
| Maturing | 30-60 days | Rind turns dull yellow, stem hardens | Cool nights slow ripening |
| Harvest-Ready | 60-90 days | Hard rind, dry stem, vines yellow | Frost risk accelerates harvest |
| Overripe | 90+ days | Soft spots, wrinkled skin, seedy | Store immediately or cook |
If late-season frost threatens before your squash ripens, take action! Black plastic mulch or row covers can add 2-4°F protection and extend the growing season by 1-2 weeks.
For a last-resort boost, hand-pollinate flowers with a small brush to ensure fruit set, then cover young squash with straw mulch to insulate them from cold snaps.
In short-season climates, opt for fast-maturing varieties like 'Golden Nugget' (75 days) or 'Honey Bear' (85 days). These hybrids prioritize speed over size, making them ideal for northern gardens where summer is fleeting.
Remember: Harvesting early sacrifices texture, while waiting too long risks rot or pest damage. Balance these factors with your local frost dates for foolproof results every season.