
Plants
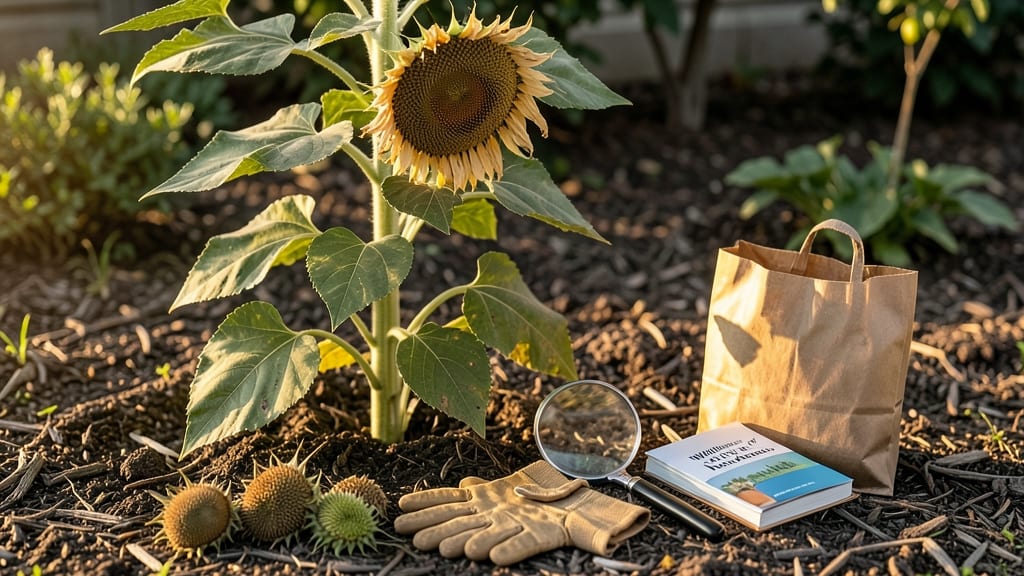
Harvesting sunflower seeds from plants at the right time means waiting until the seed head turns brown and the back darkens—usually in late summer to early fall.
You’ve spent months watching your 🌻 sunflowers grow, and now the moment has arrived: the petals have wilted, the back of the head is turning brown, and those seeds are finally ready.
But how do you know for sure? One wrong move—like harvesting too early or too late—and you could end up with bitter seeds or a crop lost to birds.
Below, I’ll walk you through the visual cues (like seed head color and the stem twist test) that guarantee perfect timing, plus regional tips to avoid common mistakes. No guesswork—just a foolproof way to collect seeds at their peak.
Ready to turn those towering blooms into a harvest? Let’s dive in.

How to tell when sunflower seeds are ready by seed head color
Sunflower seed heads go through dramatic color changes as they mature, and these shifts are your best indicator of harvest readiness.
The most reliable visual cue is the transition from green to yellow on the back of the seed head—this signals that the seeds inside are fully developed and ready to collect.
For standard varieties, look for a golden-yellow back paired with wilted petals that have fallen away or turned brown.
Different sunflower varieties show slightly different color cues. For example, dwarf varieties like 'Teddy Bear' may have a more muted yellow, while tall varieties like 'Russian Giant' develop a deeper golden hue.
Pay attention to the center disk (the base where seeds form)—it should turn from green to tan or brown, indicating seed maturity. If the disk remains green, the seeds aren’t ready yet.
Don’t rely solely on petal color, though. Some varieties retain vibrant petals even when seeds are mature. Instead, focus on the back of the seed head and the stem twist test (we’ll cover that next!).
Ignoring these visual cues can lead to immature seeds that won’t store well or overripe seeds that may sprout prematurely.
🌻
| Stage | Seed Head Color | Petals | Stem Condition | Harvest Readiness |
|---|---|---|---|---|
| Early Maturity | Green with hints of yellow | Vibrant, upright | Firm, no twist | Not ready |
| Mid-Maturity | Yellow-green back | Wilted, some fallen | Slightly soft at base | Close to ready |
| Full Maturity | Golden-yellow back | All fallen or brown | Twists easily at base | Ready to harvest |
| Overripe | Brown, dry, cracked | None | Brittle, snaps easily | Too late; risk of rot |
The back of the seed head is where the magic happens. When it turns golden-yellow, it’s a clear signal that the seeds inside are fully developed. This color change happens because the chlorophyll breaks down as the seeds mature, revealing the true color of the seed head.
For black oil sunflowers, the back may appear darker or even slightly brownish, but it should still have that dry, papery texture.
If you’re unsure, perform a simple seed rattle test: Gently shake the seed head over a paper bag. If seeds rattle loudly, they’re ready.
If they feel soft or squishy when pressed, wait a few more days. Moisture levels are critical—seeds should be dry enough to shake but not so dry they crumble.
Regional timing matters too. In warmer climates (like USDA Zone 8-10), sunflowers may mature earlier, while in cooler zones (like Zone 4-6), you might need to harvest later in the season.
Always keep an eye on the first frost date—if frost is imminent, harvest even if the seed heads aren’t fully yellow to avoid rot.
Pro tip: Use a small mesh bag to cover seed heads when they’re nearly mature but before birds or squirrels can raid them. This protects your harvest while allowing the seeds to finish drying in place. Once fully dry, you can easily remove the bag and collect your seeds.
🌿
The stem twist test: a pro gardener’s secret for harvest timing
While checking the seed head color is a great starting point, I’ve found the stem twist test is the ultimate way to confirm seed maturity. This simple method reveals whether the seeds inside are fully developed—something color alone can’t always show.
The test works because it measures internal seed dryness, which is the true indicator of harvest readiness.
Here’s how I perform the test: On a dry, sunny morning, gently grasp the main stem of your sunflower about 6 inches below the seed head. With a firm but controlled motion, twist the stem slowly clockwise.
The key is to feel for resistance—if the stem snaps cleanly with minimal effort, your seeds are ready. If it bends without breaking, wait a few more days.
⚠️ callout-warning
The reason this test works better than color alone is that some sunflower varieties (like Mammoth types) may show brown seed heads while still containing moist, undeveloped seeds. The twist test cuts through the guesswork by directly assessing the internal moisture level of the seeds.
I’ve seen gardeners miss harvest windows by days just relying on color cues—until they learned this trick.
For extra accuracy, combine the twist test with the seed rattle method. Once the stem passes the twist test, give the seed head a gentle shake. If seeds rattle loudly inside, they’re ready.
If you hear a dull thud, they need more time. This two-step approach ensures you never harvest too early or too late.
Pro tip: If you’re growing sunflowers in cooler climates (like USDA Zone 4), perform the twist test earlier in the season—frost can accelerate seed drying.
In warmer zones (like Zone 8+), seeds may stay viable longer, so wait until the stem snaps easily before harvesting. Timing is everything!
Once your sunflower passes both tests, it’s time to harvest! Use clean, sharp pruning shears to cut the stem about 12 inches below the seed head, then hang the heads upside-down in a dry, well-ventilated spot for 2-3 weeks to fully dry.
This method preserves seed quality and prevents mold. Now you’re ready for a bountiful harvest—no more second-guessing! 🌻