
How To
Harvesting turmeric at the right time means capturing its peak curcumin content—the compound that gives it that golden hue and anti-inflammatory punch.
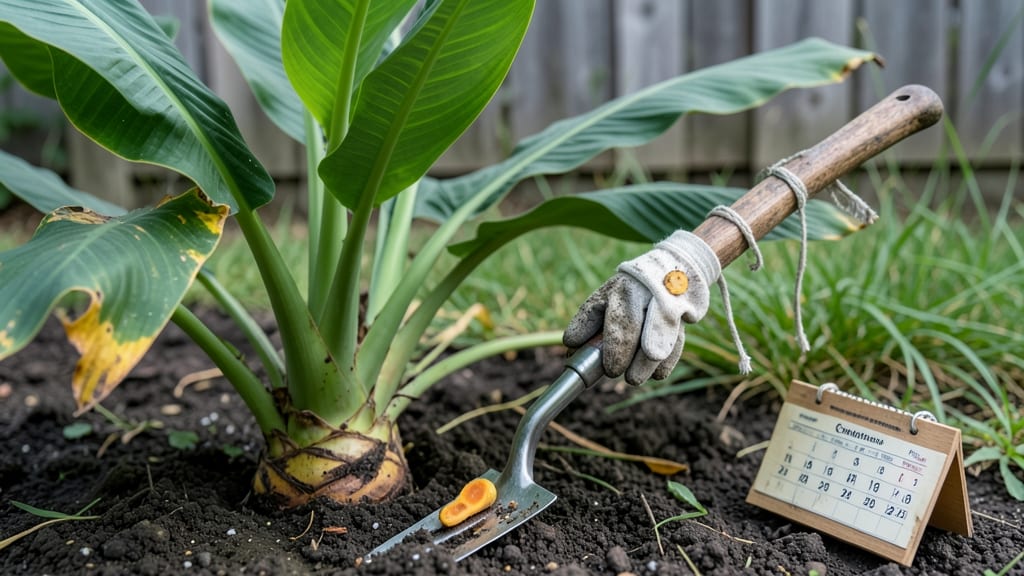
Picture this: you’ve nurtured your 🌿 turmeric for nearly a year, and now the leaves are turning yellow, curling at the edges. That’s your cue—harvest too early, and you’ll miss out on the full flavor and potency.
Too late, and the rhizomes turn bitter or rot before you can dig them up.
Timing isn’t just about months or days; it’s about three key visual signals—leaf color, rhizome size, and soil conditions—that tell you when to pull the plug.
Skip these, and you could lose up to 30% of that precious curcumin, turning a harvest meant for spice blends or health tonics into a disappointing afterthought.
In this guide, I’ll walk you through those three must-know signs, plus how to harvest without wrecking next year’s crop—and why October or November is the sweet spot for USDA Zone 6a growers like me. Let’s get those rhizomes out of the ground the right way.

3 Visual signs your turmeric plant is ready for harvest
Timing your turmeric harvest perfectly ensures maximum curcumin content—this powerful compound gives turmeric its anti-inflammatory benefits. But how do you know when your plant is truly ready?
Look for these three key visual cues that signal peak maturity and flavor. Ignoring these signs can lead to underdeveloped rhizomes or bitter, less potent roots.
First, pay attention to the leaf color. Mature turmeric plants show distinct changes in foliage that indicate it's time to harvest. The leaves will start turning yellowish-brown and begin to wither from the bottom up.
This isn't just natural aging—it's your plant's way of telling you the rhizomes below are fully developed and packed with flavor.
Next, examine the rhizome size. While you can't see them underground, mature turmeric rhizomes typically reach 1-2 inches in diameter. They'll feel firm to the touch, not soft or spongy.
If you gently dig around the base, you should be able to feel these thick, knobby roots—this is your green light to harvest. Smaller or greenish rhizomes mean more growing time is needed.
Finally, watch for the flower stalk development. When your turmeric plant sends up a tall, leafless stalk with small white or purple flowers, this is nature's countdown to harvest. The flowers may not last long, but their appearance marks the final stage before the plant redirects energy to the rhizomes.
Harvest within 2-4 weeks after flowering for optimal curcumin levels.
| Sign | Not Ready (Immature) | Ready (Mature) | Action |
|---|---|---|---|
| Leaf Color | Bright green, healthy leaves | Yellowing, withering from base | Harvest in 2-4 weeks |
| Rhizome Size | Small (<1 inch), greenish | 1-2 inches, firm, orange-yellow | Dig carefully to avoid damage |
| Flower Stalk | No stalk present | Tall, leafless stalk with flowers | Harvest within 2 weeks |
| Soil Condition | Moist, active growth | Drying out, slower growth | Wait for dry weather |
Understanding these visual cues helps you avoid common mistakes like harvesting too early (when rhizomes are still small and green) or too late (when they become woody and less flavorful).
For example, if your plant's leaves are still vibrant green but the flower stalk has appeared, wait 1-2 more weeks—this gives the rhizomes extra time to develop their signature deep orange color and maximum curcumin content.
Regional climate plays a role too. In temperate zones, aim to harvest before the first frost (typically October-November). In tropical climates, where frost isn't a concern, watch for the leaf yellowing and flower stalk as your primary indicators.
The key is consistency: combine these visual signs with your local growing season to pinpoint the perfect moment.
Pro tip: If you're unsure, dig up one rhizome to check its size and color. If it's small or green, give your plant more time. If it's firm, orange, and 1-2 inches wide, it's ready.
This test harvest also lets you monitor the plant's progress without committing to a full harvest too soon.
Remember, the brightest orange rhizomes contain the highest curcumin levels. When you see that vibrant color combined with the other two signs, you're looking at a harvest that's not just visually stunning but packed with health benefits.
Don't wait too long after these signs appear—once the leaves fully wither, the rhizomes may start losing their potency.
Once you've confirmed all three signs, it's time to harvest. Use a sharp garden fork to gently lift the rhizomes from the soil, being careful not to puncture them.
Rinse off any dirt, then let them dry in a warm, sunny spot for 5-7 days before storing. Proper drying preserves the curcumin and prevents spoilage.
How to harvest turmeric without damaging future growth
Once you’ve spotted those yellowing leaves and firm rhizomes, it’s time to act—but how you harvest makes all the difference. A rough pull can bruise the roots, inviting rot and reducing next year’s yield.
Instead, follow these steps to extract your turmeric rhizomes gently while preserving the plant’s vitality for future harvests.
I’ve learned the hard way that timing the harvest isn’t just about the season—it’s about the soil conditions and rhizome maturity. If the ground is waterlogged, the roots will break easily, and if the rhizomes aren’t fully developed, you’ll miss out on peak curcumin potency.
Here’s my foolproof method to get it right every time.
Step-by-Step Turmeric Harvest Guide
- 🌱 Step 1: Choose Dry Weather
Harvest on a sunny, dry day when the soil is slightly moist but not soggy. This prevents rhizomes from sticking or breaking. - 🪴 Step 2: Water the Soil Lightly
24 hours before harvesting, give the plant a light watering to loosen the soil without oversaturating it. This makes the rhizomes easier to dig up. - ✂️ Step 3: Cut the Foliage
Use clean pruning shears to trim the leaves and stems 1 inch above the ground. This redirects energy to the rhizomes and reduces disease risk. - 🌿 Step 4: Gently Dig Around the Base
Use a hand fork or trowel to loosen the soil in a wide circle around the plant. Avoid piercing the rhizomes. - 🤲 Step 5: Lift the Rhizomes Carefully
Grasp the plant’s base and pull upward gently. If resistance occurs, wiggle the fork deeper—never force it. - 💧 Step 6: Rinse and Inspect
Rinse the rhizomes under cool water to remove soil. Check for soft spots or cuts—discard any damaged pieces. - ☀️ Step 7: Cure in the Sun
Lay the rhizomes in direct sunlight for 4-6 hours to toughen the skin. This step boosts flavor and storage life.
After harvesting, you’ll want to preserve those rhizomes for long-term use. I’ve found that proper drying is just as critical as the harvest itself. Spread the cured rhizomes on a screen or mesh rack in a well-ventilated, dry area for 7–10 days.
Turn them occasionally to ensure even drying—this prevents mold and maintains their vibrant color.
Once fully dried, store your turmeric rhizomes in an airtight container away from light and moisture. A glass jar or vacuum-sealed bag will keep them fresh for up to a year.
If you’re planning to replant some rhizomes for next season, set aside the largest, firmest ones and store them in a cool, dark place until spring.
Remember, the goal isn’t just to harvest—it’s to harvest smartly. By following these steps, you’ll ensure your turmeric stays potent, your plant stays healthy, and you’ll always have a ready supply of this golden spice for your garden and kitchen. Happy harvesting! 🌱