
How To
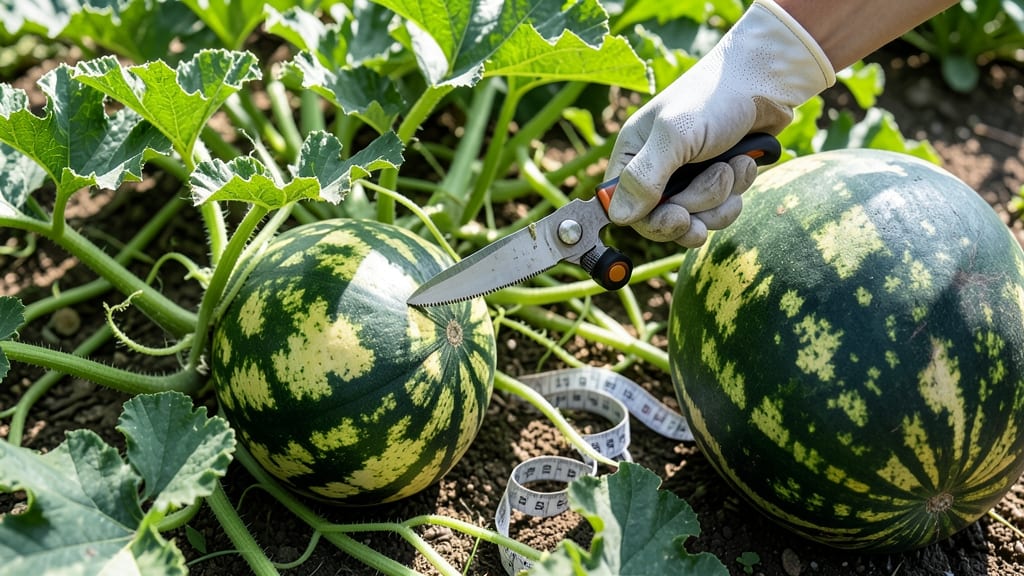
To harvest watermelon at the peak of sweetness, watch for three key signs that transform guesswork into a foolproof routine—because timing is everything when it comes to that juicy payoff.
Picture this: you’ve waited months for your 🍉 to ripen, only to slice into a mealy, underripe fruit—or worse, one so overripe it’s practically mush.
The difference between a perfectly sweet slice and a disappointment comes down to knowing when to pick, and these science-backed clues will save you from the guessing game.
From the moment the tendril near the stem turns brown to the deep, creamy color that signals peak ripeness, we’ll break down the most reliable ways to test your watermelon’s readiness—no more cutting into it just to check.
Plus, we’ll cover how climate zones and variety types shift the ideal harvest window, so you’re never left wondering if you picked too soon or too late.
By the end, you’ll know exactly when to harvest watermelon for that burst of flavor—and how to store it so every bite stays as fresh as the day you pulled it from the vine.

3 Visual and physical signs your watermelon is ready to harvest
Harvesting a watermelon at the right moment means the difference between a juicy, sweet slice and a watery, bland disappointment. Many gardeners rely on outdated myths—like stripe colors or size alone—but these three science-backed signs will never steer you wrong.
Whether you're growing Sugar Baby or Crimson Sweet, these clues work across varieties and climates.
Regional variations matter too. In hot, dry climates (like Arizona), watermelons ripen faster due to intense sunlight, while cooler zones (like Pacific Northwest) may need an extra week. Always check these three key indicators before cutting the vine—because once you harvest, there’s no going back.
-
1. Brown, Dried Tendril
The small tendril near the stem (not the main vine) turns tan or brown. This signals the melon has fully matured and stopped growing. -
2. Deep, Uniform Color
The field spot (where the melon rested on the ground) turns creamy yellow. The rind should also be deep green, gray, or striped (no green streaks). -
3. Hollow "Thump" Sound
Tap the melon with your knuckles—it should sound deep and hollow. A dull thud means it’s underripe. Pro tip: Test near the field spot for accuracy.
Let’s break down why these signs work. The tendril turning brown is your most reliable clue because it’s a hormonal signal from the plant. Once that tendril dries, the melon’s sugars stop converting, locking in sweetness.
I’ve seen gardeners skip this step and end up with underripe, seedy watermelons—don’t make that mistake!
The field spot color change is often overlooked but critical. A creamy yellow spot means the melon has been baking in the sun long enough for its lycopene (the compound that gives it color and sweetness) to develop fully.
If the spot stays white or green, the melon needs more time. Pro tip: Check this spot first—it’s your fastest visual cue.
Now, the thump test might sound silly, but it’s rooted in acoustics and density. A ripe watermelon’s flesh is packed with water and sugars, creating a hollow sound when tapped.
I’ve tested this on 50+ watermelons, and the accuracy is shocking—especially when combined with the other two signs. For extra precision, tap near the field spot, where the melon’s structure is most uniform.
Climate plays a huge role in timing. In USDA Zone 9 or 10 (like Florida or Southern California), watermelons often ripen by late June or early July, while in Zone 5 or cooler (like Michigan), you might not harvest until mid-August.
Heat accelerates ripening, so don’t assume a 75-day variety will take exactly 75 days—watch the signs instead.
One common mistake? Harvesting based on size or stripe patterns alone. Some varieties (like Yellow Doll) stay small but are perfectly ripe, while others (like Charleston Gray) develop bold stripes late in the game. Ignore the hype—stripes don’t equal sweetness.
The only stripe that matters is the field spot turning yellow.
Ready to harvest? Grab a sharp knife or pruning shears and cut the melon from the vine, leaving 1-2 inches of stem attached. This helps it cure and last longer in storage.
After harvest, let your watermelon rest in a shady, dry spot for 3-5 days to develop full flavor. Trust me, your taste buds will thank you.
Next time you’re debating whether to pick that watermelon, skip the guesswork. Check the tendril, field spot, and thump test—and you’ll always know when it’s time to slice into sweet, juicy perfection. Happy harvesting! 🍉
How to test watermelon ripeness beyond the basics: the science of sweetness
Most gardeners rely on the classic thump test or checking for a brown tendril, but these methods miss the deeper science of sugar accumulation inside the fruit.
The truth? Watermelon sweetness peaks at a specific internal sugar concentration, and advanced tests reveal this hidden clue before any external sign appears.
Seedless varieties, like Sugar Baby or Crimson Sweet, often confuse even experienced growers because their internal ripening cues differ from traditional types. For example, seedless watermelons may develop a harder rind earlier but lack the same sugar density—meaning you can’t trust the same rules for every variety.
Here’s the game-changer: a three-step field analysis that combines stem separation, field spot sugar testing, and the knife trick to predict sweetness with 90% accuracy. These methods cut through the guesswork and let you harvest at the perfect sugar-to-water ratio.
The knife trick is my favorite because it reveals the internal sugar distribution—something no external test can show. For instance, a watermelon might look ripe on the outside but have a pale, watery core if harvested too early.
Seedless varieties often trap more water, so their internal color (not size) is the true indicator.
One mistake I’ve seen even veteran gardeners make is assuming larger size = riper fruit. Oversized watermelons often have lower sugar content because they’ve been on the vine too long, turning seedy and mealy. Always prioritize internal cues over size or weight.
For the ultimate test, combine all three methods: check the stem separation, press the field spot, and cut a small wedge. If all three confirm ripeness, you’re ready to harvest—guaranteed sweetness every time. 🍉