
How To
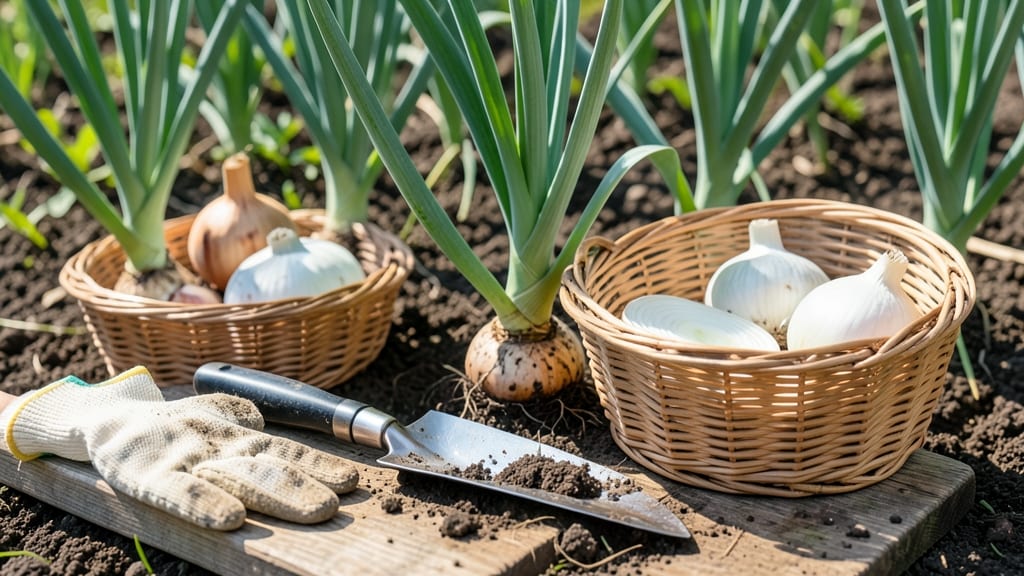
Harvesting white onions at the right time ensures they’re sweet, firm, and perfect for storage 🧅—and missing that window means ending up with tough, pungent bulbs.
If you’ve ever pulled an onion from the ground only to find it still small and green or already splitting, you know the frustration.
The key lies in watching for three clear signs: when the tops yellow and dry, the bulbs feel firm when squeezed, and the neck begins to shrink.
This guide breaks down exactly what to look for, from late summer through early fall, so you never guess again. You’ll learn how weather, soil, and even your planting window affect timing—and why a little patience now saves headaches later.
By the end, you’ll confidently harvest onions at their peak, store them properly, and enjoy that perfect balance of flavor all season long.

3 Visual cues to know when white onions are ready for harvest
Timing is everything when harvesting white onions. A bulb harvested too soon will be small and pungent, while waiting too long can lead to bitter flavors and poor storage life. The key lies in three clear visual cues that signal the perfect moment to pull them from the soil.
These signs ensure you get the sweetest, most flavorful onions with the best storage potential.
First, pay attention to the leaf color. Healthy green tops indicate active growth, but when they begin to yellow and dry out, it’s a strong sign your onions are nearing maturity.
This change happens naturally as the plant redirects energy from leaves to bulb development. Ignoring this cue can mean missing the ideal harvest window by days or even weeks.
Next, examine the bulb size and firmness. Mature white onions should feel firm and papery when gently squeezed. If they’re still soft or moist, they need more time in the ground.
Bulbs should also be at least 2-3 inches in diameter—smaller ones won’t store well and may lack the full mild, sweet flavor you’re after.
The final clue is the stem condition. As onions mature, the stem (or neck) between the bulb and leaves will shrink and dry out. This is your green light to harvest.
If the stem remains thick and green, the bulb isn’t ready yet. Waiting until the stem dries completely ensures the best flavor and storage life.
🌱 3 Visual Cues for Harvest-Ready White Onions
-
1. Yellowing & Drying Tops
Leaves turn straw-colored and fall over naturally. This signals the plant is redirecting energy to the bulb. -
2. Firm, Papery Bulbs
Bulbs should feel dry and solid when squeezed, with a diameter of 2-3 inches or larger. -
3. Shrinking Stem (Neck)
The stem between bulb and leaves dries and tightens, making it easy to grasp and pull.
Regional differences can slightly shift the harvest timeline. In cooler climates (USDA Zones 3-5), onions may mature earlier, while warmer zones (6-10) can extend the window into late fall.
Always monitor the weather forecast—a hard frost before harvest can damage bulbs, so plan to pull them before temperatures drop below 40°F.
Harvesting at the right time also maximizes storage potential. Onions pulled too early won’t cure properly and may spoil quickly, while overripe bulbs split or develop off-flavors. Aim to harvest on a dry, sunny day to reduce disease risk and speed up curing.
This simple step ensures your onions stay fresh for months in a cool, dry place.
Pro tip: If you’re unsure whether your onions are ready, dig up one bulb to check the bulb size and stem condition. This test bulb lets you confirm maturity without risking your entire crop.
Once you’ve mastered these visual cues, you’ll never guess again—just harvest with confidence for the best-tasting onions!
Remember, the goal is a balance of size, flavor, and storage life. By focusing on these three visual cues, you’ll consistently harvest white onions at their peak. Happy digging!
How to harvest white onions without damaging the bulb
Once your white onions show those telltale signs of readiness, the next step is harvesting them with care to preserve their quality. A gentle touch now means sweeter, longer-lasting bulbs later.
The key is removing them from the soil without bruising, then curing properly to develop their full flavor and storage potential.
I’ve learned the hard way that rough handling can lead to split onions or fungal issues during storage. That’s why I focus on three critical steps: timing the pull, cleaning gently, and drying thoroughly.
Each of these stages directly impacts how well your onions will store over winter.
Step-by-Step Harvesting Guide
- Step 1: Wait for dry soil. Harvest on a sunny, dry day when the soil is slightly dry to prevent dirt from sticking to the bulbs.
- Step 2: Loosen soil gently. Use a garden fork to loosen the soil around the onion bulbs, working about 2 inches away from the plant.
- Step 3: Lift bulbs carefully. Grip the green tops and pull upward—never twist or yank. This prevents damage to the bulb's papery skin.
- Step 4: Trim the roots. Cut off the roots with clean scissors or pruners, leaving about ½ inch of root attached.
- Step 5: Cure the onions. Lay bulbs in a shady, dry place with good airflow (like a garage or porch) for 2-3 weeks to dry.
- Step 6: Store properly. Once fully dry, store onions in a cool, dark place (50-60°F) with good ventilation for up to 6 months.
After harvesting, I always set aside a small batch to braid for decoration—it’s a great way to use up a few bulbs while keeping the rest for cooking. The braiding process also helps the onions dry more evenly, which is a bonus for storage.
If you’re in a hot, humid climate, curing may take longer—up to 4 weeks. Watch for mold or soft spots, which signal the onions need more drying time. Proper curing is non-negotiable for long-term storage success.
For those who love fresh green onions, you can harvest the tops separately before the bulbs mature. Just snip the greens about 2 inches above the bulb, and they’ll regrow for multiple harvests. This way, you get the best of both worlds!