
How To
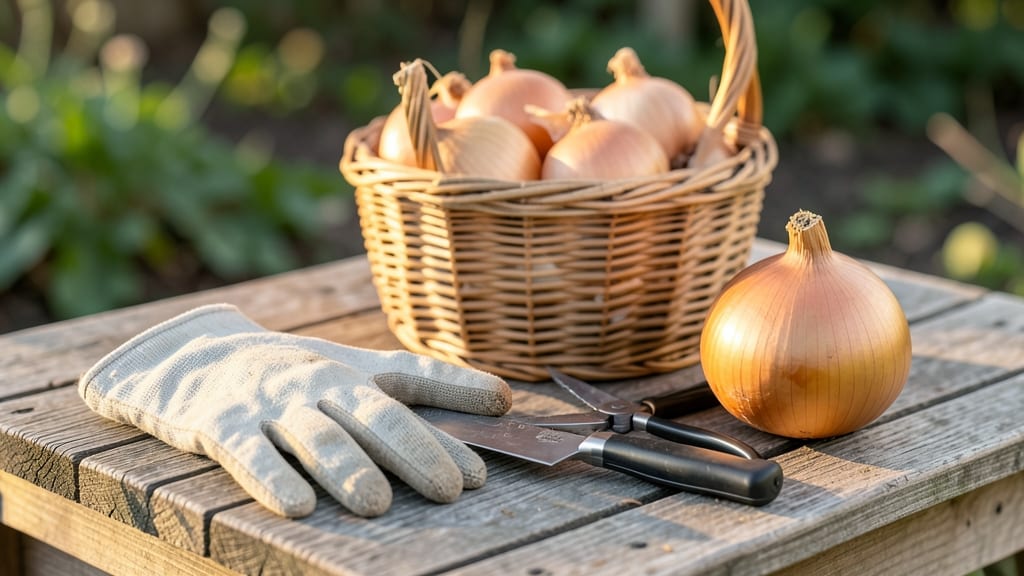
Harvesting yellow onions at the right time ensures sweet, flavorful bulbs 🧅—and missing the window means tough, pungent disappointments.
Picture this: you’ve nurtured your onions all season, and now the tops are turning crispy and brown. That’s your cue—but wait too long, and the bulbs split or sprout. Timing is everything, and I’ll show you exactly how to read your plants for perfect harvests every time.
Most gardeners in Zone 6a harvest mid-to-late summer, but the real secret lies in three simple tells: when the tops flop, the necks shrink, and the skins dry. Ignore these signs, and you risk ruining weeks of hard work.
In this guide, you’ll learn how to spot these cues, the best methods for digging or pulling, and how to cure your onions for storage—so you’re never left guessing again.


3 Key signs your yellow onions are ready for harvest
Harvesting yellow onions at the right moment ensures you get sweet, flavorful bulbs instead of bitter, overgrown disappointments. The key is watching for three visual and physical cues that signal peak ripeness.
Miss these signs, and you might end up with onions that split or develop tough skins. Let’s break down what to look for to time your harvest perfectly.
First, pay attention to the foliage color. Healthy yellow onion tops start green but gradually turn yellow as they mature. When about 50% of the leaves have yellowed and begun to flop over, that’s your first major clue.
This change happens naturally as the plant redirects energy from leaf growth to bulb development. Ignoring this sign often leads to onions that grow too large and become pungent.
Next, check the bulb size and neck. At the perfect harvest time, your onion bulbs should be 1–3 inches in diameter and feel firm when gently squeezed. The neck—the narrow part where the bulb meets the stem—will also start to shrink and form papery skins.
This is the plant’s way of sealing the bulb for storage. If the neck stays thick and green, the bulb isn’t ready yet.
Finally, test the bulb texture and dryness. A ripe yellow onion bulb should feel dry and papery on the outside, almost like it’s shedding its outer layer. If you dig one up and the bulb is still soft or juicy inside, it needs more time.
Overripe onions, on the other hand, might split or develop hollow centers, ruining their quality. Timing is everything!
Yellow, Floppy Tops
When 50% of leaves turn yellow and flop, it’s time to harvest. This signals the plant is redirecting energy to the bulb, not the foliage.
Bulb Size: 1–3 Inches
Ideal bulbs are firm and dry with a 1–3 inch diameter. Smaller bulbs lack flavor, while larger ones may split.
Papery Skins & Shrinking Neck
The neck shrinks and forms dry, papery layers—a natural protective layer. This happens 2–3 weeks before harvest.
Understanding these signs helps you avoid common mistakes, like harvesting too early (resulting in small, pungent onions) or too late (leading to split bulbs). For example, if you’re growing short-day onions, which are popular for their sweetness, these cues are even more critical because they’re less forgiving about timing.
Pro tip: Harvest in the morning when bulbs are cool and crisp for the best texture.
Seasonal timing also plays a role. In most climates, yellow onions are ready for harvest in mid to late summer, about 80–120 days after planting. However, if you’re in a cooler region, they might mature later.
Always align your harvest with these visual cues, not just the calendar. For instance, if your onions are still green in late August, give them a few more weeks—they’re not ready yet!
One mistake I see often is waiting until the entire tops are brown and crispy before harvesting. By then, the bulbs might already be overripe. Instead, act when you see the first two signs—yellowing foliage and shrinking necks—and you’ll get the best flavor.
Think of it like baking: pull the onions out of the "oven" (soil) just as they’re done, not a moment later.
After harvesting, let the bulbs cure in the sun for 2–3 days to harden their skins before storing. This step is crucial for long-term storage and preventing rot.
If you’re unsure whether your onions are ready, do a gentle squeeze test: a ripe bulb should feel firm and dry, not squishy or damp. Trust your hands—they’re your best tool for judging onion readiness!
Mastering these three signs will transform your yellow onion harvest from hit-or-miss to consistently delicious. Soon, you’ll be the gardener everyone asks for homegrown, sweet onions—no more store-bought blandness! The key is patience and attention to detail, but the reward is worth it.
Best harvesting methods for yellow onions by growth stage
Yellow onions mature in two distinct stages—green onions (scallions) and full bulbs—each requiring different harvesting techniques. Timing matters because harvesting too early gives you small, pungent greens, while waiting too long risks tough, bitter bulbs. Understanding these stages ensures you enjoy mild, flavorful onions at their peak.
For green onions, you can harvest the entire plant or just the tender green tops when they reach 6–12 inches tall. This method lets you enjoy fresh greens throughout the growing season without waiting for bulbs to form.
However, if you cut too close to the base, you may stunt bulb development if you later decide to harvest the full onion.
Harvesting Yellow Onions: Pull vs. Dig
Pulling Green Onions
- ✅ Gentle on soil structure
- ✅ Harvests entire plant at once
- ✅ Best for quick greens
Best for:
Young, tender onions (6–12 inches tall)
Digging Mature Bulbs
- ✅ Preserves bulb integrity
- ✅ Prevents soil-borne diseases
- ✅ Ideal for long-term storage
Best for:
Fully mature bulbs (1–3 inches wide, dry tops)
Avoid These Mistakes
- ❌ Harvesting when bulbs are still soft
- ❌ Leaving onions in wet soil post-harvest
- ❌ Skipping the curing process
Risk:
Spoilage, poor storage life, or bitter flavor
For mature yellow onions, timing is critical. Wait until at least 80 days after planting (or when tops yellow and flop over). Use a garden fork to loosen soil around the bulb before gently lifting it to avoid damaging the outer skins.
This method ensures clean, disease-free bulbs ready for curing.
After harvesting, cure your onions for 2–3 weeks in a dry, well-ventilated area (like a garage or shed). Lay them in a single layer with good airflow to toughen the skins and prevent rot.
Store cured onions in a cool, dark place (50–60°F) where they’ll keep for 6–8 months—far longer than fresh-picked bulbs.
Pro tip: If you’re unsure whether your onions are ready, dig one up as a test. A fully mature bulb will have a dry neck and papery outer layers, while an immature one will feel soft and juicy.
This simple check saves you from harvesting too early or too late!
Whether you’re harvesting green tops or full bulbs, following these stage-specific methods guarantees flavorful, long-lasting onions straight from your garden to your kitchen.