
Vegetables
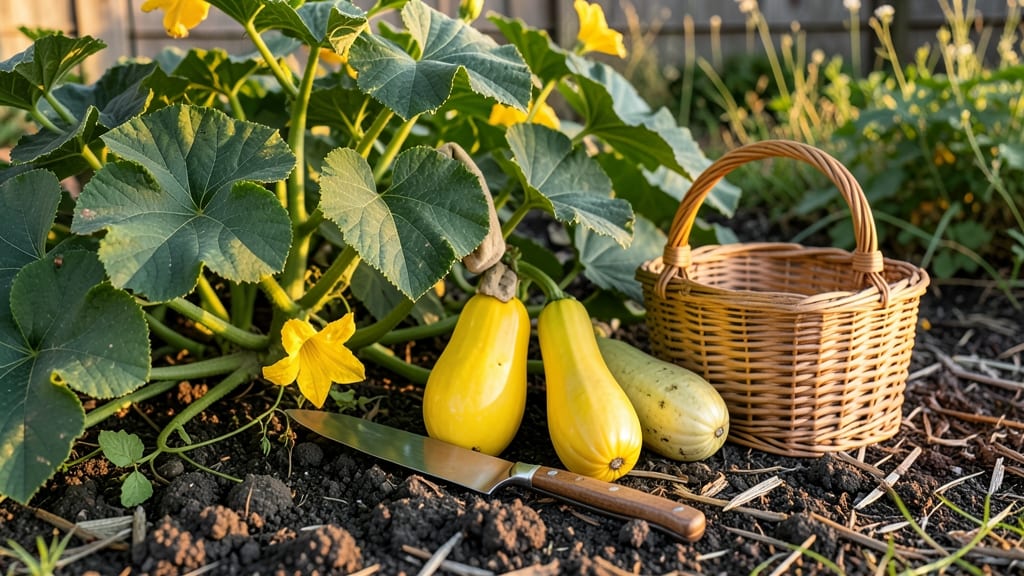
Harvesting yellow summer squash at the right time ensures tender, flavorful results 🍆 — and missing that window means rubbery, bitter disappointment.
Picking yellow summer squash at the wrong time can turn your homegrown bounty into rubbery disappointment—but mastering these 3 simple tactile tests ensures you harvest at the peak of tender, sweet perfection every time.
Most gardeners wait for the classic "6-inch rule," but size alone isn’t enough. The real secret lies in the squash’s texture, color depth, and how it responds to gentle pressure. A squash that’s too small may still be tough, while one left too long becomes mealy and bitter.
In this guide, I’ll walk you through the three key tests—thumb pressure, stem flexibility, and seed cavity checks—to pinpoint the exact moment your yellow summer squash is ready for the kitchen.


3 Tactile tests to determine perfect yellow summer squash harvest time
Yellow summer squash reaches its peak flavor when harvested at the right moment—before it turns rubbery or bitter. Unlike winter squash, which stores well when fully mature, summer squash demands precision.
I’ve learned the hard way that relying solely on size or color can lead to disappointment. The secret lies in using your senses, specifically your touch, to identify the perfect moment.
Science confirms that squash ripeness is determined by a combination of cell wall firmness, stem separation, and seed cavity development. These three tactile tests work together to give you an accurate read on whether your squash is ready to pick.
Mastering them ensures you enjoy that prized tender, sweet crunch that homegrown squash is famous for.
Here’s how to apply these three foolproof tests to your garden harvests:
Press your thumbnail into the squash skin. If it leaves a slight indentation but doesn’t puncture, it’s ready. Too soft? Wait 1-2 days.
Gently twist the squash at its stem. If it separates cleanly with minimal resistance, it’s at peak ripeness. A stubborn stem means it needs more time.
Cut a squash lengthwise to inspect the seeds. At perfect ripeness, seeds are small and barely visible. Larger seeds mean the squash has passed its prime.
Let’s break down why each test matters. The thumb pressure test works because summer squash skin thickens as it matures. When it’s just firm enough to resist your thumbnail, the flesh inside is at its peak tenderness.
This test is especially useful for varieties like 'Golden Zucchini' or 'Straightneck,' which can quickly outgrow their prime.
The stem separation technique taps into the plant’s natural separation layer that forms at the stem base. When this layer is fully developed, the squash is ready to harvest. I’ve found this test particularly reliable for bush varieties, where squash can hide among foliage.
A clean break at the stem means you’re avoiding the tough, fibrous stems that develop in overripe squash.
Finally, the seed cavity check reveals the squash’s internal development. At the perfect harvest moment, the seeds are tiny and the cavity is minimal. This is your cue that the squash’s nutrients are concentrated in the edible flesh rather than being diverted to seed growth.
Overlooking this test can lead to harvesting squash that’s already transitioning its energy to seed production, resulting in a less flavorful product.
Pro tip: Combine all three tests for the most accurate results. For example, you might find a squash that passes the thumb test but fails the stem separation—this is your signal to wait another day.
Consistency in applying these tests across your harvests will lead to a steady supply of squash at its absolute best.
Timing your harvests using these tactile methods also extends your squash’s shelf life. Squash picked at peak ripeness stores for up to a week in the fridge, whereas overripe squash spoils within days. The key is to harvest frequently—every 2-3 days during peak production—to encourage continuous flowering and fruiting.
Remember, yellow summer squash is a prolific producer, and the plant will keep yielding as long as you stay on top of harvesting.
By using these three tactile tests, you’ll transform your garden into a reliable source of homegrown squash that’s consistently tender, sweet, and free from the bitterness of overmaturity.
Next time you’re standing in your garden with a basket in hand, take a moment to run these simple tests. Your taste buds—and your dinner table—will thank you for the difference between mealy disappointment and perfect summer squash.
Size vs. ripeness: why following the '6-Inch rule' can backfire
The 6-inch rule for yellow summer squash is a classic guideline—but relying on size alone can lead to rubbery, bitter, or underripe harvests. While the 6-8 inch length is a starting point, real ripeness depends on climate, variety, and tactile cues that size ignores.
A squash might hit 6 inches in cool climates but still be tough, or grow past ideal size in hot summers before reaching peak flavor.
Climate plays a huge role: Cooler regions often produce slower-growing squash that may need 2-3 extra days to ripen after hitting the 6-inch mark. Meanwhile, hot, dry summers can accelerate growth, making squash overripe before reaching standard sizes.
The key is balancing visual cues (color depth) with physical tests (skin firmness, stem flexibility) rather than rigid measurements.
Here’s the catch: Some heirloom varieties like 'Golden Zebra' or 'Straight Neck' may never reach 6 inches at peak ripeness, while hybrid types like 'Early Prolific' can grow past 8 inches before flavor declines. Ignoring these differences means missing the 24-hour window where squash transitions from tender to stringy.
For example, in Zone 4 gardens, I’ve seen 'Yellow Crookneck' squash hit 6 inches but still feel soft when squeezed—a sign they need 2 more days. Meanwhile, in Zone 9 heat, the same variety might be overripe at 5 inches if the skin turns dull yellow.
The solution? Combine the 6-inch rule with the thumb pressure test: press lightly—if it leaves no mark, it’s ready.
Climate also affects seed cavity development. In humid areas, seeds may swell faster, making squash bitter before reaching size. Check the cavity: if seeds are peanut-sized but firm, harvest immediately. In dry climates, seeds might stay small longer—don’t wait for them to grow; prioritize skin thickness instead.
Pro tip: Keep a harvest journal for your first season. Note when squash hits 6 inches, its texture, and whether it’s ready or still tough. Adjust your timeline yearly based on your microclimate.
Over time, you’ll recognize the perfect balance of size, color, and texture that works for your garden—no ruler required.