
How To
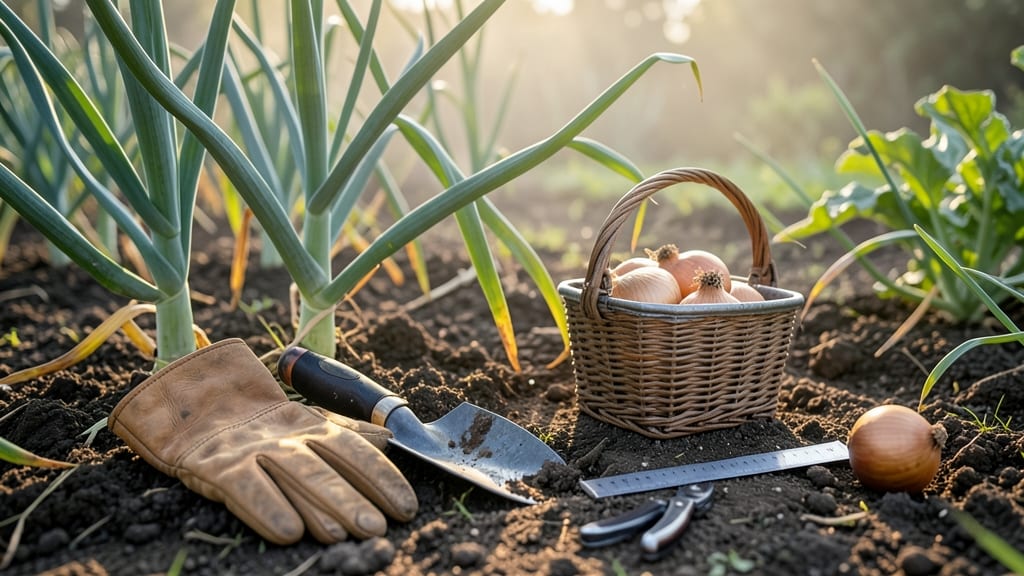
Harvesting onions at the right time ensures you get plump, flavorful bulbs instead of tough or bitter scraps—so timing and technique are everything.
Picture this: you’ve nurtured your 🧅 for months, only to pull them too early and end up with undersized bulbs, or too late and watch them split or rot in the ground.
The difference between a great harvest and a wasted one often comes down to knowing exactly when to dig them up.
In most climates like Zone 6a, onions typically reach harvest readiness between July and September, but the real clues lie in their foliage and bulb size.
Whether you’re growing short-day varieties for fresh eating or long-day onions for storage, these visual cues will tell you when it’s time to act.
Below, I’ll walk you through the three key signs your onions are ready, the best tools to use, and how to cure and store them for maximum shelf life—so you never waste another harvest again.

3 Clear signs your onions are ready for harvest (with visual cues)
Harvesting onions at the right moment transforms your garden effort into a bountiful reward—think plump bulbs with crisp layers instead of shriveled, pungent scraps. The key lies in watching for three distinct maturity signals that tell you when to pull onions without damaging their flavor or storage potential.
These signs apply whether you're growing green onions for quick use or storage varieties like Yellow or Red onions.
First-time onion growers often make the mistake of waiting too long, assuming bigger bulbs mean better quality. But overripe onions split open or develop hollow centers. Conversely, harvesting too early leaves you with small, watery bulbs that won't store well.
The secret? Timing your harvest based on foliage color, bulb size, and neck shrinkage—not just calendar dates.
-
🟡 Yellowing Foliage
For storage onions, tops turn straw-colored and flatten. For green onions, outer leaves yellow at the base first. -
🧅 Bulb Diameter 1-2 Inches
Gently dig up a test onion—if the bulb is firm and round (not elongated), it's ready. Storage onions should feel heavy for their size. -
✂️ Tight Neck Shrinkage
The stem connecting bulb to leaves should shrink to 1/4-inch thick. If it's still thick, wait 1-2 weeks.
Let’s start with the most obvious visual cue: foliage color. For storage onions, this means the green tops turn a straw-yellow and collapse outward like a fan.
This happens naturally when days grow shorter (typically late summer to early fall in most climates). Green onions, however, show readiness differently—their outer leaves yellow at the base while the inner stems remain green and tender.
Don’t rely solely on color, though. The bulb size is your second critical check. Dig up one onion from the outer edge of your bed and examine its diameter. A mature onion should measure 1-2 inches across when sliced in half.
If it’s smaller than a golf ball, it’s not ready—keep monitoring. For storage varieties, bulbs should also feel heavy and solid when held in your hand, indicating full water content and flavor development.
Here’s where many gardeners trip up: they assume all onions mature at the same rate. But short-day onions (like Texas Early White) and long-day onions (like Yellow Sweet Spanish) have different timelines.
Short-day varieties often yellow faster in warm climates, while long-day types may need 120-150 days from planting. Always check your seed packet for days-to-maturity guidelines as a baseline.
The third sign—neck shrinkage—is often overlooked but is the most reliable indicator. The stem connecting the bulb to the leaves should shrink to about 1/4-inch thick. If you gently tug on the tops and they come away easily, your onions are perfect for harvesting.
This shrinkage signals the plant has stopped sending nutrients to the leaves and redirected them to the bulb, maximizing storage potential.
To test readiness without damaging your crop, use the "finger test". Gently squeeze the bulb through the soil—if it feels firm and resistant, it’s ready. If it feels soft or mushy, wait another week.
Pro tip: Harvest on a dry, sunny morning to prevent soil from clinging to the bulbs, which can cause rot during curing.
One common mistake is harvesting onions after the first frost. While a light frost can actually sweeten the flavor, a hard freeze will damage the bulbs.
If frost threatens before your onions show all three maturity signs, harvest what’s ready and leave the rest to mature further in the ground if possible. In warmer climates, onions may continue growing into early fall, so adjust your timeline accordingly.
Remember, the goal is peak flavor and storage life. Onions harvested at the right time will keep for 6-8 months when cured properly, while those picked too early may spoil within weeks.
Pay attention to these three cues—foliage color, bulb size, and neck shrinkage—and you’ll never waste another onion harvest again. 🧅
Best harvesting methods for onions: when to pull vs. when to wait
Timing your onion harvest is an art that balances maturity cues with weather conditions. Pull them too soon, and you’ll end up with small, pungent bulbs—too late, and they’ll split or rot in the ground.
The best time to harvest depends on your climate zone and the onion variety you’re growing.
In hot, dry climates like the Southwest, onions often mature faster, while cool, wet regions like the Pacific Northwest may need an extra week or two.
For most storage onions, aim for late summer to early fall, while green onions can be harvested earlier when their tops reach 6-8 inches tall.
Before you grab that garden fork, check these three critical factors to ensure you’re harvesting at peak perfection. Skipping these steps can mean the difference between a harvest that lasts all winter and one that spoils within weeks.
Climate Tip: In hot climates, harvest in early morning to avoid wilting. In cool climates, midday works best when soil is dry.
Start by choosing the right harvesting tools. A garden fork is ideal for loose soil, while a sharp spade works better in compacted ground. Avoid pulling onions by their tops—this can damage the bulb. Instead, gently loosen the soil around the base and lift the entire plant out.
Once pulled, shake off excess soil but don’t wash the bulbs. Moisture speeds up spoilage during curing. Let them air-dry in a shady, well-ventilated spot for 3-5 days. This step is crucial for storage onions—skipping it leads to mold and rot.
For green onions, snip the tops just above the bulb when they reach 6-8 inches. Unlike storage onions, these don’t need curing. Store them in the fridge with the roots wrapped in a damp paper towel to keep them fresh for up to 2 weeks.
In humid climates, speed up curing by spreading onions on a screen or mesh rack to improve airflow. In dry climates, a simple windowsill works, but avoid direct sunlight to prevent scorching. Once fully cured, store onions in a cool, dark place with good ventilation.