
How To
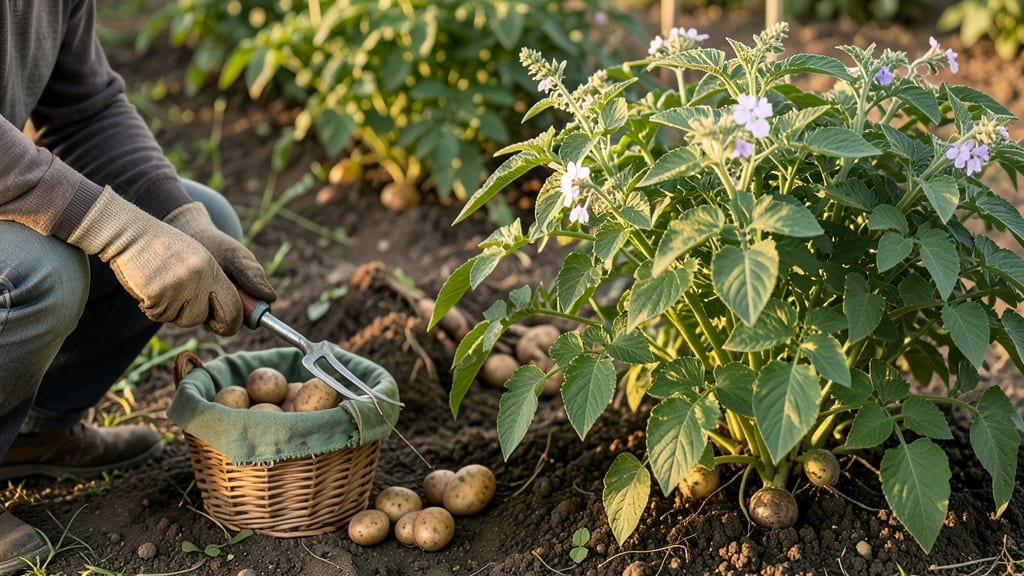
Harvesting potatoes takes between 60 and 120 days from planting, depending on the variety and growing conditions you’re working with.
Picture this: you’ve just tucked those seed potatoes into the cool spring soil, and now you’re staring at a calendar, wondering when you’ll finally dig up those crisp, homegrown 🥔 you’ve been dreaming of.
The truth? The timeline isn’t one-size-fits-all—it shifts based on whether you’re growing early, mid-season, or late varieties, and how warm your soil stays.
For example, early potatoes like Red Pontiac can be ready in as few as 60 days, while late varieties like Russet Burbank might need up to 120 days to reach peak harvest.
Soil temperature plays a huge role too—cooler soils slow things down, while warmer conditions can speed up tuber development. Knowing these factors means you can plan your garden layout and harvest schedule like a pro.
In this guide, I’ll break down the exact days to harvest for popular varieties, how to tell when your potatoes are truly ready (before checking a calendar), and how to adjust your expectations based on your climate.
By the end, you’ll know exactly when to grab that shovel and start digging!

Potato harvest timeline: exact days by variety from planting to harvest
If you've ever wondered "how long from plant to harvest potatoes", the answer depends entirely on the variety you're growing. Early varieties like Red Norland can be ready in as few as 60 days, while late-season Russet Burbank may take up to 120 days to reach peak harvest.
Understanding these timelines helps you plan your garden layout and succession plantings for a continuous harvest.
Most gardeners plant potatoes in early spring, about 2-4 weeks before the last frost, but the real magic happens underground. The days-to-maturity clock starts ticking once your seed potatoes sprout and develop healthy green foliage.
From there, consistent moisture and full sun exposure accelerate tuber formation, but cooler soil temperatures can slow growth significantly.
Below is a detailed comparison of popular potato varieties, showing their average days to harvest and ideal planting windows. Use this as your guide to select varieties that fit your growing season length and harvest preferences—whether you want quick new potatoes or large storage potatoes for winter.
| Variety | Type | Days to Harvest | Best For | Harvest Window |
|---|---|---|---|---|
| Yukon Gold | Yellow | 70-90 days | Buttery potatoes, roasting | Mid to late summer |
| Red Pontiac | Red | 60-80 days | Salads, boiling, storage | Early to mid summer |
| Fingerling (e.g., French Finger) | Multi-colored | 80-100 days | Gourmet dishes, roasting | Late summer |
| Russet Burbank | Russet | 100-120 days | Baking, storage, frying | Late summer to early fall |
| New Potato Varieties (e.g., Red Norland) | Red | 50-70 days | Fresh eating, salads | Early summer |
🌱 Pro Tip: Plant early varieties first, followed by mid-season 2-3 weeks later, and late varieties 4-6 weeks after that for a staggered harvest.
For early harvests, focus on varieties like Red Norland or Yukon Gold, which deliver new potatoes in as little as 50-70 days. These are perfect for fresh eating and salads, but they won’t store well for long-term use.
If you're aiming for a large fall harvest or winter storage, prioritize Russet Burbank or Kennebec, which take 100-120 days to mature.
Your local climate plays a huge role in these timelines. In cooler regions, potatoes may take 10-15% longer to mature compared to warmer climates. For example, a Yukon Gold might take 85 days in Zone 5 but only 70 days in Zone 8.
Always adjust your expectations based on your last frost date and average growing season length.
One common mistake is assuming all potatoes are ready at the same time. Early varieties should be harvested as soon as they reach size, while late varieties benefit from a full season to develop thick skins and high starch content.
Pay attention to foliage changes—when the leaves start yellowing and dying back, it’s often a sign that tubers are nearing maturity, regardless of the calendar.
To maximize your harvest, consider hilling soil around the plants every 2-3 weeks. This encourages more tuber formation and protects new growth from sunlight, which can turn potatoes green and bitter. Hilling also helps regulate soil temperature, keeping tubers cooler and improving quality, especially in hot climates.
If you're growing potatoes in containers, expect slightly shorter harvest times—5-10 days earlier—since pots warm up faster and may dry out quicker. However, container-grown potatoes often produce smaller yields, so plan accordingly if you're relying on them for a large harvest.
For best results, use 5-gallon buckets or larger and plant seed potatoes cut into pieces with at least one eye per piece.
Finally, don’t forget that soil health impacts harvest speed. Amend your soil with compost or aged manure before planting to ensure your potatoes have the nutrients they need to grow quickly. Avoid fresh manure, which can cause scab disease and delay maturity
How soil temperature affects potato harvest speed (and when to adjust expectations)
Soil temperature is one of the most overlooked factors when planning your potato harvest. While seed packets list days to maturity, those timelines assume ideal growing conditions—including soil temps between 50°F and 75°F.
If your soil runs cooler or warmer than this range, your harvest timeline can shift by weeks, sometimes even months. For example, in cooler climates like Zone 4 or 5, potatoes may take 20-30% longer to mature compared to warmer regions like Zone 7 or 8.
Potatoes are cool-season crops, but they’re not frost-tolerant once sprouted. The magic happens when soil temps hit 45°F or warmer—that’s when tubers start forming. Below 40°F, growth nearly stops, and tubers may develop hollow heart or other defects.
On the flip side, soil temps above 85°F can cause tubers to sprout prematurely or develop a rough, scabby skin. Finding that sweet spot in your climate is key to predicting harvest speed.
Here’s the science: Potato plants convert starches into sugars when stressed by heat or cold, which affects flavor and storage life. Cooler soils (50°F-60°F) produce firmer, higher-starch potatoes (great for baking), while warmer soils (70°F-75°F) yield softer, waxier tubers (perfect for boiling or salads). But the trade-off? Warmer soils speed up growth, while cooler ones slow it down—sometimes dramatically.
| Soil Temp Range (°F) | Growth Speed | Days to Harvest (Early Variety) | Days to Harvest (Late Variety) | Potato Quality |
|---|---|---|---|---|
| Below 45°F | Very Slow | 90-120 days | 130-150 days | Poor; risk of hollow heart |
| 45°F-55°F | Slow | 75-90 days | 100-120 days | Good; firm texture |
| 55°F-65°F | Ideal | 60-75 days | 90-105 days | Best; balanced starch/sugar |
| 65°F-75°F | Fast | 50-65 days | 80-95 days | Very good; waxy texture |
| Above 75°F | Very Fast (but risky) | 45-60 days | 70-90 days | Fair; may scab or sprout |
If you’re in a cooler climate, consider planting early-maturing varieties like Red Norland or Yukon Gold to capitalize on the brief window of warm soil. In warmer regions, you might need to shade your plants or use mulch to keep soil temps in the ideal range.
For example, black plastic mulch can raise soil temps by 5-10°F, accelerating growth in cooler areas. Conversely, straw mulch can keep soil cooler in hot climates.
Pro tip: Use a soil thermometer to monitor temps at planting depth (4-6 inches). If your soil is consistently below 50°F, wait to plant—rushing it can lead to poor yields.
In my Zone 5 garden, I’ve found that planting two weeks later than recommended often results in a more reliable harvest, even if it’s a few weeks delayed. Patience pays off with bigger, healthier tubers!
Adjusting your expectations based on soil temp also means planning for successive plantings. In warmer climates, you can often squeeze in two harvests by planting early varieties in spring and late varieties in early summer.
Meanwhile, in cooler zones, a single planting with one or two mid-season varieties might be your best bet. Experiment to see what works best in your microclimate!