
How To
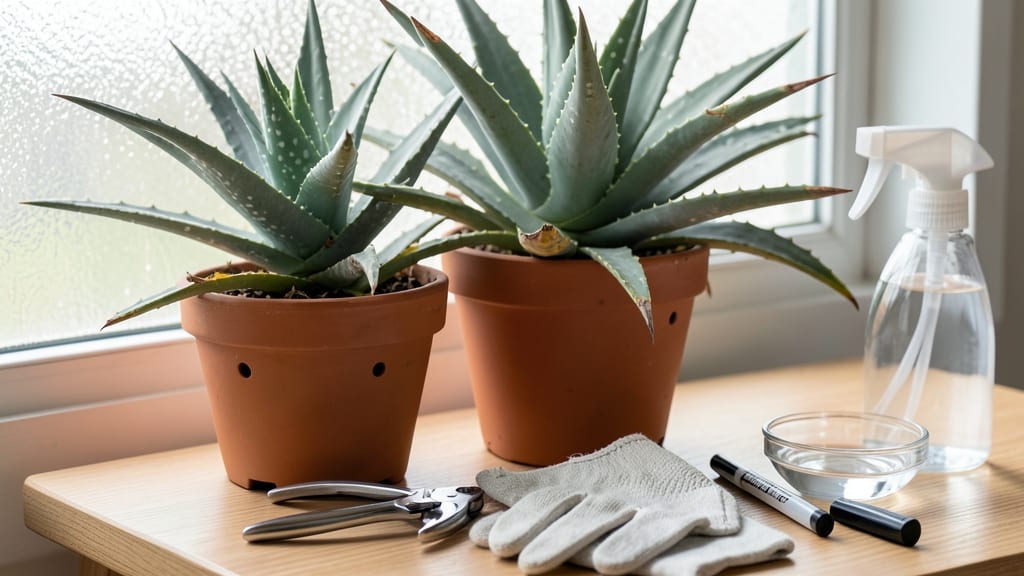
To harvest an aloe vera plant safely, start by selecting mature leaves that are at least 8-12 inches long and have turned slightly brown at the tips—this signals they’re ready for use.
If you’ve ever hesitated to cut into your aloe vera 🌱 because you weren’t sure which leaves to pick, you’re not alone. The key is timing: harvesting the right leaves ensures you get the most gel without stressing the plant.
Overharvesting can weaken it, while picking immature leaves means wasted effort.
This guide will walk you through everything from identifying the perfect leaves to extracting gel without tools, so you can enjoy aloe vera’s benefits without harming your plant. Whether you’re growing it for skincare, soothing burns, or even cooking, knowing the right technique makes all the difference.
You’ll learn when to harvest for the best gel quality, how to avoid common mistakes, and even how to store your harvest for weeks. Ready to tap into your aloe vera’s full potential? Let’s get started.

When and how to identify mature aloe vera leaves for harvesting
Harvesting aloe vera at the right time ensures you get the most potent gel while keeping your plant healthy. The key is identifying mature leaves that are fully developed and ready for extraction.
These leaves typically grow on the outer edges of the plant and show clear signs of readiness through their size, color, and texture.
Start by examining the leaf thickness and length. Mature aloe vera leaves should be at least 12 inches long and thick enough to feel firm when gently squeezed.
Younger leaves, often found in the center, are still growing and contain less gel. Always harvest from the outermost leaves to protect the plant’s growth center.
Aloe vera leaves also reveal their maturity through color cues. Healthy, ready-to-harvest leaves have a vibrant green hue with no yellowing or browning. However, slight brown tips on the edges are normal and indicate the leaf is fully mature.
Avoid leaves with yellow patches or soft spots, as these may signal disease or overripeness.
Timing your harvest is equally important. The best time of year to harvest aloe vera is during spring or early summer when the plant is actively growing. This period ensures the gel is at its peak hydration and potency.
Harvesting in fall or winter may yield drier gel, as the plant conserves energy during cooler months.
Seasonal considerations also impact your aloe vera’s health. After harvesting, your plant may need extra care to recover. Reduce watering slightly for a few weeks and ensure it receives bright, indirect sunlight to support regrowth. This helps prevent stress and ensures future harvests remain productive.
To test if a leaf is ready, gently press it with your thumb. A mature leaf will feel firm and slightly resistant, almost like a water balloon filled with jelly.
If the leaf feels soft or squishy, it’s likely not mature enough. This simple touch test helps you avoid harvesting leaves that could harm your plant’s health.
Another useful tip is to count the number of mature leaves on your aloe vera plant. A healthy plant should have at least 5-6 mature leaves before you consider harvesting.
This ensures the plant has enough energy to recover and continue growing. Harvesting too early can stress the plant and reduce future yields.
If you’re unsure whether a leaf is ready, observe it for a few days. Mature leaves often develop a slight brown tip as they age, which is a natural sign of readiness.
However, never harvest leaves with extensive browning or signs of rot. These leaves can introduce bacteria or pests to your plant, compromising its overall health.
Finally, remember that aloe vera is a slow-growing plant, so patience is key. Harvesting too frequently can exhaust the plant and lead to poor growth. Aim to harvest no more than 2-3 leaves per plant every 6-12 months to maintain its vitality.
With the right approach, your aloe vera will continue to thrive and provide fresh gel for years to come.
Step-by-step aloe vera gel extraction methods for beginners
Once you’ve identified the perfect aloe vera leaves for harvesting, the next step is extracting that prized gel safely. The process is simpler than you might think, and with the right tools, you can avoid common pitfalls like contamination or wasting gel.
Whether you’re using a knife and spoon or a food processor, the key is precision and cleanliness to preserve the gel’s healing properties.
Before diving in, gather your supplies: a sharp knife, cutting board, bowl, and rubbing alcohol for sterilization. Safety first! Aloe vera gel is versatile—use it for skincare, sunburn relief, or even as a natural remedy—but only if extracted properly.
Let’s walk through the foolproof methods, including a no-blender technique for those without kitchen appliances.
Sanitize Tools
Wipe down your knife, cutting board, and bowl with rubbing alcohol to kill bacteria. Wash your hands thoroughly—this prevents contamination of your aloe vera gel, which you’ll apply directly to skin or ingest.
Cut the Leaf Properly
Hold the leaf at a 45-degree angle near the base (where it meets the soil). Slice cleanly to avoid tearing the gel-filled cells. A smooth cut ensures the gel stays intact and ready for use.
Drain Latex (Optional)
Place the cut leaf upright in a glass for 10 minutes to drain the yellow latex (a natural laxative). Discard the latex or save it separately for medicinal teas—but never ingest it with the gel.
Extract the Gel
No-blender method: Use a spoon to scoop out the clear gel from the leaf’s center. For a smoother texture, blend the leaf (skin removed) in a food processor with 1 tsp water—this mimics commercial aloe vera products.
Store Correctly
Transfer the gel to an airtight container and refrigerate for up to 1 week. For long-term use, freeze the gel in ice cube trays—thaw as needed for skincare or remedies.
Pro tip: If you’re using the no-blender method, strain the gel through a fine mesh sieve to remove any remaining leaf fibers. This ensures a smooth, lump-free texture perfect for DIY aloe vera lotions or facial masks. Always label your containers with the harvest date to track freshness.
After extraction, don’t forget to care for your aloe vera plant. Place the harvested leaf in a shady spot for a day to dry out, then compost it. Your plant will thank you with new growth in just a few weeks—ready for your next harvest! 🌱