
How To
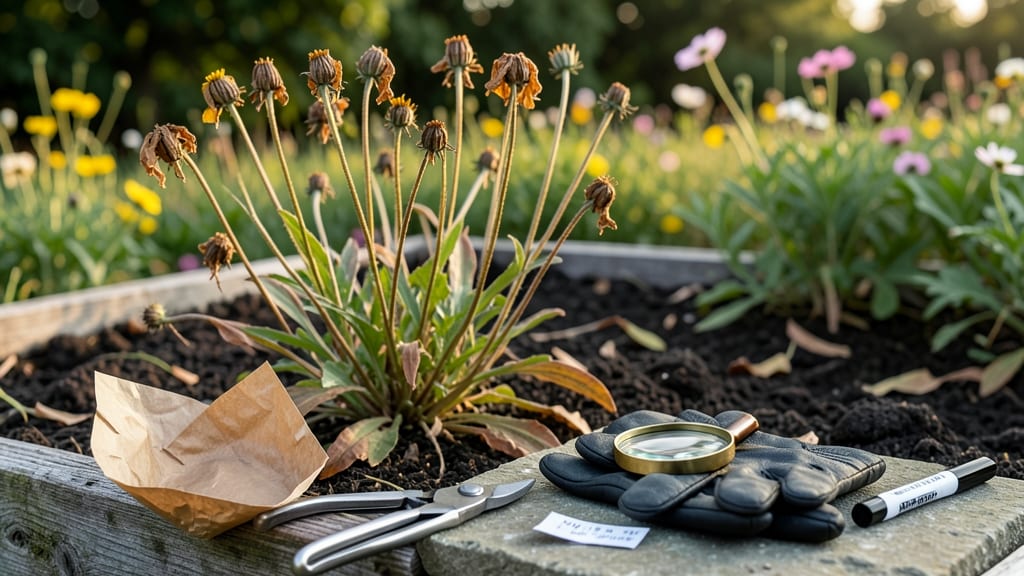
Harvesting Coreopsis seeds is the easiest way to grow these cheerful 🌼 flowers for free next year—just wait for the right moment.
Picture this: you’ve spent the season admiring your Coreopsis blooms, but the real magic happens when those papery seed heads crack open, revealing tiny black seeds just waiting to be collected. Miss that window, though, and you’ll end up with seeds that won’t sprout—or worse, none at all.
Timing is everything, and knowing when those seed heads are ready to harvest can save you from frustration.
In USDA Zone 6a, that usually means late summer or early fall, but there are key signs to watch for—like when the flower heads turn brown and start rattling with a gentle shake.
Below, I’ll walk you through the step-by-step process, from picking the perfect seed heads to storing them properly so they stay viable for years. No guesswork, just a foolproof method for gardeners who love saving seeds.

When to harvest Coreopsis seeds: identifying the perfect ripeness stage
Harvesting Coreopsis seeds at the right moment ensures high germination rates and healthy new plants. The key lies in recognizing seed head maturity—when the flower transforms from vibrant blooms to dry, papery structures.
Timing is everything, as harvesting too early means immature seeds, while waiting too long risks seed loss to birds or weather.
Start monitoring your Coreopsis plants in late summer, typically August to September in most USDA zones. Watch for the flower heads to transition from their bright yellow or pink hues to a dull brown color.
This color change signals the plant is redirecting energy from blooms to seed production, making it the ideal window for harvest.
Here’s how to spot perfectly ripe Coreopsis seed heads:
| Maturity Stage | Visual Cues | Action Required |
|---|---|---|
| Early Stage | Bright yellow/pink blooms, green stems | Wait 4-6 weeks |
| Mid-Stage | Brown seed heads, no rattling | Monitor daily |
| Perfect Ripeness | Dry, papery heads that rattle when shaken | Harvest immediately |
| Overripe | Seed heads crumble or scatter seeds | Missed harvest window |
The most reliable sign of readiness is the audible rattle when you gently shake a seed head. This indicates the seeds inside are fully mature and detached from their central stalk.
Another clue? The papery bracts surrounding the seeds will easily crumble between your fingers—a sure sign it’s time to act.
Environmental cues also play a role. Harvest on a dry, sunny morning when humidity is low. This minimizes the risk of mold growth during drying. Avoid harvesting after rain, as moisture can reduce seed viability.
I’ve found that late morning (between 10 AM and noon) is ideal—seeds are dry from the night’s dew evaporation but haven’t overheated from midday sun.
Don’t wait until the seed heads split open naturally. While this happens eventually, birds and wind will scatter the seeds before you can collect them. If you see black oil sunflowers or other birds visiting your garden, act quickly—they’re drawn to ripe Coreopsis seeds too.
A light breeze test works well: hold a seed head over a brown paper bag and give it a gentle shake. If seeds fall freely, it’s harvest time.
Pro tip: Use a magnifying glass to inspect seed heads if you’re unsure. Look for dark brown or black seeds inside the papery casing. Immature seeds will appear greenish or translucent, while mature ones are opaque and plump.
This visual check saves time and ensures you’re only collecting the best seeds for next season’s garden.
Timing varies slightly by Coreopsis variety. Tall Coreopsis verticillata (threadleaf coreopsis) often ripens 1-2 weeks earlier than Coreopsis grandiflora (largeflower coreopsis). Keep a garden journal to track ripening patterns in your specific climate.
In my Zone 7a garden, I’ve found that mid-September is the sweet spot for most varieties.
Once you’ve identified ripe seed heads, act within 24-48 hours to preserve viability. Delaying harvest allows seeds to absorb moisture from the air, which can trigger premature germination or mold.
Store collected seeds in a cool, dry place (like a paper envelope) until you’re ready to clean and dry them thoroughly.
Step-by-step Coreopsis seed harvesting process for beginners
Once you’ve spotted those ready-to-harvest Coreopsis seed heads, it’s time to act quickly. The key is to collect seeds before they scatter naturally—especially on windy days—while ensuring you don’t damage the parent plant for next year’s blooms.
I’ve harvested seeds from my Coreopsis verticillata for years, and this method guarantees a bountiful yield without stress.
Start by gathering just a few essential tools: a pair of clean pruning shears, a paper bag (to catch seeds), and a small bowl for sorting. Avoid using plastic bags—they trap moisture and can mold seeds.
Work on a dry, sunny day when humidity is low, as damp conditions speed up seed spoilage. The goal is to preserve those tiny black seeds for up to 2-3 years of planting potential.
Step-by-Step Coreopsis Seed Harvesting
- Step 1: Snip seed heads with clean pruning shears when fully brown and dry. Cut just above the green stem to avoid damaging foliage.
- Step 2: Place harvested heads in a paper bag and shake gently to release seeds. Do this indoors to prevent seed loss.
- Step 3: Spread seeds on a tray lined with paper towels in a warm, dry spot for 3-5 days to dry completely.
- Step 4: Winnow seeds by blowing gently—lightweight chaff will float away, leaving heavy, viable seeds behind.
- Step 5: Store seeds in a paper envelope labeled with the harvest year and variety. Keep in a cool, dark place like a seed drawer.
After harvesting, I always label my seed envelopes with the harvest date and variety—this prevents mix-ups if you’re saving multiple types. For example, my Coreopsis grandiflora seeds need a different drying time than Coreopsis lanceolata.
Pro tip: Use a fine mesh sieve to separate seeds from debris before storing, as leftover chaff can harbor mold.
Drying seeds properly is non-negotiable. I’ve learned the hard way that rushing this step leads to moldy seeds or poor germination. A dehydrator set to 95°F works wonders, but a sunny windowsill also does the trick if your climate is dry.
Avoid direct sunlight, though—it can overheat seeds and kill viability. Test a few seeds by placing them in damp paper towels; if they sprout within 10-14 days, your drying method is spot-on.
Storing seeds correctly extends their lifespan. I keep mine in glass jars with silica gel packets for long-term storage, but even a simple paper envelope in the fridge works for short-term needs.
Test germination rates annually by planting a few seeds—if fewer than 70% sprout, it’s time to harvest fresh seeds. This method has saved me $50+ annually on new plants!
Remember, the best time to harvest is late afternoon when seed heads are dry but haven’t yet released seeds. This gives you control over the process and ensures you’re not chasing scattered seeds across your garden. With these steps, you’ll have a reliable seed stash ready for next spring’s planting.