
How To
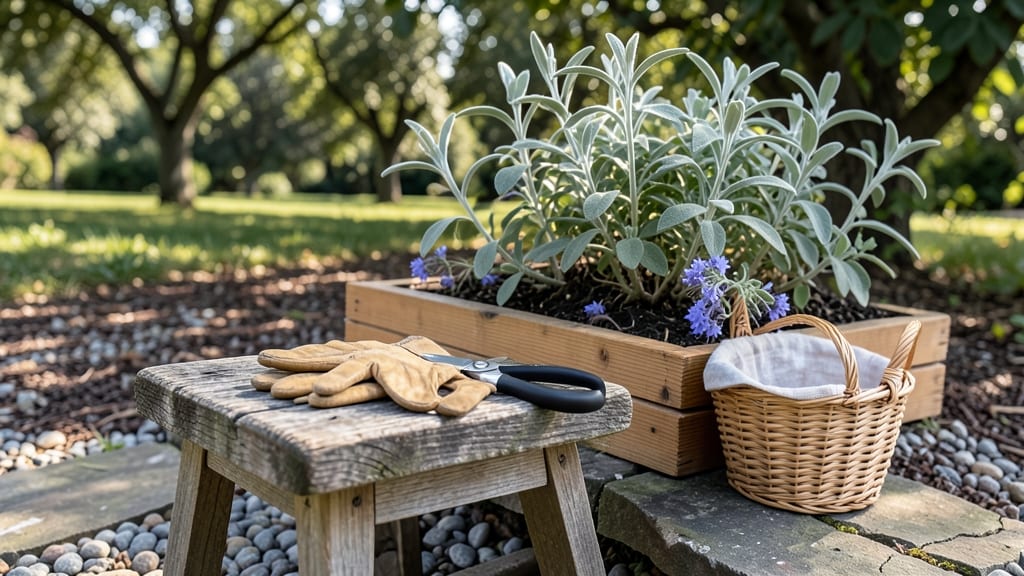
Harvesting garden sage the right way ensures bold flavor and keeps your plants thriving all season—here’s how to do it without sacrificing future growth.
Fresh garden sage isn’t just a kitchen staple—it’s a versatile herb that thrives when harvested correctly, ensuring bold flavor and continuous growth all season long. Whether you’re pruning for culinary use or encouraging bushier plants, timing and technique make all the difference.
Most gardeners wait until late summer or early fall to harvest sage, but the best time is actually just before flowering—when leaves are fully developed and aromatic. A sharp pair of pruning shears and a sunny morning are all you need to start.
In this guide, I’ll walk you through the exact steps to harvest sage, including how to dry and store it for year-round use, plus tips to avoid common mistakes that can weaken your plants.

When and how to harvest sage for maximum flavor and regrowth
Harvesting garden sage at the right time transforms your herb from a simple plant into a flavor powerhouse. The key to bold, aromatic leaves lies in understanding when to cut and how to prune for regrowth.
Unlike many herbs, sage thrives when you encourage bushier growth through strategic harvesting, but timing matters—too early or too late can dull its signature earthy notes.
Spring and fall are the prime harvest windows for sage, but each season offers unique benefits. Spring harvests yield tender, highly aromatic leaves perfect for fresh use, while fall harvests prepare the plant for winter dormancy.
The right tools and techniques make all the difference in preserving flavor and promoting healthy regrowth, so let’s dive into the specifics to ensure your sage stays productive and delicious.
-
1 Harvest Time: Late spring to early summer (May-June) for tender leaves and late summer (August-September) for boldest flavor before flowering.
-
2 Tools Needed: Use sharp pruning shears or clean kitchen scissors to make clean cuts just above leaf nodes to avoid damaging stems.
-
3 Pruning Technique: Cut 1/3 of the plant at a time, focusing on outer stems to encourage bushier regrowth and prevent woody centers.
-
4 Avoid Over-Harvesting: Never remove more than 1/3 of the plant in a single session, or you risk stunting growth and weakening the plant for winter.
-
5 Signs of Readiness: Leaves should be deep green and aromatic, stems slightly woody but still flexible, and the plant at least 12 inches tall.
Timing your harvest is everything. In spring, focus on cutting back new growth to encourage a fuller plant. This is when sage’s flavor is most delicate, perfect for fresh salads or garnishes.
By late summer, the leaves develop a richer, earthier taste, ideal for roasting or drying. Always harvest before flowering—once sage blooms, the leaves become bitter and less flavorful.
Your pruning tools play a crucial role in maintaining plant health. A clean, sharp pair of pruning shears ensures precise cuts that heal quickly, reducing the risk of disease. Avoid tearing leaves or crushing stems, as this can damage the plant’s vascular system and slow down regrowth.
For small-scale harvesting, kitchen scissors work well, but always sterilize them with rubbing alcohol between cuts.
When pruning, aim to shape the plant while encouraging new growth. Start by removing any dead or yellowing leaves first—these can harbor pests or diseases. Then, cut back outer stems to about 3-4 inches from the base.
This open-up method allows sunlight to reach the center, preventing woody stems and promoting bushier, leafier growth. Repeat this process every 4-6 weeks during the growing season.
One of the biggest mistakes gardeners make is over-harvesting. Sage is perennial and resilient, but it can’t recover from aggressive pruning. If you remove more than 1/3 of the plant at once, you’ll weaken its ability to store energy for winter and may even kill the plant.
Instead, think of harvesting as a balanced conversation with your sage—take what you need, but always leave enough to thrive.
To maximize flavor retention, harvest on a dry, sunny morning. The oil content in sage leaves is highest after a night’s rest, ensuring the most potent aroma.
After cutting, rinse the leaves gently under cool water to remove dirt, then pat them dry with a clean towel. Avoid shaking the stems, as this can cause leaves to bruise and lose flavor.
Store fresh sage in the fridge for up to a week, wrapped in a damp paper towel to retain moisture.
If your sage starts to look woody or leggy, it’s a sign you’ve been harvesting too aggressively or not enough. To revive it, give the plant a hard prune in early spring, cutting back 1/2 of the stems to encourage new, leafy growth.
Pair this with a light fertilizer (like a 10-10-10 blend) to support recovery. With proper care, your sage can live for decades, producing flavorful leaves year after year.
For long-term storage, consider drying your harvest. Bundle stems together and hang them upside down in a dark, well-ventilated area for 2-3 weeks. Once completely dry, strip the leaves and store them in an airtight container away from light.
Dried sage retains its flavor for up to a year, making it a pant
Step-by-step guide to drying and storing freshly harvested sage
Once you’ve harvested your fresh sage leaves, proper drying and storage are key to preserving that bold, earthy flavor for months. Sage dries beautifully at home, and with the right method, you’ll have aromatic bundles ready for soups, stuffing, or herbal remedies all year.
The two most popular techniques—air-drying and oven-drying—each have unique benefits, depending on your time and equipment.
I’ve found that hanging sage bundles in a dark, well-ventilated space is the simplest way to dry sage naturally, while oven-drying speeds up the process if you’re short on time. Both methods require patience, but rushing can lead to moldy leaves or lost potency.
Let’s break down the best approach for your needs, plus storage tips to keep your dried sage fresh and fragrant.
For air-drying, bundle your sage stems with twine and hang them upside down in a dark, dry place like a closet or pantry. I like to place a paper bag over the bundle to catch falling leaves—this keeps everything contained.
After 1-3 weeks, the leaves should crumble easily between your fingers. If they still feel pliable, give them more time; if they’re brittle but not dried through, they may have mold.
If you’re in a hurry, oven-drying works well at 200°F (93°C) for 2-4 hours. Spread leaves on a baking sheet in a single layer, flipping them halfway through. Avoid high heat—it can burn the essential oils that give sage its signature aroma.
Test for doneness by checking if the leaves shatter when crushed. Store them in an airtight container away from light to preserve freshness.
Once dried, store your sage in glass jars or vacuum-sealed bags in a cool, dark place. Properly stored, dried sage keeps its flavor for 6-12 months.
To revive dried sage, place it in a paper bag with a slice of apple for 24 hours—the apple’s ethylene gas helps restore moisture and aroma. If your sage loses potency, it’s time to harvest a fresh batch!
One common mistake is overcrowding leaves during drying, which traps moisture and leads to mold. Always ensure good airflow, and avoid storing dried sage near strong-smelling foods—it absorbs odors easily. With these tips, your dried sage will stay vibrant and ready for your next culinary project. 🌿