
How To
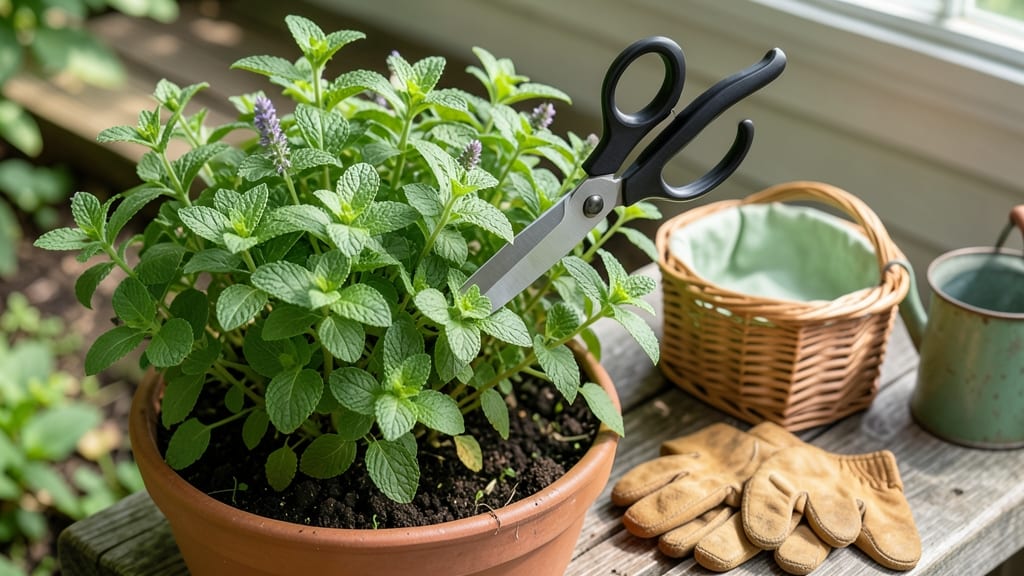
Harvesting mint the right way—by cutting just above leaf nodes—ensures it keeps growing thick and lush for years, not just for one season.
If you’ve ever snipped your mint only to watch it turn leggy or stop producing, you’re not alone. The key isn’t how much you harvest but where you cut. A simple technique—trimming at a 45° angle above the leaf node—triggers new shoots and keeps your plant bushy and vigorous.
This method works year-round in Zone 6a, whether you’re growing it in pots or garden beds. With the right timing and care, you’ll enjoy fresh mint all summer long—no wilting or stunted growth in sight.
Below, I’ll walk you through the exact steps, plus common mistakes that kill regrowth (and how to fix them). Ready to turn your mint into an endless harvest? Let’s go.

The science of mint regrowth: why cutting above leaf nodes matters
Mint’s ability to regrow after harvesting isn’t magic—it’s science. Every time you cut a stem, you’re interacting with the plant’s axillary buds, tiny growth points hidden at the leaf nodes.
These buds hold the key to your mint’s future shoots, and where you make your cut determines whether they’ll wake up or stay dormant.
When you trim just above a leaf node at a 45° angle, you create an ideal environment for new growth. The angled cut prevents water from pooling on the stem, reducing rot while exposing the axillary bud to light and air—two things it needs to start growing.
This simple technique turns a harvest into a growth stimulus, not a stressor.
Mint plants produce new shoots from these nodes because they’re genetically programmed to spread. In the wild, mint spreads aggressively via runners, but in your garden, you control this energy by directing it toward leafy regrowth. The more nodes you leave intact, the bushier your plant becomes.
Here’s the critical part: cutting below a node severs the bud’s connection to the stem, leaving it unable to grow. That’s why leggy, sparse mint is often a sign of poor pruning habits.
The solution? Always aim for that 45° angle above the node—it’s the difference between a thriving plant and one that struggles to recover.
🌱
Think of mint’s growth pattern like a tree with branches. Each leaf node is a potential branch point, and cutting above it sends a signal to the plant: “Grow here!” This is why mint can recover so quickly—it’s not just tough, it’s designed to regenerate from these nodes.
In Zone 6a, where mint thrives, the growing season gives you plenty of opportunities to harvest and regrow. By mid-summer, a well-maintained mint plant can produce 3-4 harvests before flowering, which signals the end of its productive cycle.
That’s why timing your cuts matters—always harvest before flowers appear, or you’ll sacrifice flavor and vigor.
Another factor is light exposure. Mint needs 4-6 hours of sunlight daily, but too much direct sun (especially in hot climates) can cause it to bolt prematurely. Partial shade in the afternoon keeps it happy and encourages leafy regrowth.
Pair this with the right cutting technique, and you’ve got a mint plant that keeps giving all season.
🪴
If you’ve ever wondered why some gardeners get endless mint while others struggle, the answer lies in these leaf nodes. They’re the plant’s hidden superpower, and knowing how to work with them transforms harvesting from a chore into a growth hack.
Next time you reach for those scissors, remember: cut above the node, angle it, and watch your mint bounce back stronger than ever.
Step-by-step mint harvesting guide for continuous growth
Harvesting mint at the right time and with the right technique ensures your plant doesn’t just survive—it thrives. The key is cutting just above leaf nodes at a 45° angle to stimulate new growth.
This method prevents leggy stems and keeps your mint bushy and productive for years. Whether you’re harvesting for tea, cocktails, or cooking, this approach guarantees a steady supply without sacrificing plant health.
Timing matters too. Always harvest before flowering—once mint bolts (sends up a flower spike), the leaves become bitter and growth slows. In Zone 6a, this means harvesting from June through early September, just as the stems reach 4-6 inches tall with 4-6 sets of leaves.
Morning harvests yield the most potent flavor, so grab your shears and get started before 10 AM.
How to Harvest Mint for Endless Regrowth
- Step 1: Choose healthy stems with 4-6 sets of leaves—avoid woody or flower-bearing stems.
- Step 2: Use clean, sharp pruning shears (sterilize with rubbing alcohol) to prevent disease.
- Step 3: Cut at a 45° angle, ½ inch above a leaf node (the bump where leaves meet the stem).
- Step 4: Harvest ⅓ of the plant at a time to avoid stress—never take more than 2-3 stems per harvest.
- Step 5: Rinse leaves in cool water and pat dry with a paper towel to preserve freshness.
- Step 6: Store in an airtight container in the fridge for up to 1 week or dry for long-term use.
Pro Tip: After harvesting, pinch off any flower buds to redirect energy to leaf growth.
For year-round production, adjust your harvest schedule with the seasons. In spring, focus on encouraging bushy growth by trimming lightly every 3-4 weeks. During summer’s peak growth, harvest every 2 weeks to keep the plant compact.
In fall, reduce harvesting as the plant prepares for dormancy, and avoid cutting in winter unless you’re in a mild microclimate.
After harvesting, your mint should show new shoots within 2-3 weeks. If growth slows, check for yellowing leaves (a sign of overwatering) or bare stems (a sign of underwatering). Keep soil moist but well-draining and fertilize lightly with a balanced 5-10-10 mix every 4-6 weeks during the growing season.
With this care, your mint will reward you with endless harvests.
Remember: the goal isn’t to harvest everything at once—it’s to encourage regrowth. By mastering this technique, you’ll turn your mint into a self-sustaining powerhouse that keeps giving, season after season. Happy harvesting! 🌿✂️💧