
How To
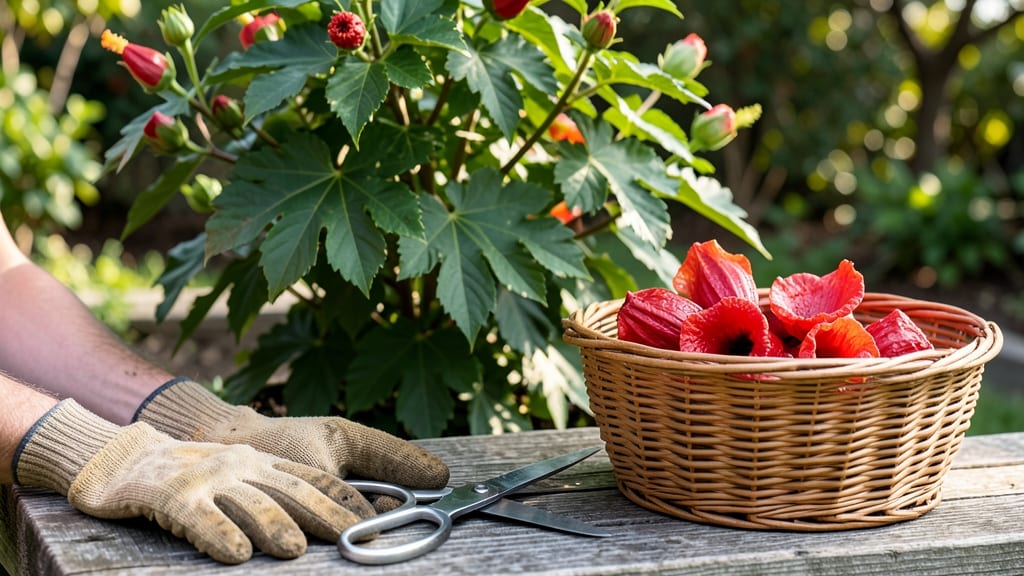
To harvest roselle hibiscus at its peak tart, tea-rich flavor, you’ll need to know the exact moment its pods crack open—because timing is everything.
Roselle hibiscus isn’t just a stunning ornamental plant—its cracked pods reveal a treasure trove of tart, tea-rich goodness, but timing and technique make all the difference. Miss the harvest window, and you’ll lose flavor and yield to pests or overripening.
In this guide, I’ll walk you through the best signs to harvest, from the deep red-pink calyx to the firm, slightly cracked pods. You’ll also learn which tools to use to avoid damaging your tall, tropical plants and how to process your harvest for the best storage and flavor.
Whether you’re growing roselle hibiscus for homemade tea, jams, or natural dyes, these tips will help you maximize your yield and turn your garden into a flavorful harvest every season.

When to harvest roselle hibiscus pods: signs of perfect ripeness
Harvesting roselle hibiscus at the right time transforms your garden into a flavor factory. The calyx pods—not the flowers—are the star, and their color and texture tell you exactly when to pick.
Miss this window, and you’ll end up with overripe, tough pods or underdeveloped buds that lack tartness. Let’s break down the visual and tactile cues to nail your harvest timing.
First, focus on the calyx color, which is your primary indicator. For most roselle varieties, the calyx should turn a deep red or pink—think of a ripe strawberry’s hue.
Some tropical varieties may lean toward purple or magenta, but green or partially green calyces mean they’re not ready yet. This color change typically happens 6-8 months after planting, but climate plays a huge role—cooler regions may take longer.
Next, give the bud a gentle squeeze. A perfectly ripe roselle calyx should feel firm but slightly yielding, like a ripe avocado. If it’s too soft or mushy, it’s underripe; if it’s hard or woody, it’s past its prime.
Pay attention to the stem’s resistance too—a mature calyx will resist slight bending without snapping, while an overripe one may crack or feel brittle.
Don’t overlook the pod’s natural cracking pattern. As roselle matures, the calyx begins to split open slightly at the seams, revealing the seeds inside. This is your final green light to harvest.
If the cracks are wide or the pod is splitting open fully, you’ve waited too long—the seeds will scatter, and the flavor intensity diminishes. Aim to pick when the cracks are just 1-2 millimeters wide.
| Ripeness Stage | Calyx Color | Texture | Cracking Pattern | Harvest Action |
|---|---|---|---|---|
| Underripe | Mostly green with hints of red/pink | Soft, mushy when pressed | No cracks or very slight seam lines | Wait 1-2 weeks |
| Perfectly Ripe | Deep red, pink, or magenta (no green) | Firm with slight give | 1-2mm cracks at seams | Harvest immediately |
| Overripe | Dull red/pink, may darken | Hard, woody, or brittle | Wide cracks, seeds exposed | Discard or process quickly |
Your local climate will influence ripening speed. In hot, humid regions like Florida or Hawaii, roselle pods may ripen in as little as 180 days, while cooler subtropical zones (e.g., Southern California) might need 240 days or more.
Keep a harvest journal to track your plant’s timeline—note the first frost date (if applicable) and adjust your schedule accordingly. If you’re in a short growing season, prioritize harvesting the lowest pods first to maximize yield.
One common mistake is harvesting based solely on flower bloom. The edible calyx forms before the flower opens, so focus on the bud stage, not the blooms. If you see open flowers on your plant, you’ve missed the harvest window for those calyces.
For continuous harvests, prune spent flowers to encourage new bud formation—this keeps your roselle plant productive for months.
Check for pest or disease signs before harvesting. Yellowing leaves, spider mites, or whitefly infestations can stress the plant and affect pod quality. If you spot damaged calyces, remove them immediately and treat the plant with neem oil or insecticidal soap.
A healthy plant produces tighter, more flavorful pods, so regular inspections are key.
For maximum tartness, harvest in the early morning when temperatures are cool. This preserves flavor compounds and makes handling easier. Use a sharp pair of pruning shears to cut the calyx 1-2 inches below the base, leaving the stem intact.
Avoid pulling pods off—this can damage the plant and reduce future yields. Store harvested calyces in a paper bag in the fridge for up to 5 days before processing.
Pro tip: If your roselle pods are ripening unevenly, it might be due to uneven sunlight exposure. Trim nearby plants or relocate your roselle to a sunnier spot if the top pods ripen faster than the lower ones.
Consistency in sunlight and watering leads to uniform ripening, making your harvests predictable and bountiful.
Remember, the earlier you harvest, the more vibrant the flavor. Overripe roselle loses its tart, cranberry-like tang and becomes bitter. By mastering these ripeness cues, you’ll ensure every pod you pick is packed with tea-rich goodness ready for drying, steeping, or cooking. Happy harvesting! 🌸
Best tools and techniques for harvesting roselle without damaging plants
Harvesting roselle hibiscus requires the right tools and gentle techniques to protect your plants while maximizing yield. Using the wrong approach can stress the plant, reduce future blooms, or even attract pests. I’ve learned that sharp pruners and protective gloves are non-negotiables for a smooth harvest.
Timing matters just as much as technique. Harvesting at the wrong stage can leave you with bitter, underripe pods or overripe ones that crumble apart.
The goal is to pick when the calyx turns deep red but before it fully opens—this ensures the best flavor and texture for your tea or culinary uses.
Here’s my step-by-step guide to harvesting roselle hibiscus without harming your plants:
-
🌸 Step 1: Gather Your Tools
- - Bypass pruners (clean, sharp)
- - Garden gloves (to protect hands)
- - Bucket or basket (for collected pods)
-
✂️ Step 2: Identify Ready Pods
- - Look for deep red/pink calyces (no green)
- - Gently squeeze—firm but slightly yielding
- - Avoid pods with cracks or soft spots
-
🌿 Step 3: Cut Properly
- - Cut 1-2 inches below the pod
- - Use a clean, downward motion to avoid tearing
- - Leave 2-3 leaves above the cut
-
🌡️ Step 4: Harvest Seasonally
- - Peak season: Late summer to early fall
- - Harvest every 2-3 days during peak
- - Stop when frost threatens (roselle is frost-sensitive)
-
🌱 Step 5: Post-Harvest Care
- - Rinse pods gently with water
- - Pat dry before storing or drying
- - Remove damaged pods immediately
One common mistake I see is harvesting too aggressively. Never remove more than 1/3 of the pods at once—this ensures the plant keeps producing. I also recommend harvesting in the morning when pods are firmest and dew has evaporated, reducing the risk of fungal issues.
For large plants, consider using a step stool to reach higher pods safely. And always disinfect your pruners with rubbing alcohol between cuts to prevent the spread of disease. With the right tools and technique, you’ll enjoy a bountiful harvest of roselle hibiscus year after year!