
How To
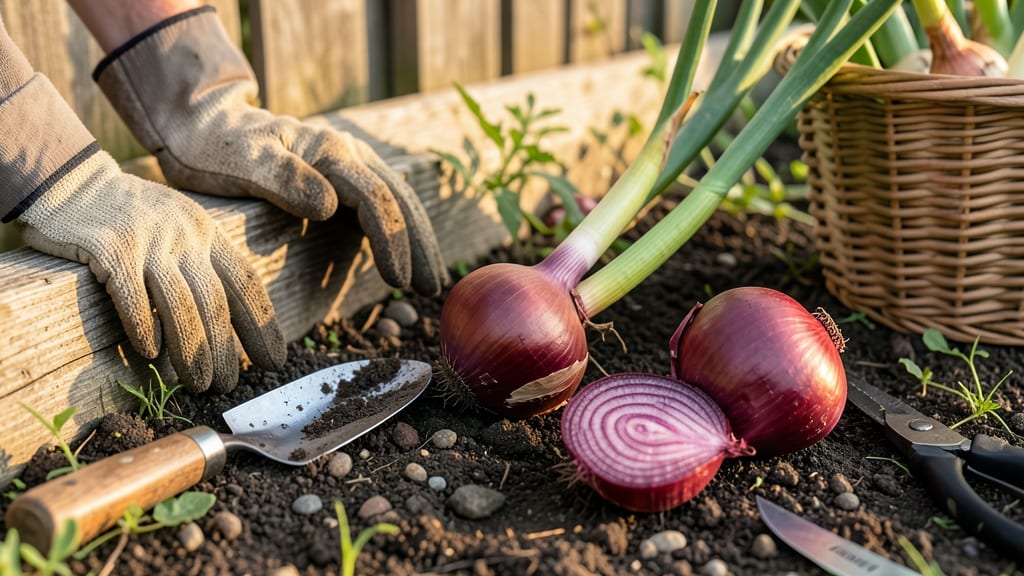
Knowing when to harvest red onions 🧅 means the difference between sharp, sweet bulbs and bland, stringy disappointments.
You’ve nurtured them all season—watered, weeded, and watched them grow—but how do you know the perfect moment to pull them? Too early, and they’ll lack flavor and storage life. Too late, and they’ll split or rot.
The secret lies in three simple tactile tests: leaf color, bulb size, and neck thickness. I’ll walk you through each one so you never guess again.
First, check the tops: when the green leaves turn yellow and flop over, that’s your first clue. Then, dig down to feel the bulb—it should be firm and about 1-2 inches in diameter.
Finally, look at the neck where the bulb meets the stem; it should feel thick and dry. These cues, combined with the right weather, ensure you harvest at peak quality.
Beyond timing, I’ll show you how to harvest without damage, cure them properly, and store them for months. No more wasted onions or bitter surprises—just perfect, pungent red onions every time.


3 Tactile tests to determine red onion harvest readiness
Knowing exactly when to harvest your red onions can make the difference between sweet, flavorful bulbs and bitter, pungent disappointments. Unlike some vegetables, onions don't ripen after picking, so timing is everything.
I've found that relying on visual cues alone often leads to mistakes—whether harvesting too early (small, watery onions) or too late (split bulbs that rot). Instead, I use these three tactile tests that combine touch, sight, and a little patience to get it right every time.
The key to perfect red onion harvest timing lies in understanding how the plant matures from the inside out. Most gardeners focus on the green tops turning yellow, but the real magic happens below ground.
By combining three simple tests—leaf yellowing, root ball size, and neck thickness—you'll never second-guess your harvest again. Let me walk you through each one and how to use them together for foolproof results.
3 Tactile Tests for Perfect Red Onion Harvest
-
Test 1: Leaf Yellowing
Gently grasp the outer leaves—they should feel dry and papery to the touch, not crisp. The tops will naturally yellow and flop over when ready, but check the base first for brown edges on the leaves. -
Test 2: Root Ball Size
Dig around the base to expose the bulb diameter. It should measure 1-2 inches wide (about the size of a golf ball). If it's smaller, it needs more time; if larger, it may split when harvested. -
Test 3: Neck Thickness
The stem connecting bulb to leaves should be thick and firm, not hollow or shriveled. Pinch it gently—it should resist pressure like a green apple, not a water balloon.
Pro Tip: Combine all three tests for 100% accuracy. If two out of three pass, your onions are ready!
Let's start with the first test, which is the most obvious but often overlooked. The leaf yellowing is your first visual clue, but don't rely on it alone. I've seen gardeners pull onions too early because the tops looked "done," only to find the bulbs still small and watery.
Instead, focus on the base of the leaves—they should develop brown edges and feel dry when you touch them. This indicates the plant is redirecting nutrients from the leaves to the bulb, a sure sign of maturity.
For the second test, you'll need to get your hands dirty—literally. Gently loosen the soil around the base of the plant and check the bulb diameter. A mature red onion bulb should be about 1-2 inches wide. If it's smaller, it's not ready yet.
If it's larger, you might be dealing with an over-mature bulb that could split when pulled. I recommend harvesting when the bulb is on the larger end of that range for maximum flavor and storage potential.
The third test focuses on the neck thickness, which is often the most reliable indicator. The stem connecting the bulb to the leaves should be thick and firm. Pinch it gently—it should feel solid, like a green apple.
If it's hollow or shriveled, the onion is past its prime. This test helps you avoid the common mistake of harvesting onions that have already started to split or rot underground.
Here's how to combine these tests for foolproof results: Start by checking the leaf yellowing and neck thickness. If both pass, then dig around the base to confirm the bulb size. I've found that using all three tests together eliminates guesswork.
For example, you might see yellow leaves but find the bulb still small—that means wait a few more days. Or you might have a thick neck but a bulb that's already splitting—that's a sign to harvest immediately.
One common mistake I see is harvesting onions in the heat of the day when the soil is dry. This can cause stress to the plant and lead to split bulbs. Instead, harvest on a cool morning after watering the soil lightly.
The onions will be firmer and less likely to bruise. Also, avoid harvesting when the forecast calls for rain—wet conditions can promote mold growth during curing.
If you're growing red onions in containers or raised beds, the tactile tests still apply, but you'll need to be extra gentle when handling the bulbs. Container-grown onions often mature faster, so check them every 3-4 days once the tops start yellowing.
I've had success with container onions by using a small hand trowel to carefully lift the bulb without damaging the roots, then finishing the job by hand.
Finally, remember that red onions store best when harvested at the right time. Over-mature onions lose their sweetness and develop a harsh bite, while under-mature ones won't keep well. By mastering these three tactile tests, you'll consistently harvest onions that are firm, flavorful, and ready for long-term storage.
Once you've pulled them, the next step is proper curing—more on that in my next guide on harvesting techniques!
How to harvest red onions without damaging future storage
Once you’ve confirmed your red onions are ready to harvest using those tactile tests, the next critical step is removing them from the soil without damaging their storage potential. A rough harvest can bruise bulbs, making them prone to rot during curing or storage.
I’ve learned the hard way that gentle handling is key—especially when dealing with 1-2 inch bulbs at peak maturity. The goal is to preserve that crisp texture and pungent flavor while ensuring a long shelf life.
Timing your harvest is just as important as technique. Aim to pull onions on a dry, sunny day with temperatures between 60-75°F. This weather range allows bulbs to dry properly without risking mold growth.
Early morning harvests work best because the soil is cooler and less likely to stick to the roots. If rain is forecast within 24 hours, harvest immediately to prevent waterlogged bulbs—this is a common mistake that ruins storage potential.
Now, let’s dive into the exact steps to harvest and prepare your onions for storage without any damage. Follow these carefully, and you’ll enjoy crisp, flavorful red onions all winter long.
- 🌱 Step 1: Loosen the Soil
Use a garden fork or trowel to gently work the soil around the onion base. Insert the tool about 2 inches away from the bulb and 3 inches deep to avoid piercing the roots. This loosens the soil without damaging the bulb. - 🪴 Step 2: Lift with Care
Grasp the onion tops and lift straight up to pull the bulb from the soil. Avoid twisting or yanking—this can cause internal bruising. If the bulb resists, wiggle it gently side-to-side while pulling upward. - ✂️ Step 3: Shake Off Excess Soil
Once lifted, gently shake off loose soil. Use your fingers to brush away any remaining dirt, but don’t scrub the bulb. This step ensures a clean surface for proper drying and curing. - ☀️ Step 4: Cure in Ideal Conditions
Lay the onions in a single layer on a well-ventilated tray or screen in a shady, dry spot (like a garage or porch). Avoid direct sunlight, which can cause the skins to darken or crack. Cure for 2-3 weeks until the necks are dry and papery. - 🧻 Step 5: Trim and Store Properly
Once fully cured, trim the tops to 1 inch above the bulb and remove any loose or damaged outer layers. Store in a cool, dark place (like a pantry) with good air circulation. A mesh bag or open crate works best.
The curing process is where most gardeners go wrong—rushing it leads to soft, moldy onions. If you’re in a humid climate, consider using a dehumidifier or a fan to speed up drying.
I’ve cured onions in as little as 10 days in dry conditions, but never less than 2 weeks—patience pays off with longer storage life.
After curing, your red onions should last 3-6 months if stored correctly. Check them monthly for signs of sprouting or mold, and remove any affected bulbs immediately. Properly harvested and cured onions will keep their sharp, sweet flavor until spring—no more sad, shriveled leftovers!
With these steps, you’ll harvest onions that store beautifully and taste amazing. The key is gentle handling, proper drying, and smart storage. Now, go enjoy the fruits of your labor—literally! 🧅