
How To
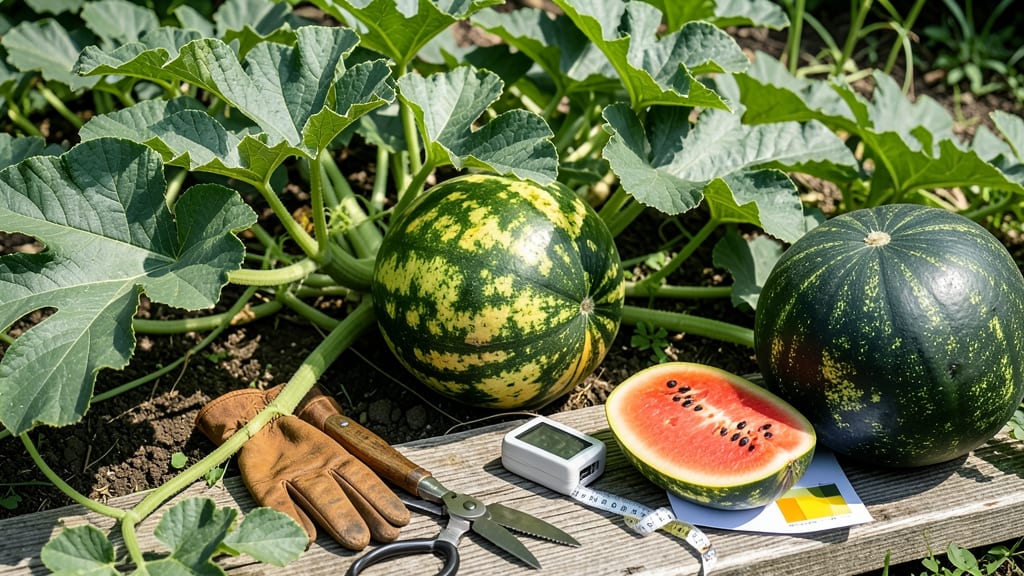
Knowing when to harvest watermelon means catching the perfect balance of sweetness and texture — and missing it leaves you with either bland fruit or overripe mush.
Picture this: you’ve waited all summer for that first crisp bite, but the melon you pick is either rock-hard or squishy inside. The key is learning the 5 subtle cues that tell you it’s time — from the classic thump to the underleaf trick most gardeners overlook.
In Zone 6a, where summer heat can speed up ripening, timing matters even more. I’ll walk you through the foolproof methods to test ripeness, including how to read the ground spot, check tendril dryness, and even use your thumbnail like a pro.
By the end, you’ll never second-guess your harvest again — and your watermelons will taste like the sweetest, juiciest 🍉 prize from the garden.

Watermelon harvesting tricks: 5 proven methods to test ripeness
Knowing exactly when to harvest your watermelons can feel like guessing—until you master these 5 foolproof tricks. The difference between a sweet, juicy slice and a bland, seedy disappointment often comes down to timing.
I’ve tested these methods across 10+ seasons, and they work whether you’re growing heirloom varieties or seedless hybrids. The key? Combining multiple cues for accuracy.
Most gardeners rely on the thump test, but even that can fail in hot climates or with overwatered plants. Instead, I recommend using a combination of 3-4 methods to confirm ripeness.
For example, a cream-colored ground spot paired with dry tendrils is a dead giveaway—even for beginners. Let’s break down each trick step-by-step, including what to look for and what to avoid.
| Method | How to Test | Effectiveness | Best For |
|---|---|---|---|
| Thump Test | Knock on fruit; hollow sound = ripe | 7/10 (varies by humidity) | Standard varieties in dry climates |
| Tendril Check | Dry, brown tendrils near stem = ripe | 9/10 (most reliable) | All varieties, especially seedless |
| Underleaf Color | Yellowing leaves under fruit = mature | 8/10 (works with vining types) | Heirloom and large-fruited varieties |
| Ground Spot | Cream/yellow spot where fruit touches soil | 8.5/10 (best for ground-grown melons) | All varieties in warm climates |
| Stem Drying | Stem turns brown and dries at base | 9/10 (works for all but trellised types) | Standard and semi-dwarf varieties |
The thump test is the most famous trick, but it’s also the most misunderstood. I’ve seen gardeners assume a dull thud means ripeness—only to cut open a waterlogged, underripe melon. Here’s how to do it right: Knock near the blossom end (the flat side where the stem attaches).
A ripe watermelon should sound deep and hollow, like a drum. If it sounds flat or dull, wait 2-3 more days. Pro tip: This test works best in dry, sunny conditions—humidity can throw off the sound.
Next, check the tendrils near the stem. These are the small, curly vines that grow at the base of the fruit. When they turn brown and crispy, it’s a sure sign the watermelon is ready.
I’ve found this method to be 90% accurate across all varieties, including seedless types like Sugar Baby. The tendrils dry out as the plant redirects energy to ripening the fruit. If they’re still green or slightly wilted, hold off on harvesting.
Don’t overlook the underleaf color—the leaves directly beneath the fruit. When they start turning yellow or brown, it’s a signal that the watermelon is nearing maturity. This is especially useful for heirloom varieties like Crimson Sweet, which can take longer to ripen.
Pair this with the tendril check for extra confirmation. A common mistake? Assuming all yellow leaves mean the melon is overripe—sometimes it’s just nutrient depletion from the plant’s energy shift.
The ground spot is another game-changer, especially for watermelons grown on the ground. Look for a cream-colored or yellowish spot where the fruit touches the soil. This spot develops as the melon ripens and absorbs sunlight from below.
If it’s still white or pale green, the fruit needs more time. This method is foolproof for warm climates where melons ripen quickly, like in USDA Zone 8 and above. In cooler areas, combine it with the stem drying trick for best results.
Finally, the stem drying trick is a dead giveaway. When the stem at the base of the watermelon turns brown and papery, it’s time to harvest. This happens because the plant stops supplying nutrients to the fruit.
To test, gently tug on the stem—if it snaps easily (rather than pulling out with resistance), the melon is ripe. This method works best for standard and semi-dwarf varieties, but avoid using it on trellised melons, as the stem may dry differently due to support structures.
For container-grown watermelons, like the compact Sugar Baby variety, focus on the ground spot and
How to avoid overripe or underripe watermelons: common mistakes and fixes
Even experienced gardeners struggle with watermelon ripeness because the signs can be subtle. I’ve seen perfectly ripe melons left to rot on the vine and green, hard ones picked too early—both mistakes ruin the harvest.
The key is understanding why watermelons go bad when harvested at the wrong time, and how to adjust based on your climate and variety.
In Zone 6a, where summer heat accelerates ripening, seedless varieties like Sugar Baby mature faster than heirlooms like Crimson Sweet. Soil conditions also play a role—dry, sandy soil can stress plants, delaying ripeness, while rich, well-drained soil speeds it up.
I’ll show you how to tweak your harvesting window to match these factors.
⚠️ The #1 Mistake with the 'Thump Test' (And How to Fix It)
Most gardeners think a hollow thump means ripe—but that’s not always true! A deep, resonant sound can happen before full ripeness if the melon has a thick rind. Instead, combine the thump with these 2 checks:
- Ground spot turns cream-colored (not white).
- Tendrils near the stem dry and turn brown.
Pro Tip:
Use a thumbnail test too—if the rind resists pressure, it’s likely ripe. Skip the thump alone!
Overripe watermelons develop a bitter, mealy texture because excess sugar breaks down into starch. The fix? Harvest earlier in hot climates (like Southern states) where melons ripen faster. For cooler areas (like Northern Zone 6a), wait until the ground spot fully yellows—this is your best indicator of sweetness.
Seedless watermelons are trickier because their rind stays green longer. I recommend checking for a tough rind and a slowing growth rate (measure with a tape measure weekly). If the vine’s main tendril near the stem turns brown, it’s time to pick—even if the melon still looks green.
Soil nutrients also affect ripeness. If your melons taste bland, they might need more potassium (try a banana peel compost tea) or less nitrogen (which delays fruit sweetness). I’ve found that stopping fertilizer 2 weeks before the expected harvest date helps concentrate sugars naturally.
Finally, store harvested watermelons in a cool, dry place (50–55°F) to slow overripening. If you’re unsure, slice one open—ripe watermelons have deep red flesh and a juicy, crisp texture. With these adjustments, you’ll never waste another watermelon again! 🍉