
How To
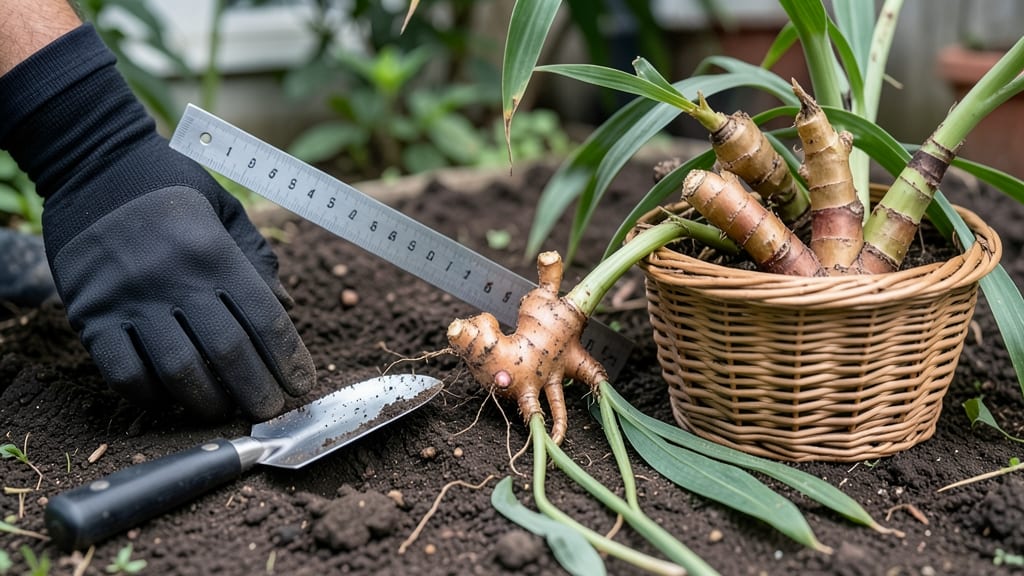
Harvesting ginger at the right time means the difference between a mild rhizome and a fiery, spice-packed treasure 🌿—but knowing when to pull it up isn’t always obvious.
Picture this: your ginger plant’s leaves are yellowing and wilting, yet the roots still feel soft to the touch. That’s the tricky moment where patience pays off—or where you risk digging too soon and ending up with underwhelming flavor.
The secret? A few simple knuckle tests and seasonal cues that take the guesswork out of timing.
Ginger thrives in USDA Zone 6a and needs a full 10-12 months to mature, but the harvest window typically opens in October–November. Too early, and the rhizomes won’t have developed their signature kick; too late, and they’ll turn woody.
Below, I’ll walk you through three foolproof methods to check readiness—so you can harvest at peak pungency and store it for months.
Ready to dig? You’ll also learn how to cure and store your harvest for maximum shelf life, plus what to do if you miss the window. No more second-guessing—just bold, flavorful ginger every time.

3 Knuckle tests to determine perfect ginger harvest timing
Ginger rhizomes develop underground over months, and knowing exactly when to harvest can transform your crop from bland to bold. Unlike many plants, ginger doesn't have obvious external signs like fruit ripening—so you'll need to rely on tactile tests to gauge maturity.
These knuckle tests let you physically assess readiness without digging up your entire patch prematurely.
The key is understanding how ginger's texture and size change as it matures. A young rhizome feels soft and spongy, while a mature one develops a firm, almost rubbery surface. These tests help you distinguish between the two without damaging the plant.
I've used these methods in my own garden to consistently harvest ginger with maximum flavor intensity and storage potential.
Press your finger firmly into a rhizome. If it springs back slightly but leaves a dent that holds, it's ready. A soft rhizome will collapse completely.
Use your knuckle to press into the rhizome. A mature rhizome will yield slightly but resist deep penetration. If it crushes easily, it's not ready.
Gently brush away soil to check for 2-3 inch diameter rhizomes. Look for thickened nodes—these indicate maturity. Smaller roots will be underdeveloped and lack flavor.
Pro Tip: Combine these tests with foliage color—yellowing leaves signal readiness.
For the finger pressure test, start by digging up one rhizome from the outer edge of your patch. Press your index finger about ½ inch into the flesh.
If it feels firm but slightly yielding—like pressing into a ripe avocado—it's ready. I've found that rhizomes at this stage have the perfect balance of spice and moisture.
The knuckle indentation test is particularly useful for larger rhizomes. Your knuckle provides just enough pressure to assess firmness without causing damage. If the rhizome leaves a visible dent that doesn't disappear immediately, it's prime for harvest.
This test works best when the soil is slightly damp, as dry conditions can make rhizomes appear firmer than they are.
When evaluating root size, focus on the thickest sections of the rhizome. Mature ginger should have at least one section measuring 2-3 inches in diameter. Smaller rhizomes will be stringy and lack the robust flavor you're after.
In my experience, larger rhizomes also store better—so if you're planning to keep your harvest for months, prioritize these bigger specimens.
Timing matters too—perform these tests in the late fall when temperatures drop and foliage starts yellowing. This is when ginger's natural sugars concentrate, enhancing flavor. I always test my ginger in October or November, just before the first frost in my USDA Zone 7 garden.
One common mistake is harvesting based solely on foliage color. While yellowing leaves are a good indicator, they can sometimes lag behind rhizome maturity. Always pair visual cues with these physical tests for accuracy.
For example, I've seen ginger with fully yellow leaves but still soft rhizomes—these need more time in the ground.
If you're growing ginger in containers, these tests work just as well. Simply tip the pot slightly to expose the rhizomes without digging. Container-grown ginger often matures faster, so check your tests more frequently—sometimes as often as every 2-3 weeks in late season.
Remember that ginger continues to develop underground even after the foliage dies back. For the best storage life, harvest when the rhizomes are firm but before the soil temperature drops below 50°F. Cold soil can cause rhizomes to become woody and lose their characteristic heat.
Once you've confirmed maturity with these tests, it's time to harvest. Use a garden fork to gently lift the rhizomes, being careful not to pierce them. Rinse off the soil and let them cure in a dry, shady spot for a few days before storing.
Properly harvested ginger can last for months in a cool, dark place.
Seasonal harvest windows: when to dig ginger for best flavor and storage
Ginger’s harvest window varies dramatically by climate zone, but the golden rule is always the same: wait until the foliage yellows and the rhizomes reach 2-3 inches in diameter.
In USDA Zone 6a, where I garden, this typically falls between October and November—just before the first frost. However, tropical and subtropical growers enjoy a much longer harvest window, often spanning year-round with staggered plantings.
Weather plays a critical role in ginger development. Cool temperatures below 50°F (10°C) stall rhizome growth, while consistent warmth above 70°F (21°C) accelerates maturation. In temperate zones, a frost-free growing season of at least 165 days is ideal for full flavor development.
If your area has early frosts, consider planting in spring (March–April) for a fall harvest or use row covers to extend the season.
Here’s the key: Harvest timing directly impacts flavor. Ginger dug too early lacks gingerol (the compound responsible for its signature kick), while over-mature rhizomes become woody and fibrous. The table below breaks down the best harvest windows by climate, so you can plan accordingly.
| Climate Zone | Ideal Harvest Window | Key Cues | Avoid Digging If... |
|---|---|---|---|
| Tropical (e.g., Hawaii, Florida) | Year-round (staggered plantings) | Foliage yellows; rhizomes firm | Soil temps drop below 60°F |
| Subtropical (e.g., Southern California, Texas) | Fall–Winter (Sept–Dec) | Leaves brown; roots plump | Frost threatens (below 32°F) |
| Temperate (e.g., Zone 6a–8b) | Late Fall (Oct–Nov) | Foliage dies back; skin thickens | Soil temps drop below 50°F |
To extend your harvest window in cooler climates, try planting ginger in containers and move them indoors or under a greenhouse before frost. This trick buys you an extra 4–6 weeks of growing time.
In hot climates, mulch heavily to retain soil moisture and prevent rhizomes from drying out prematurely.
One common mistake? Waiting until the foliage is completely dead to harvest. By then, the rhizomes may have already started to shrink and harden. Instead, dig when 50–70% of leaves have yellowed—this ensures peak flavor and storage potential.
Pro tip: Use a garden fork to gently loosen the soil before pulling rhizomes to avoid damaging them.
Once harvested, let ginger cure in the sun for 2–3 hours to toughen the skin before storing. This simple step can double its shelf life, keeping it fresh for up to 6 months in a cool, dry place.
Now you’re ready to dig with confidence—no more guesswork, just bold, aromatic ginger every time!