
How To
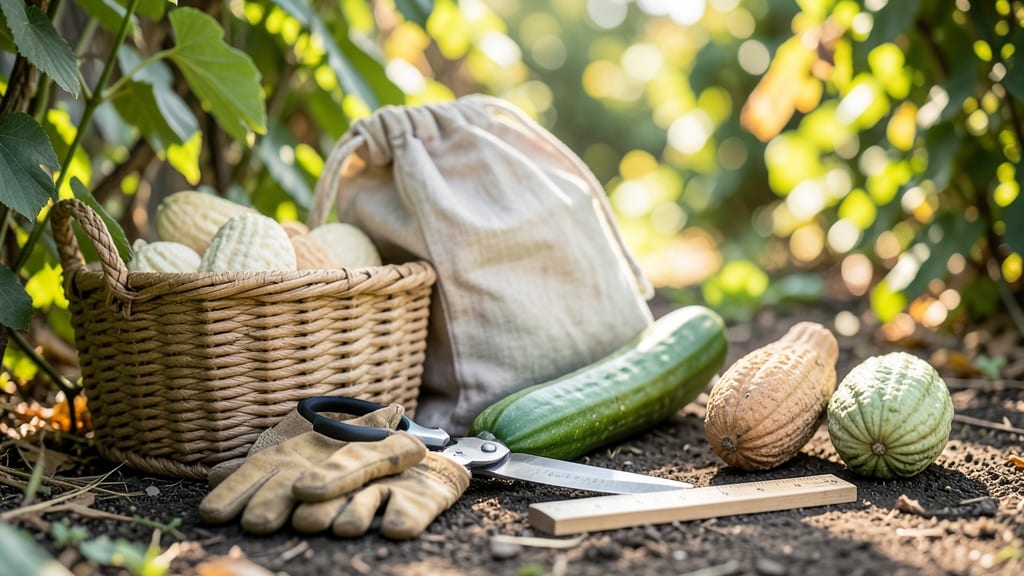
Harvesting loofah gourds at the right time turns a tough, inedible mess into a soft, spongy treasure 🎋 — and the difference comes down to three simple visual cues.
Picture this: you’ve waited months for your 10-foot vines to produce those bumpy green gourds, only to wonder, "Is it ready yet?" The truth is, harvesting too early means wasted effort, while waiting too long risks frost damage.
That’s why knowing when those gourds shift from green to tan and harden like a sponge is the game-changer for every gardener.
In this guide, I’ll walk you through the exact signs to watch for—vine color, rind texture, and stem separation—so you never miss the perfect late summer to early fall window. Plus, I’ll share the common mistakes that turn great harvests into disappointments and how to avoid them.
By the end, you’ll know not just when to harvest your loofah gourds, but how to cure and store them for years of use—whether you’re making sponges or adding them to your garden toolkit.

3 Visual cues to identify when loofah gourds are ready for harvest
Harvesting loofah gourds at the right time transforms them from inedible hard shells to soft, spongy textures perfect for scrubbers or culinary uses. The key lies in three expert-approved visual cues that signal peak ripeness.
Ignoring these signs often leads to gourds that are either too tough or rot before reaching their potential. Let’s break down what to watch for in your garden this late summer.
First-time growers often struggle because loofah gourds don’t ripen like tomatoes or peppers—they rely on subtle physical changes rather than color alone. For example, a gourd might look ready but still be too soft inside.
That’s why combining all three cues ensures you harvest at the perfect moment. I’ve learned this the hard way after leaving gourds on the vine too long, only to find them shrunken and useless.
Here’s what to look for when checking your loofah gourds for harvest readiness:
- 1 Vine Color Change: The gourd’s skin shifts from bright green to a tan or yellow-brown hue. This indicates the gourd’s internal fibers are maturing and drying out naturally.
- 2 Hard Rind Test: Press your fingernail into the gourd’s skin. If it feels hard like a sponge (no give or softness), it’s ready. A soft gourd will dent easily and won’t dry properly.
- 3 Stem Separation: Gently twist the gourd at its stem. If it detaches easily (without tearing the gourd), it’s time to harvest. A stubborn stem means it’s not ready yet.
Timing is everything with loofah gourds because they won’t ripen off the vine. Once the vine starts dying back naturally—usually in late summer—you’ve got a narrow window (about 1–2 weeks) to harvest before frost ruins them.
I recommend checking gourds every 3–4 days during this period to catch them at their prime.
Don’t rely on size alone—some loofah gourds stay small but become perfectly usable sponges, while others grow large but remain tough. The hardness test is your best friend here. For example, I once harvested a gourd that looked ripe but was still leathery inside.
After drying, it crumbled instead of forming a usable sponge. That’s why I now double-check all three cues before harvesting.
Another pro tip: Harvest on a dry, sunny morning to reduce moisture on the gourds. This helps prevent rot during the curing process. Place freshly harvested gourds in a well-ventilated area (like a garage or shed) for 2–3 weeks to dry completely.
If you skip this step, your gourds won’t develop that signature spongy texture.
Watch out for overripe gourds, which shrivel and lose their structural integrity. These are often left on the vine too long, especially if you’re distracted by other garden tasks. I’ve seen gourds split open naturally if they stay attached past their prime—always a sign they’re past their harvest window.
When in doubt, harvest a few gourds early and test their texture after drying.
If you’re growing loofah gourds for culinary use (like young, tender gourds), harvest them when they’re still small and green—around 50–60 days after planting. But for sponges, wait until all three cues align. The difference in texture is night and day, and your future scrubbing sessions will thank you!
Finally, keep an eye on your local frost dates. Loofah gourds can’t tolerate frost, so if you’re in a cooler climate, prioritize harvesting before the first frost hits. In my zone (6a), I aim to finish harvesting by early October to avoid any frost damage.
With these cues in mind, you’ll never miss the perfect harvest window again.
Loofah gourd harvesting mistakes that ruin your crop (and how to avoid them)
Harvesting your loofah gourds at the wrong time can turn a promising crop into a disappointing mess. One year, I left mine on the vine too long, and they became brittle and unusable.
The key is timing—knowing when to pick them ensures you get that perfect spongy texture for scrubbing or cooking. Let’s fix the most common mistakes gardeners make.
First, many gardeners harvest too early because they’re eager. I’ve seen gourds picked when they’re still soft and green, resulting in a mushy texture that’s impossible to dry properly.
Others wait too long, risking frost damage or over-ripening, which makes the gourds crunchy and unusable. Both extremes ruin your harvest before it even begins.
Harvest between 85–100 days after planting when:
- Gourds turn tan/yellow-brown (not green)
- Rind feels hard (no softness when pressed)
- Vines begin dying back naturally
Miss these cues? Your gourds may not dry properly or could rot on the vine.
Another common mistake is improper drying techniques. I once tried curing loofah gourds in direct sunlight, thinking it would speed up the process. Instead, they cracked and became unusable.
Proper drying requires indirect airflow and a consistent temperature of 70–80°F (21–27°C) for 2–4 weeks. Skipping this step leads to mold or uneven drying.
Leaving gourds on the vine after the first frost is another rookie error. Frost turns the gourds black and mushy, making them inedible. Always harvest before the first frost date in your USDA zone.
For example, in Zone 6a, aim to pick by mid-October. Use a sharp knife or pruners to avoid tearing the stem, which can introduce rot.
Even after harvesting, many gardeners fail to cure loofah gourds properly. I’ve seen them stored in damp basements or hung in humid conditions, leading to mold. Instead, place them in a well-ventilated area with 50–60% humidity for 1–2 weeks.
Turn them daily to ensure even drying. If you notice any soft spots, discard them immediately to prevent spoilage.
Finally, don’t overlook the importance of post-harvest storage. Once fully dried, store loofah gourds in a cool, dry place away from direct sunlight. They can last for months this way.
If you plan to use them as sponges, soak them in warm water for 24 hours before scrubbing to restore their softness.
By avoiding these mistakes—harvesting at the right time, drying properly, and storing correctly—you’ll turn your loofah gourds into a versatile, long-lasting resource for your garden or kitchen. Happy harvesting! 🎋