
Vegetables
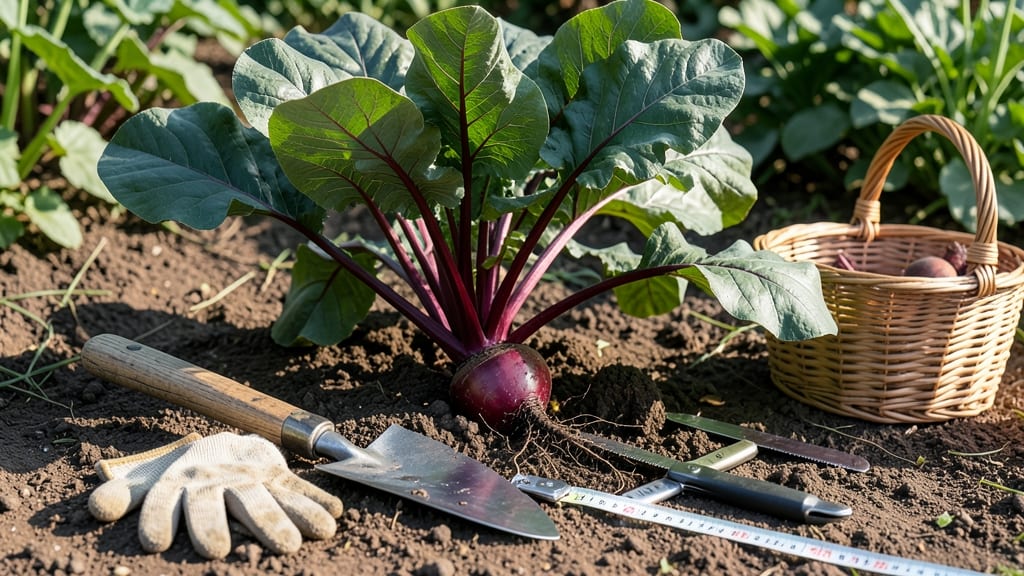
Harvesting red beets at the right time means tender, sweet roots that taste like summer 🟣—but timing them wrong turns your garden into a woody mess.
Most gardeners pull them too early, thinking bigger is better, only to end up with tough, stringy roots. The secret? A simple 3-knuckle test—wrap your thumb and fingers around the beet root.
If it fits snugly, it’s perfect. Too small? Wait a few weeks. Too big? You’ve missed the window.
Beyond size, watch for deep red color and firm skin that resists gentle pressure. These visual cues, paired with soil temps between 50°F and 75°F, tell you exactly when to grab your trowel. Miss these signs, and you’ll either have baby beets or tough, overgrown ones.
In this guide, I’ll walk you through the foolproof methods to nail the harvest—plus how to store them so they stay crisp for weeks. No more guesswork, just perfect beets every time.


How to use the 3 knuckle test for beet harvest timing
Harvesting red beets at the perfect moment transforms your garden into a treasure trove of sweet, tender roots. The 3 knuckle test is my go-to method for determining when beets are ready—no guesswork required!
This simple tactile trick helps you avoid the pitfalls of pulling beets that are either too small and tough or overgrown and woody. Whether you're growing Detroit Dark Red or Chioggia beets, this technique works for all varieties.
Before diving into the test, understand that beet maturity depends on both size and firmness. Baby beets (harvested at 1-2 inches) are delicate and best for salads, while mature beets (2-3 inches) hold their shape when cooked.
The 3 knuckle test bridges the gap between these two stages, giving you a foolproof way to check readiness without damaging your plants. Grab a trowel, and let’s get started!
Step-by-Step 3 Knuckle Test
-
Step 1: Choose a healthy beet
Select a beet with deep red color and vibrant green tops. Avoid any with yellowing leaves or soft spots. -
Step 2: Gently loosen the soil
Use your fingers or a small hand trowel to expose 1-2 inches of the beet’s shoulder (top portion). Avoid digging too deep to prevent disturbing nearby roots. -
Step 3: Wrap your fingers around the root
Place your thumb, index, and middle fingers around the beet’s widest part. Your fingers should form a loose "C" shape. -
Step 4: Apply gentle pressure
Squeeze the beet lightly but firmly. If the skin resists slightly (like a ripe avocado), it’s ready! If it feels too soft, wait 3-5 days. -
Step 5: Check the size
Compare the beet’s diameter to your 3 knuckles. If it matches or slightly exceeds them (1-3 inches), harvest immediately for peak tenderness. -
Step 6: Confirm with greens
Healthy tops should be 6-12 inches tall with deep green leaves. If greens are wilted or sparse, the beet may be overripe.
Seasonal adjustments are key to mastering this test. In cool spring weather (USDA Zone 6a), beets mature faster—aim for the 3 knuckle size around 50-60 days after planting. During hot summer months, growth slows, so extend your timeline to 70-80 days.
Always harvest in the morning when soil is moist, as dry conditions can make beets tougher and harder to assess.
Visual cues complement the 3 knuckle test. Look for a deep, uniform red color on the root’s shoulder—this indicates full maturity. If the beet has green streaks or a pale hue, it’s not ready yet.
The skin should also feel smooth and firm, not rough or bumpy. These signs, combined with the tactile test, ensure you never miss the perfect harvest window.
One common mistake is harvesting beets based solely on days since planting. While most varieties take 60 days to mature, environmental factors like soil temperature and moisture levels can shift this timeline.
For example, sandy soil drains quickly and may require more frequent watering to maintain tenderness. Always cross-reference the 3 knuckle test with visual and environmental clues for accuracy.
For fall-planted beets, timing shifts again. Plant in late summer (August-September) to avoid early frost (after October 30 in Zone 6a). Harvest before first frost hits, as cold temperatures turn beets woody.
Use the 3 knuckle test to gauge readiness, but prioritize harvesting 2-3 weeks before frost to stay ahead of the season’s chill.
Post-harvest, store beets properly to preserve their sweetness. Trim the greens (they draw moisture from the root) and store beets in a cool, dark place (like a root cellar) for up to 3 months.
If storing long-term, cure them first: leave beets in the ground for 24 hours after harvest, then trim and store. This process enhances flavor and shelf life.
Practice makes perfect with the 3 knuckle test! Start by harvesting a few beets as test subjects, then taste-test them to refine your touch. Over time, you’ll develop an intuitive sense of when beets are at their peak.
Soon, you’ll be pulling perfectly tender roots straight from the garden—no guesswork required.
Now that you’ve mastered the tactile method, you’re ready to tackle overripe vs. underripe beets in our next section. Learn how to spot woody textures, hollow centers, and other red flags that signal it’s time to harvest—or replant!
Signs of overripe vs. underripe beets (with visual guide)
Knowing when to harvest red beets can mean the difference between a sweet, tender root and a woody, bitter mess. Underripe beets are small and pale, while overripe ones develop tough skins and hollow centers.
Let’s break down the key visual and tactile clues to help you time your harvest perfectly.
Start by checking the root diameter. Ideal harvest size is between 1-3 inches—anything smaller is underripe, and larger roots risk becoming tough. The skin color also matters: deep, consistent red means readiness, while pale or striped skins signal immaturity or stress.
Here’s how to spot the differences at a glance:
Don’t rely solely on size—use the 3 knuckle test for accuracy. Wrap your fingers around the beet’s widest part; if it fits snugly between your thumb and first three knuckles, it’s ready.
Overripe beets often develop cracks or a woody texture, while underripe ones feel soft and underdeveloped when squeezed.
If your beets grow too large, they may become hollow or stringy. This happens when roots outgrow their nutrient supply. To prevent this, harvest regularly or thin seedlings to 3-4 inches apart during early growth. For baby beets, aim for 1-inch diameter—they’re perfect for salads and quick cooking.
Store harvested beets in a cool, dark place (like a root cellar) for up to 3 months. Overripe beets can still be used in soups or roasted dishes, but their texture won’t be ideal for fresh eating. With these cues, you’ll never miss the perfect harvest window again!