
Picking
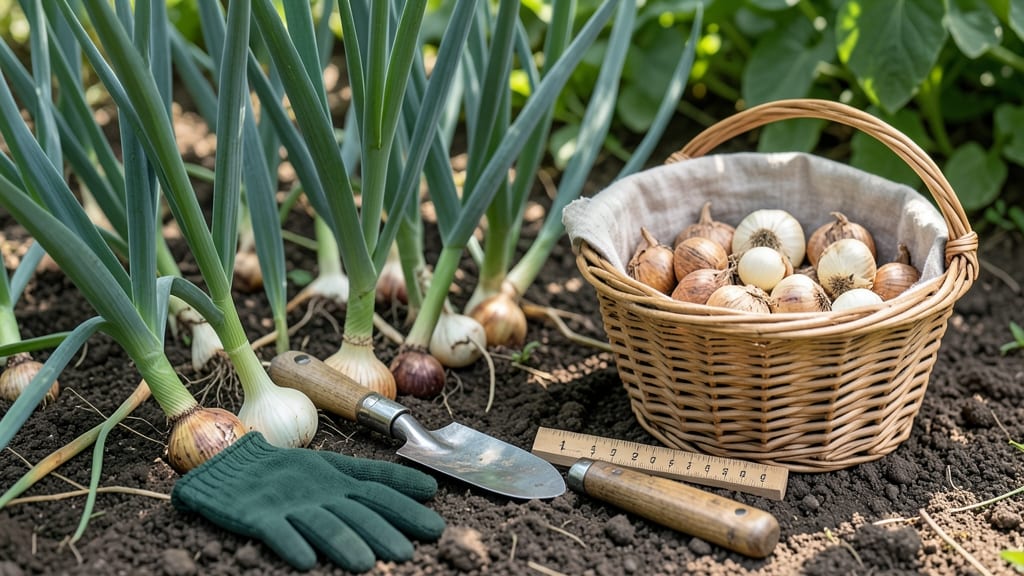
Harvesting shallots planted in spring at the right time ensures you get those sweet, plump bulbs 🧅 instead of small, pungent ones.
If you’ve ever dug up shallots too early and ended up with tiny, underdeveloped bulbs—or waited too long and lost flavor—you know timing is everything.
Most spring-planted shallots are ready between late summer and early fall, but the exact moment depends on three key signs: leaf yellowing, bulb firmness, and skin texture.
Below, I’ll walk you through how to spot these cues, regional adjustments for USDA Zone 6a, and what to do if you harvest too soon or too late.

3 Clear signs your spring-planted shallots are ready for harvest
Spring-planted shallots need patience, but knowing the exact moment to harvest ensures you get the best flavor and storage life. Unlike onions, shallots develop a distinctive papery skin and plump bulb structure when ready.
Missing these cues can lead to underdeveloped bulbs or tough, bitter flavors—so let’s break down the three foolproof signs that tell you it’s time to dig.
First, pay attention to the foliage color. Healthy green leaves signal growth, but when they start turning straw-colored or yellow, it’s your first clue. This change happens naturally as the plant redirects energy from leaves to bulb development.
If you see more than 50% of leaves yellowing, your shallots are likely nearing peak harvest time.
Next, check the bulb size and firmness by gently brushing away soil. Ready-to-harvest shallots should feel firm and round, with a diameter of about 1 to 2 inches.
If you can easily squeeze the bulb and it feels soft, it’s not ready yet. Overripe shallots may split or develop a hollow center, so timing is everything.
Finally, examine the skin texture. Mature shallots develop a dry, papery outer layer that peels back easily. If the skin is still moist or tight, wait a few more weeks.
This papery skin is a hallmark of readiness—it protects the bulb during storage and indicates the flavor and texture have fully developed.
- 🟡 50%+ yellowing foliage – Leaves turn straw-colored as energy shifts to bulb growth.
- 🧅 1-2 inch firm bulbs – Gently probe soil to check for round, solid bulbs (avoid soft or hollow ones).
- ✂️ Papery, dry skin – Outer layer should peel back easily; moist skin means wait 1-2 weeks.
Harvest timing also depends on your climate zone. In cooler regions (USDA Zones 3-5), aim for late August to early September, while warmer zones (Zones 6-10) can harvest as early as mid-August.
A hard frost can damage foliage but won’t harm the bulbs—so don’t rush if your area experiences early autumn chills.
Pro tip: Harvest on a dry day to prevent soil from sticking to the bulbs. Use a fork to gently loosen the soil around the plant, then lift the shallots carefully.
Shake off excess dirt and let them cure in a dry, shaded spot for 2-3 days. This step hardens the skin and improves storage life.
If you harvest too early, you’ll end up with small, pungent bulbs that lack sweetness. On the flip side, waiting too long risks sprouting or splitting, which ruins both flavor and storage potential. The key is balancing these visual cues with your local growing season.
Once harvested, store shallots in a cool, dark place with good airflow, like a mesh bag or paper sack. Properly cured and stored, they’ll keep for 2-3 months—long enough to enjoy homegrown flavor through winter.
Now that you know the signs, you’re ready to pull those perfect shallots right when they’re at their peak!
How to harvest shallots without damaging future growth
Now that you’ve spotted those harvest-ready signs in your shallots, the next step is digging them up with care to preserve both flavor and future growth potential. Unlike onions, shallots form clusters, so proper technique prevents damage to the bulb clusters and surrounding plants.
Timing your harvest correctly also depends on whether you plan to store the bulbs or replant them. If you’re saving some for next year, harvest earlier when the tops start yellowing but before they fully die back. For immediate storage, wait until the foliage is completely brown and crispy.
Here’s my step-by-step guide to harvesting shallots without stressing the plant or compromising your yield:
- Step 1: Choose the right tools – Use a fork or small spade to avoid piercing the bulbs. A hand trowel works for small clusters.
- Step 2: Loosen the soil – Gently insert your fork 2-3 inches away from the plant base and wiggle it to break up roots without cutting into bulbs.
- Step 3: Lift carefully – Grasp the foliage base and pull upward. Shallots often grow in clusters, so use your fingers to separate individual bulbs.
- Step 4: Shake off soil – Tap bulbs gently against each other to remove dirt. Avoid rinsing—this can cause rot during storage.
- Step 5: Cure the bulbs – Lay them in a single layer on a mesh screen or paper towels in a shady, dry spot for 2-3 days. This hardens the skin.
- Step 6: Trim foliage – Cut tops to 1 inch above the bulb to reduce moisture loss. Leave roots intact if replanting.
If you’re replanting shallots for next season, harvest only the largest bulbs (1.5+ inches) and store the rest for immediate use. Smaller bulbs often produce better yields when replanted, so don’t discard them—plant them in a separate bed for next year’s harvest.
For storage, choose a cool (40-50°F), dark place with good airflow, like a pantry or basement. Avoid plastic bags—they trap moisture and cause rot. Instead, use mesh bags or paper sacks and check monthly for spoilage.
One common mistake is harvesting on a wet day, which makes bulbs stick to soil and increases disease risk. Always harvest when the ground is dry to ensure clean, healthy shallots that store well.