
Planting
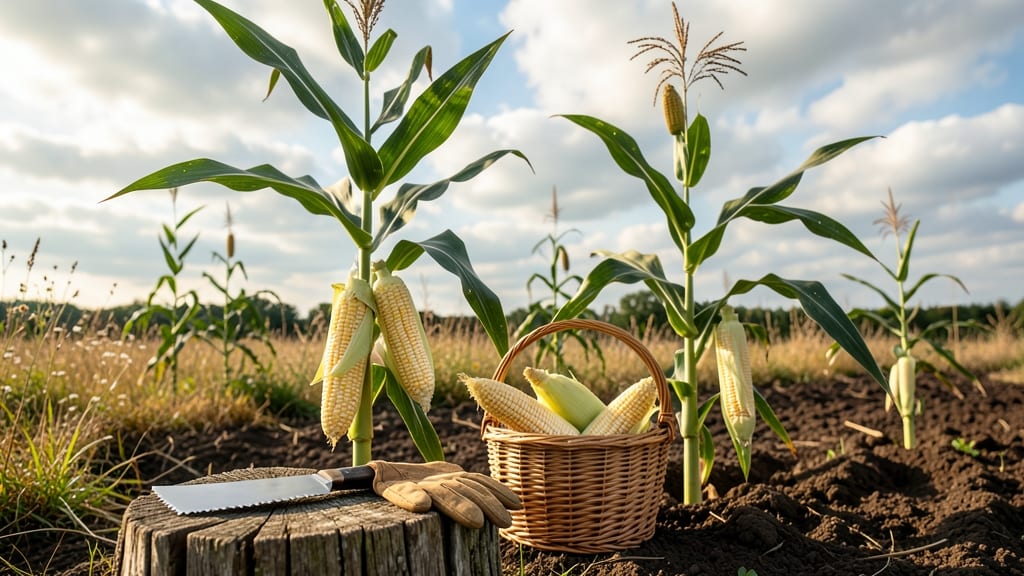
Harvesting corn from seed takes about 90 days to reach peak sweetness, but getting the timing right means the difference between juicy kernels and tough, starchy ears.
Did you know corn takes just 90 days to go from a tiny seed to a towering stalk ready for harvest—but timing it wrong can mean wasted effort or poor yield? Mastering the growth stages of corn ensures you reap plump, sweet kernels at their peak.
From the first green shoot to the brown silks drying on the cob, each stage of corn’s life cycle plays a role in determining when to harvest. Understanding these milestones—like the milk stage when kernels are sweetest—helps you avoid common mistakes that ruin flavor or yield.
In this guide, I’ll break down the 90-day timeline, share visual cues to spot ripe corn, and reveal how climate and variety type can shift your harvest window by weeks. Let’s get your garden ready for the best ears of the season!

Corn growth stages from seed to harvest: 90-Day timeline breakdown
Growing corn from seed to harvest is a rewarding journey that unfolds in predictable stages—each with its own visual cues and care requirements. Understanding these 90-day milestones helps you anticipate needs like watering, fertilization, and pest control while ensuring you harvest at peak sweetness.
Whether you're growing sweet corn or field corn, mastering this timeline transforms guesswork into a bountiful harvest.
Corn development follows a structured progression from germination to kernel maturation, with each phase lasting roughly 10-14 days. By recognizing key markers—like leaf emergence, tasseling, and silk formation—you can adjust your gardening routine to support healthy growth.
For example, silking signals pollination, while kernel denting indicates harvest readiness. Let’s break down each stage week-by-week so you can track progress like a pro.
During the first 2 weeks, focus on maintaining consistent soil moisture to encourage germination. Corn seeds need warmth (at least 60°F soil temperature) to sprout, so use row covers if nights are cool.
Once sprouts appear, thin seedlings to 4–6 inches apart to prevent overcrowding, which stunts growth and increases disease risk.
The vegetative growth phase (weeks 3–6) is when corn’s leaves unfurl rapidly, and the stalk thickens. This is the ideal time to apply a balanced fertilizer (like 10-10-10) to support leafy growth.
Look for collared leaves—where the leaf meets the stalk—each representing a new growth node. By week 6, your plants should be 3–4 feet tall, with 6–8 visible leaves.
At 45–55 days, the tasseling stage begins, marked by the emergence of the plant’s male flowers at the top. These tassels release pollen, which is carried by wind to fertilize the female flowers (silks) that will form ears.
If you notice poor tasseling, check for nutrient deficiencies (like nitrogen) or stress from drought or pests. This stage is critical for yield, so ensure your corn receives 1–2 inches of water per week.
The silking stage (days 50–60) is one of the most exciting phases, as silks emerge from the ear husks like golden threads. Successful pollination occurs when silks are bright green and moist.
If silks dry out or turn brown prematurely, it’s often due to water stress or poor pollination. To support this process, apply a potassium-rich fertilizer to strengthen the plant’s reproductive structures.
By week 8–10, you’ll see kernel formation as the ears begin to fill out. This is when the magic happens: kernels transition from watery and translucent to milky white (the perfect harvest stage for sweet corn).
For field corn, wait until kernels are hard and dented at the top. During this phase, reduce watering slightly to prevent ear rot and monitor for corn earworm infestations by
How to determine the perfect corn harvest time based on plant maturity
Harvesting corn at the right moment transforms your garden effort into a bounty of sweet, tender kernels. But how do you know when those ears are ready? The answer lies in three simple yet powerful tests that reveal the plant's true maturity.
I've used these methods for years to ensure my corn reaches peak flavor and texture—here's how you can too.
First, understand that sweet corn and field corn mature at different rates. Sweet corn varieties like 'Silver Queen' or 'Ambrosia' are ready in 60-90 days, while field corn (like 'Pioneer Brand') takes 90-120 days.
Knowing your variety's days-to-maturity is your starting point, but these physical tests will give you the final confirmation.
⚠️ WARNING: Harvesting Too Early or Late Ruins Your Corn Corn harvested too soon is watery and bland, while waiting too long turns kernels tough and starchy. The 3-day harvest window is critical—once silks turn brown, you have just 72 hours to pick before quality declines.
Field corn can last longer on the stalk, but sweet corn loses sugar rapidly after maturity. Miss this window, and you'll sacrifice flavor and texture.
The milk line test is my go-to method for sweet corn. Pierce a kernel with your fingernail—if it releases a milky white liquid, it's prime for picking. This test works because corn kernels contain starch and sugar that change as they mature.
When the liquid turns creamy white, the sugar content peaks at 12-15%, giving you that classic sweet corn taste.
For a more precise check, use the kernel dent depth test. Press your thumbnail into the top of a kernel—if it leaves a shallow dent (about 1/8 inch deep), the corn is ready. Deeper dents mean the corn is past its prime.
This method works best for dent corn varieties, where the kernel naturally hardens as it matures. I find this especially useful for field corn, which can stay on the stalk longer.
Don't overlook the stalk scratch test, a foolproof way to check moisture levels. Scratch the stalk near the ear with your fingernail—if it's green and moist, the corn needs more time. But when it turns yellowish and dries slightly, it's time to harvest.
This test reveals the plant's internal moisture, which directly affects kernel tenderness. I've saved many a harvest by using this simple trick when other signs were ambiguous.
Adjust your harvest timing based on your corn's purpose. Sweet corn should be picked when silks are brown and dry, kernels are milky, and ears feel heavy for their size.
For field corn, wait until the silks are completely brown, kernels are hard and dented, and the husks pull back easily. Field corn can stay on the stalk longer, but sweet corn's sugar content drops 1% per day after maturity—so act fast!
Pro tip: Harvest in the morning when temperatures are coolest. This preserves sweetness and firmness, especially for sweet corn. Use a sharp knife to cut ears about 1/2 inch below the ear—this prevents the stalk from drying out and ensures future ears stay plump.
Store harvested corn in the fridge for up to 5 days or blanch and freeze for long-term storage. With these tests, you'll never guess again—just harvest with confidence!