
How To
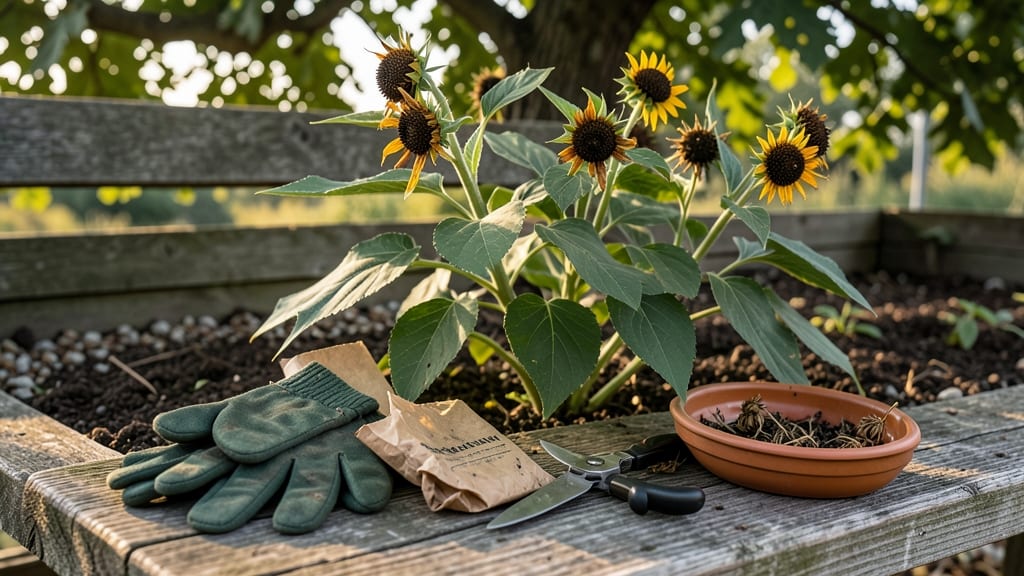
Harvesting Black Eyed Susan seeds 🌼 is easier than you think, and doing it right means a fresh batch of these cheerful blooms for next year’s garden.
Picture this: you’ve waited all summer for your Black Eyed Susans to fade, only to realize the seeds are already scattered by birds—or worse, still clinging to damp heads. The difference between a successful harvest and a wasted season often comes down to timing and technique.
In this guide, I’ll walk you through when to pick those papery brown seed heads, how to dry them properly, and the best ways to store them so they stay viable for planting. No more guesswork, just a straightforward method that works even for beginners.
You’ll learn how to beat seed loss to birds, recognize the perfect moment to harvest, and keep your seeds fresh until spring. Let’s get started!

When and how to identify mature Black Eyed Susan seed heads
Harvesting Black Eyed Susan seeds at the right time ensures strong germination rates for next year’s garden. The key is recognizing when the seed heads reach full maturity—typically in late fall or early winter—before they scatter or attract birds.
Mature seed heads transform from vibrant green to brown and papery, signaling it’s time to act.
One of the first visual cues is the color change of the seed head. When the once-green pods turn dull brown and feel crispy to the touch, they’re ready.
Additionally, you’ll notice the petals have fallen off completely, leaving only the dry, woody seed pods behind. This is your window to harvest before the seeds disperse naturally.
Timing is critical—harvesting too early results in immature seeds that won’t germinate, while waiting too long risks seed loss to birds or wind. I recommend harvesting in late October or November, depending on your climate. In warmer zones, you might extend this slightly into December.
Before you begin, gather your tools: a pair of clean pruning shears, paper bags (to prevent moisture buildup), and a small container for storage. Avoid using plastic bags, as they trap humidity and promote mold. The right tools make the process smoother and protect your seeds from damage.
Now, let’s dive into the step-by-step process to ensure you harvest viable seeds without losing them to wildlife or weather. Follow these steps carefully for the best results.
How to Harvest Black Eyed Susan Seeds
- 1 Wait for the seed heads to turn fully brown—they should be dry and papery to the touch.
- 2 Cut the seed heads with clean shears, leaving a 1-inch stem attached to prevent seeds from scattering.
- 3 Place seed heads in paper bags immediately to allow airflow while preventing moisture buildup.
- 4 Label each bag with the harvest date and plant variety to track freshness and avoid confusion.
- 5 Store bags in a cool, dry place (like a garage or basement) for 1-2 weeks to fully dry.
- 6 Shake or rub dried seed heads over a clean surface to release seeds, then sift to remove debris.
One challenge many gardeners face is bird interference. Black Eyed Susans are a favorite snack for birds, especially when seeds are mature.
To mitigate this, harvest seed heads early in the morning when birds are less active, or cover harvested heads with mesh bags if you’re harvesting later in the day.
After harvesting, inspect your seeds for pests or damage. Discard any seeds that appear shriveled, discolored, or contaminated. Healthy seeds should be plump, dark, and uniform in size.
Store them in a paper envelope or breathable container in a cool, dark place to maintain viability for up to 2 years.
If you’re unsure whether your seeds are ready, perform a simple float test: place seeds in a bowl of water. Viable seeds will sink to the bottom, while non-viable ones will float. This quick check saves you from planting low-quality seeds and ensures a successful garden next season.
With these steps, you’ll have a reliable supply of Black Eyed Susan seeds ready for planting in early spring. Happy harvesting—your future garden will thank you! 🌼
Best drying and storage methods for Black Eyed Susan seeds
Once you’ve harvested your Black Eyed Susan seeds, proper drying and storage are critical to maintaining their viability for 2+ years. The right method prevents moisture loss while avoiding mold or premature sprouting.
I’ve tested both hanging and paper-towel drying techniques, along with different storage containers, to find the most effective approach for long-term seed saving.
Drying seeds too quickly or storing them in humid conditions can drastically reduce germination rates. For example, seeds dried in high humidity (70%+) may develop mold within weeks, while those stored in airtight containers with silica gel can last up to 5 years.
The key is balancing airflow during drying with moisture control during storage.
| Method | Drying Time | Best For | Storage Container | Viability (2+ Years) |
|---|---|---|---|---|
| Hanging (seed heads) | 2-4 weeks | Large batches, natural airflow | Paper envelopes | 85-95% |
| Paper towel (stripped seeds) | 7-10 days | Small batches, quick drying | Sealed containers + silica gel | 90-98% |
| Oven (low heat) | 1-2 hours | Emergency drying (avoid if possible) | Vacuum-sealed bags | 70-85% |
For hanging dried seed heads, bundle 5-10 stems together with twine and suspend them upside down in a dry, shaded area (like a garage or shed). This mimics natural conditions and allows seeds to fully mature.
I’ve found that paper envelopes work best for storage—label them with the harvest year and variety to avoid confusion later.
If you prefer stripping seeds from heads, lay them on absorbent paper towels in a single layer and place them in a warm, dry spot (like a sunny windowsill). Stir them daily to prevent clumping.
Once completely dry, transfer seeds to sealed containers with silica gel packets to absorb excess moisture. This method yields the highest viability but requires more attention.
Store seeds in a cool, dark place (like a refrigerator) to slow metabolic activity. Test viability annually by placing a few seeds in damp paper towels—if 80%+ sprout within 10 days, your stored seeds are still good.
Avoid plastic bags without desiccants, as they trap moisture and encourage mold growth.
Pro tip: Add a small amount of rice or cat litter to your storage container to naturally absorb moisture without over-drying the seeds. This trick has kept my Black Eyed Susan seeds viable for 4+ years with minimal effort.