
How To
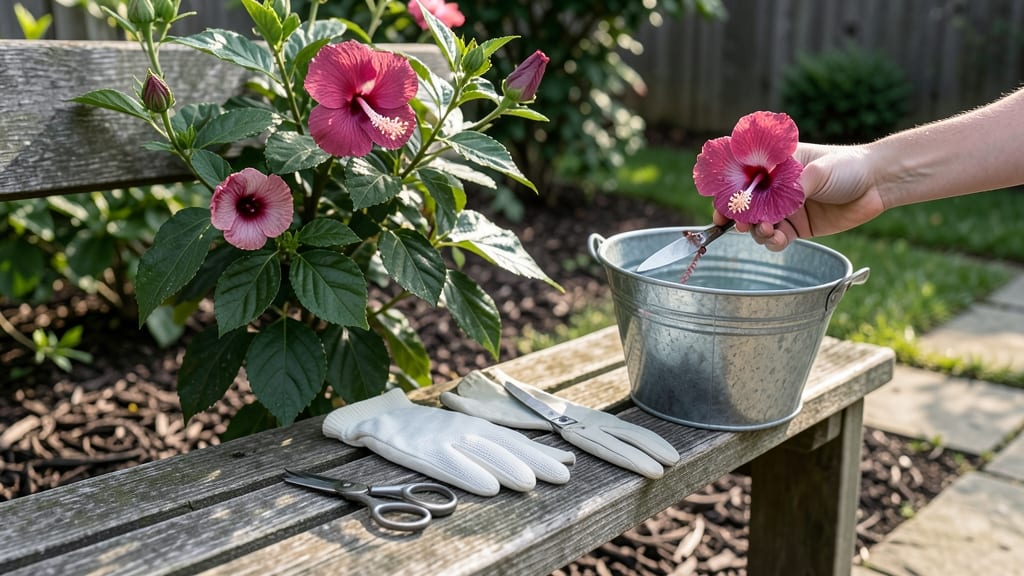
Harvesting hibiscus flowers at their peak ensures vibrant petals and potent flavors for tea or cooking—here’s exactly when and how to do it right.
Picture this: your 🌸 hibiscus blooms are at their most vivid, but you’re not sure if they’re ready for picking. The difference between a perfect harvest and a wasted bloom comes down to timing and technique—something I learned the hard way after drying up a batch of overripe flowers.
Whether you’re gathering petals for roselle tea or saving seeds for next year’s garden, knowing the ideal moment to harvest makes all the difference. Below, I’ll walk you through the best stages for flowers and seeds, the tools you’ll need, and how to preserve your harvest for months to come.
From recognizing fully mature blooms to storing seeds properly, this guide covers everything you need to maximize your hibiscus yield—without damaging your plants in the process.

When and how to harvest hibiscus flowers for tea and cooking
Harvesting hibiscus flowers at the perfect moment transforms them from garden showstoppers into vibrant ingredients for teas, jams, and infusions. The key lies in patience—waiting for flowers to reach their peak maturity ensures maximum flavor and color intensity.
Unlike many flowers, hibiscus petals should never be harvested when fully wilted, as this reduces potency and changes their taste.
For culinary uses, focus on the brightest, most fully open blooms with petals that unfurl completely but still feel firm to the touch. The calyx (the green base) is also valuable—it contains higher concentrations of mucilage, prized in traditional medicines.
Using clean, sharp tools prevents damaging the plant and ensures a longer harvest season.
Timing matters most between 7 AM and 10 AM on dry mornings after dew has evaporated. This window gives you the freshest petals with optimal moisture levels. Avoid harvesting after rain or when flowers show signs of wilting, as this can lead to mold or bitter flavors in your preparations.
| Harvest Stage | Visual Cues | Best For | Tools Needed |
|---|---|---|---|
| Fully Open Bloom | Petals completely unfurled, vibrant color, dry center | Tea, infusions, garnishes | Clean pruners, scissors |
| Pre-Wilt Stage | Petals slightly drooping but not browned | Drying, powders, extracts | Gloves, drying trays |
| Calyx Harvest | Green base below petals, firm texture | Medicinal teas, jellies | Small knife, tweezers |
| Avoid Harvesting | Wilted, brown, or rainy-day flowers | N/A (discard) | None |
When harvesting, always use sterilized pruning shears or sharp scissors to make clean cuts just above a leaf node. This encourages bushier growth and prevents disease. For large-scale harvesting, wear gloves to avoid skin irritation from hibiscus sap, which can cause mild allergic reactions in some people.
Did you know the red hibiscus varieties (like Rosa-sinensis) are most prized for tea, while white or yellow hibiscus offer milder flavors? The calyx of white hibiscus is especially valued in traditional medicine for its soothing properties. Always harvest from healthy plants showing no signs of pests or fungal spots.
For tea-making, remove the stamens and pistils before drying to prevent bitterness. Spread petals on a clean, dry surface in a single layer, away from direct sunlight. This prevents discoloration and preserves their vibrant hues. A well-ventilated area with 60-70°F temperatures is ideal for drying.
Pro tip: Harvest hibiscus flowers every 2-3 days during peak bloom season to encourage continuous flowering. Avoid over-harvesting from a single plant, as this can stress it. If you're growing hibiscus for both flowers and seeds, prioritize flower harvesting first—seed pods take longer to mature and require different care.
Store dried hibiscus petals in airtight glass jars away from light and moisture. Properly stored, they retain their flavor for up to 12 months. For immediate use, fresh petals can be steeped in hot water for 5-10 minutes to create a vibrant, tangy tea with natural caffeine-free energy.
Remember, the earlier you harvest in the morning, the fresher your ingredients will be. This simple habit makes all the difference in flavor and color retention for your culinary creations. Happy harvesting! 🌼✂️🌿
Harvesting hibiscus seeds: step-by-step guide to brown, ripe pods
Once your hibiscus blooms fade, they transform into seed pods that hold the next generation of plants. These brown, papery pods are your key to growing more hibiscus—or saving heirloom varieties.
But timing is critical: harvest too early, and the seeds won’t germinate; wait too long, and they’ll scatter or lose viability. Let’s break down how to spot the perfect moment and preserve those seeds for planting.
Start by scanning your hibiscus plants for pods that have turned a dull brown color. Unlike the vibrant green of immature pods, ripe ones feel dry and papery to the touch. Gently press a pod—if it opens easily or releases seeds with minimal pressure, it’s ready.
These pods typically appear 8–12 weeks after flowering, so mark your calendar if you’re growing hibiscus for seeds intentionally.
⚠️ WARNING: Common Harvesting Mistakes ⚠️
To harvest, use clean, sharp pruning shears or scissors to snip the pod from the stem, leaving a 1-inch stem attachment for easier handling. Place pods in a paper bag or breathable mesh bag to allow airflow.
Avoid plastic bags—they trap moisture and encourage mold. Label your bags with the hibiscus variety and harvest date to track seed freshness.
Once home, spread the pods on a dry, well-ventilated surface, like a screen tray or cardboard box lined with newspaper. Store them in a cool, dark place (around 60–70°F) for 2–4 weeks to fully dry.
Test readiness by gently squeezing a pod—if it crumbles easily, the seeds are dry and ready for storage.
Store dried pods in an airtight container with a silica gel packet to absorb excess moisture. Seeds remain viable for 1–3 years if kept dry and cool. For faster germination, soak seeds in lukewarm water for 24 hours before planting. This mimics natural rainfall and signals the seed to sprout.
Pro tip: If you’re saving seeds for culinary or medicinal uses, toast the dried seeds lightly in a low oven (200°F for 10 minutes) to enhance their flavor and nutritional benefits.
Just avoid overheating—they should stay warm, not charred. Now you’re ready to grow your own hibiscus—or share seeds with fellow gardeners!