
Vegetables
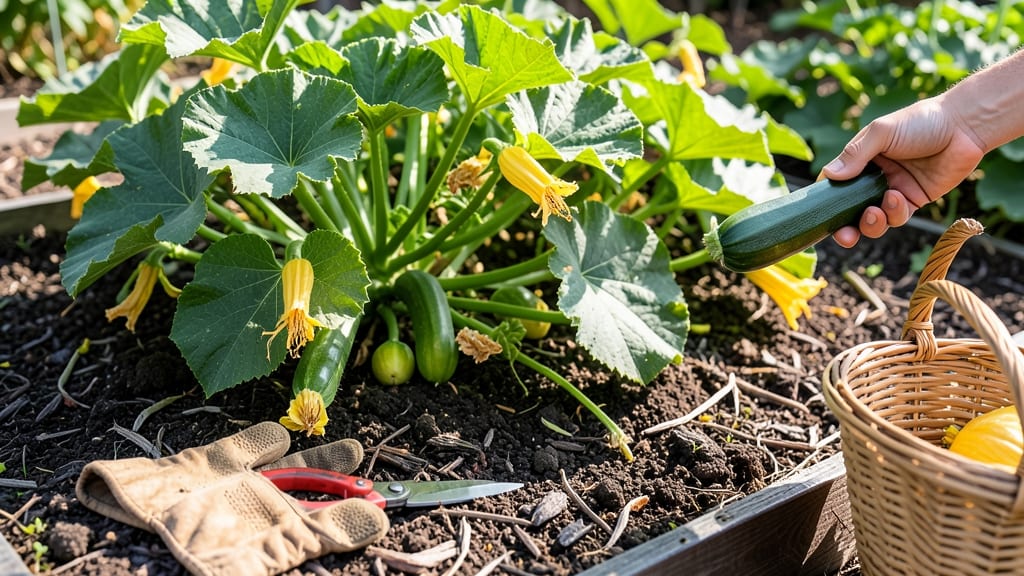
Harvesting squash at the right time means the difference between a sweet, tender meal and a tough, bitter disappointment 🎃 — and missing this window is easier than you think.
Picture this: your vines are dying back, the skin has hardened beyond your thumbnail’s pressure, and suddenly you’re left wondering if you’ve waited too long. That’s the moment when squash goes from garden treasure to kitchen regret.
But don’t worry—there’s a sweet spot for harvesting, and I’ll show you exactly how to spot it.
Whether you’re growing summer squash or winter varieties, the key lies in visual cues like skin firmness, color depth, and vine behavior. Ignore these signs, and you risk squash that’s either underripe and watery or overripe and stringy.
The good news? With the right timing, you can maximize your yield and enjoy squash that’s flavorful and versatile for months to come.
In this guide, I’ll walk you through exactly when to harvest, how to do it without damaging the plant, and what to do with your harvest once it’s in hand. No more guesswork—just a foolproof method for perfect squash every time.
How to identify the perfect squash harvest time by visual cues
Harvesting squash at the right moment transforms your garden bounty from good to exceptional. The key lies in understanding visual cues that signal peak ripeness—before vines yellow and fruits toughen into inedible rocks.
I’ve learned the hard way that waiting too long turns sweet summer squash into bitter, stringy disappointments, while harvesting too early means watery flesh and underdeveloped seeds.
Every squash variety has unique harvest indicators, but the core principles remain the same: vine die-back, skin hardness, stem separation, and color intensity.
Master these signs, and you’ll never waste another squash again. Let’s break down what to watch for—and what to avoid—so your next harvest is picture-perfect.
| Cue | Summer Squash (Zucchini, Yellow Squash) | Winter Squash (Butternut, Acorn, Pumpkin) |
|---|---|---|
| Size | 6–10 inches long | Mature variety size (e.g., 8–12 inches for butternut) |
| Skin Hardness | Firm, resists thumbnail pressure | Very hard, like a rock when tapped |
| Color | Deep, even color (no green streaks) | Fully developed hue (e.g., orange, tan, or deep green) |
| Stem | Dries and separates easily | Hardens, may crack near fruit |
| Vine Condition | Healthy green, no yellowing | Vines yellowing or dying back |
The skin hardness test is your best friend. Press your thumbnail into the squash’s skin: if it leaves a dent, it’s not ready. For summer squash like zucchini, aim for a firm but not rock-hard texture—think of a ripe avocado.
Winter squash, like butternut or acorn, should be so hard you’d struggle to pierce it with a knife. Pro tip: Tap it—ripe squash makes a hollow sound when knocked.
Watch the stem where it meets the fruit. When it dries out and separates easily (or cracks), that’s your cue to harvest. I once ignored this sign on a butternut squash, and by the time I noticed, the stem had rotted away entirely—leaving me with a squash that stored poorly.
Always harvest before the stem detaches naturally, or you risk rot and spoilage.
Color changes are another dead giveaway. Summer squash should transition from pale green or yellow to a deep, even hue. For winter varieties, look for rich oranges, deep greens, or golden tan tones.
Uneven coloring or pale spots mean the squash needs more time. And if you see surface blemishes or soft spots, harvest immediately—these are early signs of overripeness or disease.
Don’t overlook the vines. For winter squash, the vines often start dying back as fruits mature. This is nature’s way of telling you it’s time to pick. Summer squash vines, however, stay green and productive—so rely more on size and skin texture.
If your vines turn yellow or brown prematurely (before fruits are ready), it could signal disease or nutrient deficiency, not ripeness.
One common mistake I see is harvesting based on size alone. A giant zucchini isn’t necessarily better—it’s often overripe and seedy. Similarly, tiny winter squash may lack sweetness. Always combine size, color, and texture for the best results.
And if you’re unsure, harvest a few days early—squash afterripen slightly off the vine, but they won’t improve if left too long.
For storage success, cure your squash post-harvest. Place winter varieties in a warm, dry spot for 7–10 days to toughen the skin further. Summer squash, however, should be used within a week.
I learned this lesson the hard way when a batch of zucchini turned mushy in my crisper drawer. Cure them right, and your squash will last months—no more sad, shriveled leftovers!
Finally, avoid the twisting trap. Never twist squash off the vine—always use a sharp knife or pruners to cut the stem. Twisting can damage the plant and leave jagged edges that invite rot.
A clean cut ensures your squash stays fresh longer and your plant stays healthy for future harvests.
Next time you’re eyeing your squash patch, take a moment to check these visual cues. With practice, you’ll spot the perfect harvest window like a pro—and enjoy squash that’s tender, flavorful, and at its peak. Happy harvesting!
Step-by-step guide: when & how to harvest squash for maximum yield
Harvesting squash at the right time ensures sweet, tender flesh and prevents wasted effort. Summer squash like zucchini and yellow crookneck are ready in 50-60 days, while winter squash like butternut and acorn take 80-100 days.
The key is watching for visual maturity cues—not just days after planting.
For summer squash, harvest when fruits reach 6-10 inches long and the skin is smooth and shiny. Winter squash should have a hard rind that’s difficult to puncture with your thumbnail. Ignoring these signs leads to overripe squash with tough skin and bitter seeds.
Use a sharp pruning shears or clean knife to avoid damaging the plant. Never twist—this can tear the stem and invite disease.
Pick zucchini or pattypan when 1-2 inches in diameter. Check for deep color and firm skin. Harvest every 2-3 days to encourage more production.
Wait until the stem dries and the squash feels heavy for its size. For butternut or spaghetti squash, the neck should harden like a wooden stick.
Leave a 1-inch stem attached to prevent rot. Use a sterilized blade to make a clean cut just above the vine node.
Place winter squash in a warm, dry spot (70-85°F) for 7-10 days to harden the skin. Summer squash stores best in the fridge for 3-5 days.
Avoid moisture buildup—store squash in a well-ventilated area. Check for soft spots weekly and remove any rotting squash immediately.
Timing matters most for winter squash, which can last 2-3 months if cured properly. Summer squash, however, spoils faster—harvest frequently to avoid bitter, seedy disappointment. Always harvest on dry mornings to reduce disease risk.
Pro tip: Mark your garden calendar with harvest reminders based on your squash variety. Zucchini may need daily checks in peak season, while acorn squash can wait until late fall. The goal? Sweet, fresh squash straight from the vine to your table! 🎃