
How To
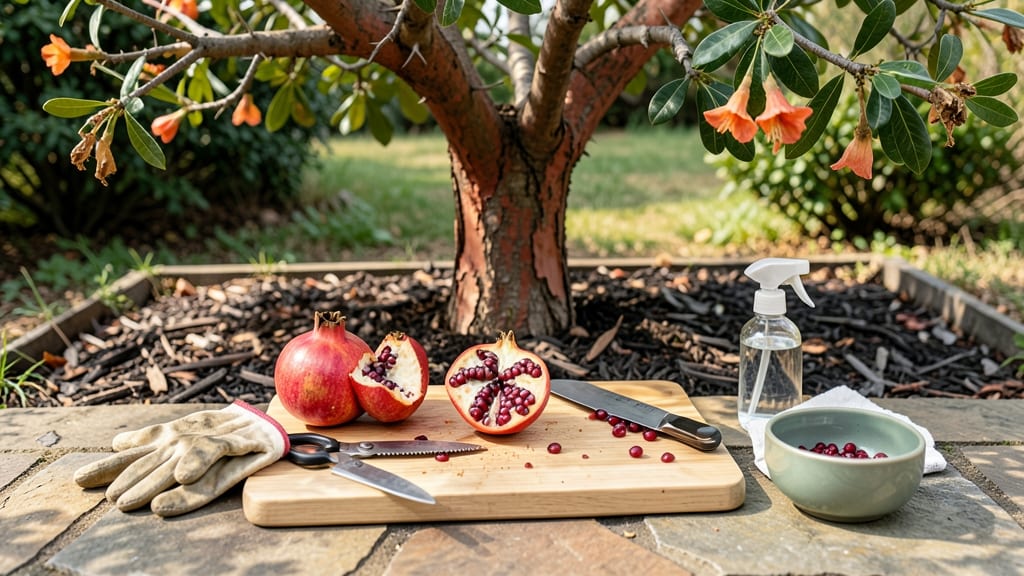
Harvesting pomegranate seeds the right way turns a messy chore into a zero-waste win—juice, seeds, and even the membranes can be put to use.
Picture this: you’re holding a deep ruby fruit, ready to crack it open, only to end up with seeds stuck to the rind and juice everywhere. That’s the biggest frustration most people face, and it’s why so many toss perfectly good pomegranates.
With the right technique, you’ll extract every seed cleanly, repurpose the juice, and avoid the common pitfalls that turn harvesting into a time-suck. Whether you’re saving seeds for planting or just want to enjoy the fruit without the mess, this method works.
Below, I’ll walk you through the step-by-step process, from picking the ripest fruit to separating seeds without a single drop wasted. Ready to master the art?

Step-by-step guide to harvesting pomegranate seeds without the mess
Harvesting pomegranate seeds cleanly is all about the right tools and technique. Whether you're processing a single fruit or a harvest basket of pomegranates, these steps will save your countertop from sticky juice and membranes.
The key? Patience and preparation—no food processor required unless you're tackling a mountain of fruit!
First, gather your essential tools: a sharp chef’s knife, a cutting board, a large bowl of water, a fine-mesh colander, and paper towels. Optional upgrades include a food processor for large batches or a wooden spoon for manual separation.
Always wash your pomegranates first to remove any dirt or pesticides lingering on the skin.
How to Extract Pomegranate Seeds in 6 Simple Steps
- 1 Cut and score: Slice the pomegranate in half horizontally. Use your knife to score the membrane (white webbing) into 8-12 sections, creating flaps. This prevents the fruit from exploding when squeezed.
- 2 Squeeze gently: Hold one half over your bowl and press the scored sections with your thumbs. The seeds will pop out cleanly while the membranes stay intact. Avoid smashing—this ruins seeds and makes a mess.
- 3 Rinse seeds: Transfer seeds to a fine-mesh colander and rinse under cool water to remove any lingering juice or membrane bits. Swirl gently to avoid breaking seeds.
- 4 Dry thoroughly: Spread seeds on a paper towel-lined tray and let air-dry for 1-2 hours. This prevents mold and makes storage easier. For large batches, use a clean kitchen towel to blot excess moisture.
- 5 Separate membranes: Discard the juicy membranes or strain them for juice. For zero-waste gardening, compost the membranes—they’re rich in nutrients for your soil.
- 6 Store seeds: Keep seeds in an airtight container in the fridge for up to 2 weeks or freeze for 3 months. For planting, dry seeds completely and store in a cool, dark place for up to a year.
For large quantities, swap step 2 for a food processor hack: Cut the pomegranate into quarters, remove seeds manually, then pulse the membranes with a splash of water to extract juice. Strain through a cheesecloth for a smooth, nutrient-rich liquid perfect for compost tea or fertilizer.
Pro tip: Wear gloves if you’re sensitive to pomegranate juice—it stains! And always work over a large bowl or tray to catch stray seeds. The mess-free method relies on control, not speed, so take your time to enjoy the process.
If you’re growing pomegranate trees, save a few seeds to plant. Soak them overnight in warm water to soften the hard outer shell before sowing in well-draining soil. Just remember—most store-bought seeds won’t germinate true to type, so save seeds from your own homegrown fruit for reliable results.
Harvesting pomegranate seeds efficiently turns a messy chore into a rewarding task. Whether you’re saving seeds for planting or snacking, these steps ensure you minimize waste and maximize yield—every time. Now grab that knife and get to work!
Juice extraction tricks: turning pomegranate waste into nutrient-rich liquid
After harvesting those pomegranate seeds, don’t toss the leftover juice and membranes! This nutrient-rich liquid is perfect for homemade syrups, fermented drinks, or even compost tea. The key is choosing the right extraction method to maximize flavor and yield while minimizing waste.
I’ve tested three techniques—blender, juicer, and slow cooker—and ranked them for efficiency and taste.
Your first choice depends on what you plan to make. For quick syrups, the blender method works best. If you’re fermenting, a juicer extracts more liquid with fewer solids.
And for large batches, the slow cooker is a game-changer. Each method has unique flavor profiles and yield estimates, so let’s break it down to help you decide.
| Method | Yield (per 4 pomegranates) | Flavor Profile | Ease of Use | Best For |
|---|---|---|---|---|
| Blender | 1.5 cups juice + 0.5 cups pulp | Bright, slightly tart, with seed bits | Easy (5 min) | Syrups, smoothies |
| Juicer | 2 cups clear juice | Mild, sweet, no pulp | Moderate (10 min) | Fermented drinks, cocktails |
| Slow Cooker | 2.5 cups thick juice | Deep, caramelized, rich | Easiest (hands-off) | Reduction sauces, compost tea |
For homemade syrups, I recommend the blender method. Simply blend the leftover membranes and juice with equal parts sugar (or honey for raw versions) and simmer for 15 minutes.
The result? A vibrant, tart syrup perfect for drizzling over yogurt or desserts. Pro tip: Strain through a fine-mesh sieve to remove any lingering bits for a silky texture.
If you’re fermenting, the juicer is your best bet. The clear juice ferments faster and produces a cleaner final product. Add a splash of sparkling water and a spoonful of sugar to kickstart fermentation, then let it sit for 3-5 days.
The result is a fizzy, probiotic-rich drink that’s perfect for gut health.
Don’t overlook the slow cooker method for large batches. Toss the membranes and juice into the slow cooker with a splash of water, then cook on low for 4-6 hours.
This reduces the liquid into a thick, concentrated juice ideal for sauces or compost tea. The flavor deepens into a caramelized richness that’s perfect for savory dishes or garden feed.
For compost tea, use the slow cooker method’s reduced juice. Mix 1 part juice with 10 parts water and let it steep for 24 hours. Strain and use this nutrient-packed liquid to boost your garden’s soil health.
The antioxidants in pomegranate juice help deter pests and improve microbial activity in the soil.
No matter which method you choose, always store your extracted juice in an airtight container in the fridge for up to 5 days. For longer storage, freeze in ice cube trays—perfect for adding bursts of flavor to smoothies or sauces later in the season.
Every drop counts in a zero-waste garden!