
Vegetables
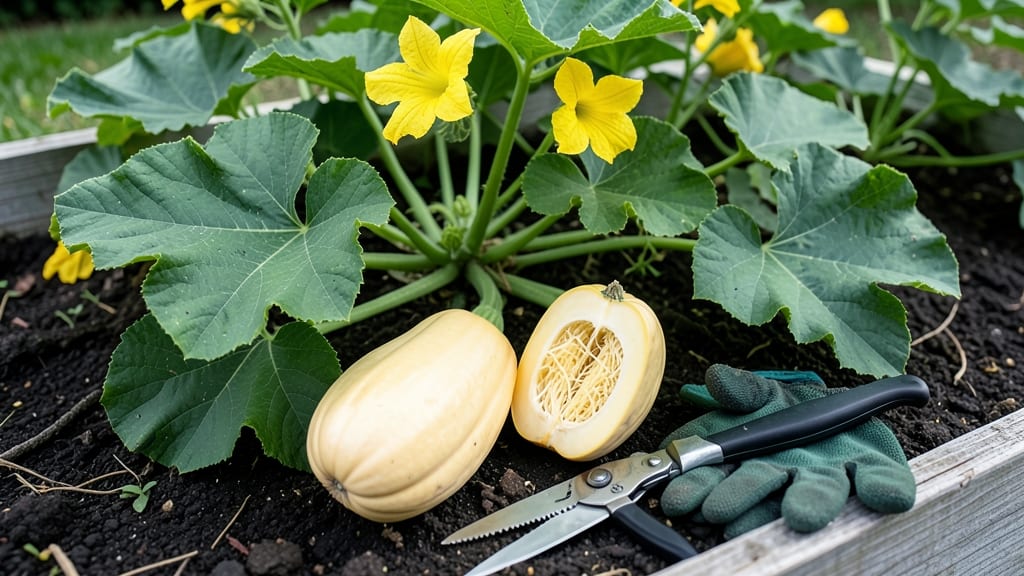
Harvesting spaghetti squash at the right time turns a simple garden task into a flavor explosion—when the flesh strands like perfect al dente pasta and the sweetness peaks just right.
That first crunch of a perfectly ripe spaghetti squash 🎃—when the flesh yields like delicate strands of al dente pasta—is a gardener’s sweetest victory. But how do you know exactly when to harvest for that ideal texture?
The answer lies in three simple tactile tests that reveal whether your squash is ready to shine.
You’ll learn how to read the rind’s color shift from green to dull yellow, test the stem’s firmness, and even use your thumbnail to check skin resistance—all clues that your spaghetti squash is primed for peak sweetness.
Miss these signs, and you risk starchy strands or woody texture, turning a triumph into a disappointment.
Below, I break down the 3-step tactile method for nailing harvest time, plus how to store your squash for up to 3 weeks without losing flavor. No more guessing—just perfect, pasta-like strands every time.
3 Tactile tests to determine spaghetti squash harvest time
Spaghetti squash is one of those rewarding garden crops that delivers a unique texture—when harvested at the perfect moment. Unlike its round cousins, this elongated gourd needs precise timing to avoid starchy, underripe strands or woody, overripe flesh.
The good news? You don’t need fancy tools—just your hands, eyes, and a little patience to master these three science-backed tactile tests.
These methods combine visual cues with physical assessments to give you the confidence to harvest at peak sweetness. I’ve used these same techniques in my garden for years, and they’ve never failed me—whether I’m growing heirloom varieties or container-friendly hybrids.
The key is checking all three signs before cutting, because one test alone can be misleading, especially in hot, dry climates or cool, wet seasons.
Pro Tip: Perform these tests in the morning after the dew has dried. Early light reveals true color changes, and the squash’s skin firmness is most accurate when it’s cool.
-
1Thump Test: Tap the squash firmly with your knuckle. A ripe squash produces a deep, hollow sound—like knocking on a wooden door. If it sounds dull, it’s underripe. Overripe squash may feel mushy inside despite a hollow thump.
-
2Stem Color: Check the stem end (where it attaches to the vine). It should turn from green to yellowish-brown. A green stem means it’s not ready, while a completely dried or blackened stem signals it’s past its prime.
-
3Skin Firmness: Press your thumbnail into the skin near the blossom end. If it leaves a slight dent but bounces back, it’s perfect. No dent? Wait 3–5 days. If the skin crushes easily, harvest immediately—it’s overripe.
The thump test is my go-to because it reveals the internal moisture balance. I’ve found that squash grown in sandy soil often passes this test earlier than those in clay-heavy soil, so I cross-reference with the other two methods.
For example, a squash might sound hollow but still have a green stem—this usually means it needs another week.
Color changes are the most visual-friendly indicator, but they can be tricky in shady gardens or under artificial grow lights. I’ve seen squash turn dull yellow prematurely if they’re not getting enough direct sunlight.
That’s why I always pair color checks with the other tests. A dull yellow rind plus a hollow thump plus firm skin? That’s your harvest signal.
Skin firmness is where many gardeners go wrong. They assume a hard squash is the best one, but that’s actually a sign of underripeness. The ideal squash should feel firm but slightly yielding, like a ripe cantaloupe.
Overripe squash often feels soft and spongy—a clear sign the strands will be mushy and flavorless.
One mistake I made early in my gardening journey was harvesting based solely on size. I’d see a squash reach 12 inches and assume it was ready, only to find the strands were tough and underdeveloped.
Size matters, but it’s not the deciding factor. A squash can be large but still need more time on the vine for full sweetness.
If you’re growing spaghetti squash in containers, these tests become even more critical. Container-grown squash often ripen faster due to warmer root zones, so I check them every 2–3 days during peak summer. The same tests apply, but I harvest earlier to prevent overripeness in the confined space.
Remember: Harvesting too early means starchy, bland strands, while waiting too long leads to woody texture. The sweet spot is when all three tests align—then you’re guaranteed that pasta-like texture we all love. Once you master these tactile checks, you’ll never second-guess harvest time again!
Optimal harvest window: when to pick for maximum sweetness
Timing your spaghetti squash harvest is an art—too early and the strands turn starchy, too late and they harden like wood. The ideal harvest window falls between 80-120 days after planting, but climate plays a critical role in adjusting this timeline.
In USDA Zone 6a, where frost-free days average 165 days, most varieties reach peak ripeness in late September to October.
For gardeners in cooler climates, extend the growing season with row covers or harvest earlier at 80 days for slightly less sweet but still tender squash. Warmer regions can wait until 120 days for maximum flavor development.
The key is balancing maturity with first frost dates—never risk leaving squash vulnerable to 32°F temperatures.
| Stage | Days After Planting | Harvest Cues | Climate Adjustments |
|---|---|---|---|
| Early Harvest | 80-90 days | Dull yellow rind, firm skin | Cooler climates only |
| Peak Ripeness | 100-110 days | Yellow-brown stem end, heavy weight | Ideal for all zones |
| Late Harvest | 110-120 days | Skin resists thumbnail, dull color | Warmer climates only |
| Post-Harvest Storage | Up to 3+ weeks | Cool (50-55°F), dry, ventilated | Extend shelf life in root cellar |
After harvesting, cure your squash for 3-5 days in a warm (85°F), dry spot to thicken the skin and improve storage life. Once cured, store in a cool (50-55°F), dark place with good airflow—never refrigerate until ready to use.
Properly stored squash maintains its sweetness and texture for 3-4 weeks, making it a pantry staple.
For extended storage beyond 3 weeks, try canning or freezing the cooked strands. Blanch whole squash for 10 minutes before freezing to preserve color and flavor. If you notice shriveling or soft spots during storage, it’s time to use them—these are signs of over-ripening or spoilage.
Pro tip: Harvest in the morning when temperatures are coolest to preserve freshness. Use a sharp pruning saw to avoid damaging the vine, leaving a 1-inch stem attachment to prevent rot. The heavier the squash for its size, the sweeter the flesh—nature’s built-in quality check!
🎃